
Walkiria Headband

For the free pattern of this headband please continue on this page. Please consider supporting me by purchasing the 100% ad-free, printable PDF with full charts for this pattern on my Ravelry or ETSY pages. Or consider joining my Patreon for member perks.
Hope everyone is well! This week was a good one for me, as I just celebrated my 35th birthday on Tuesday! One year older, one year wiser (maybe). My husband and I took a picnic down to the park near our home and enjoyed some lovely summer weather. I definitely ate too much, but it was perfect! I think it was the first year we didn’t go to a restaurant to celebrate, but I think maybe this should be our new tradition!
Hope you had a lovely week as well!
ABOUT THIS Headband:
EDIT July 28th, 2020: M1 abbreviation has now become “inc1”. There is no change in pattern, just clarification of abbreviation.
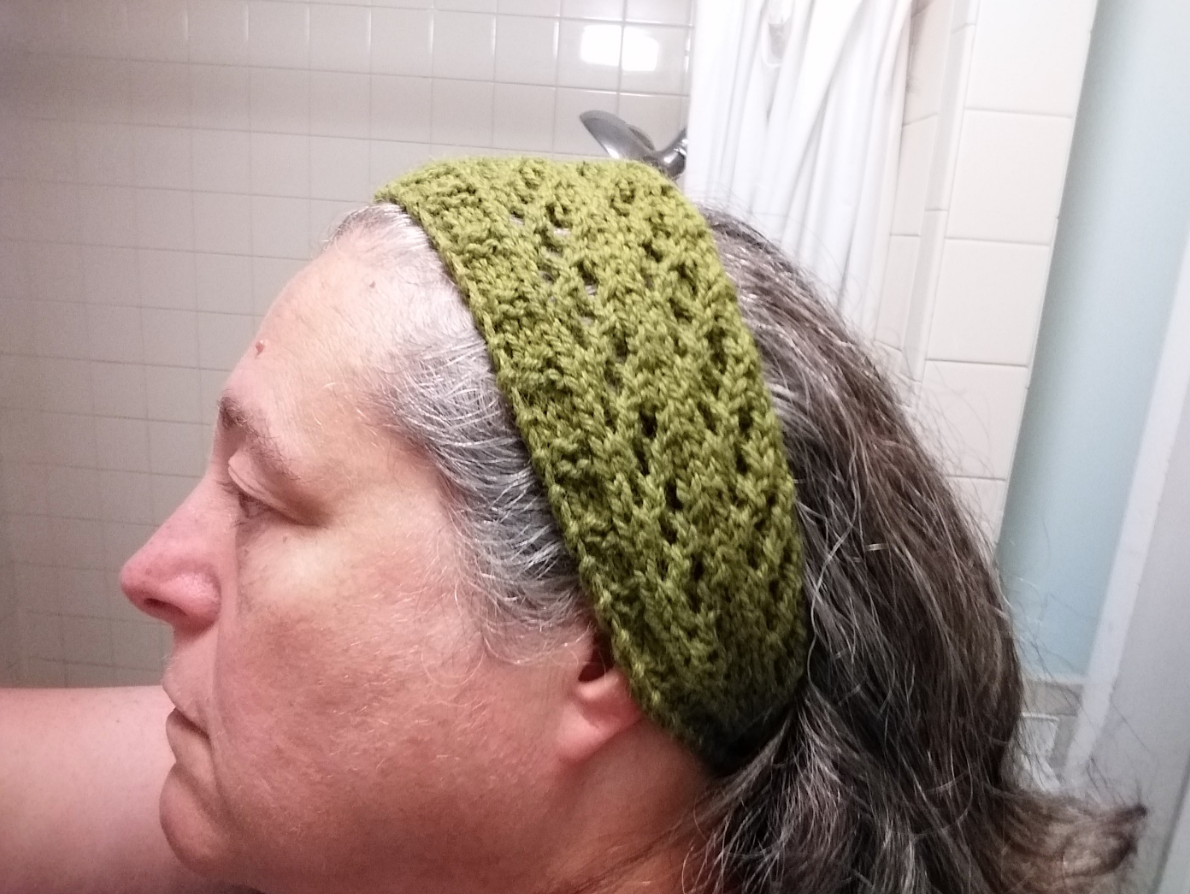
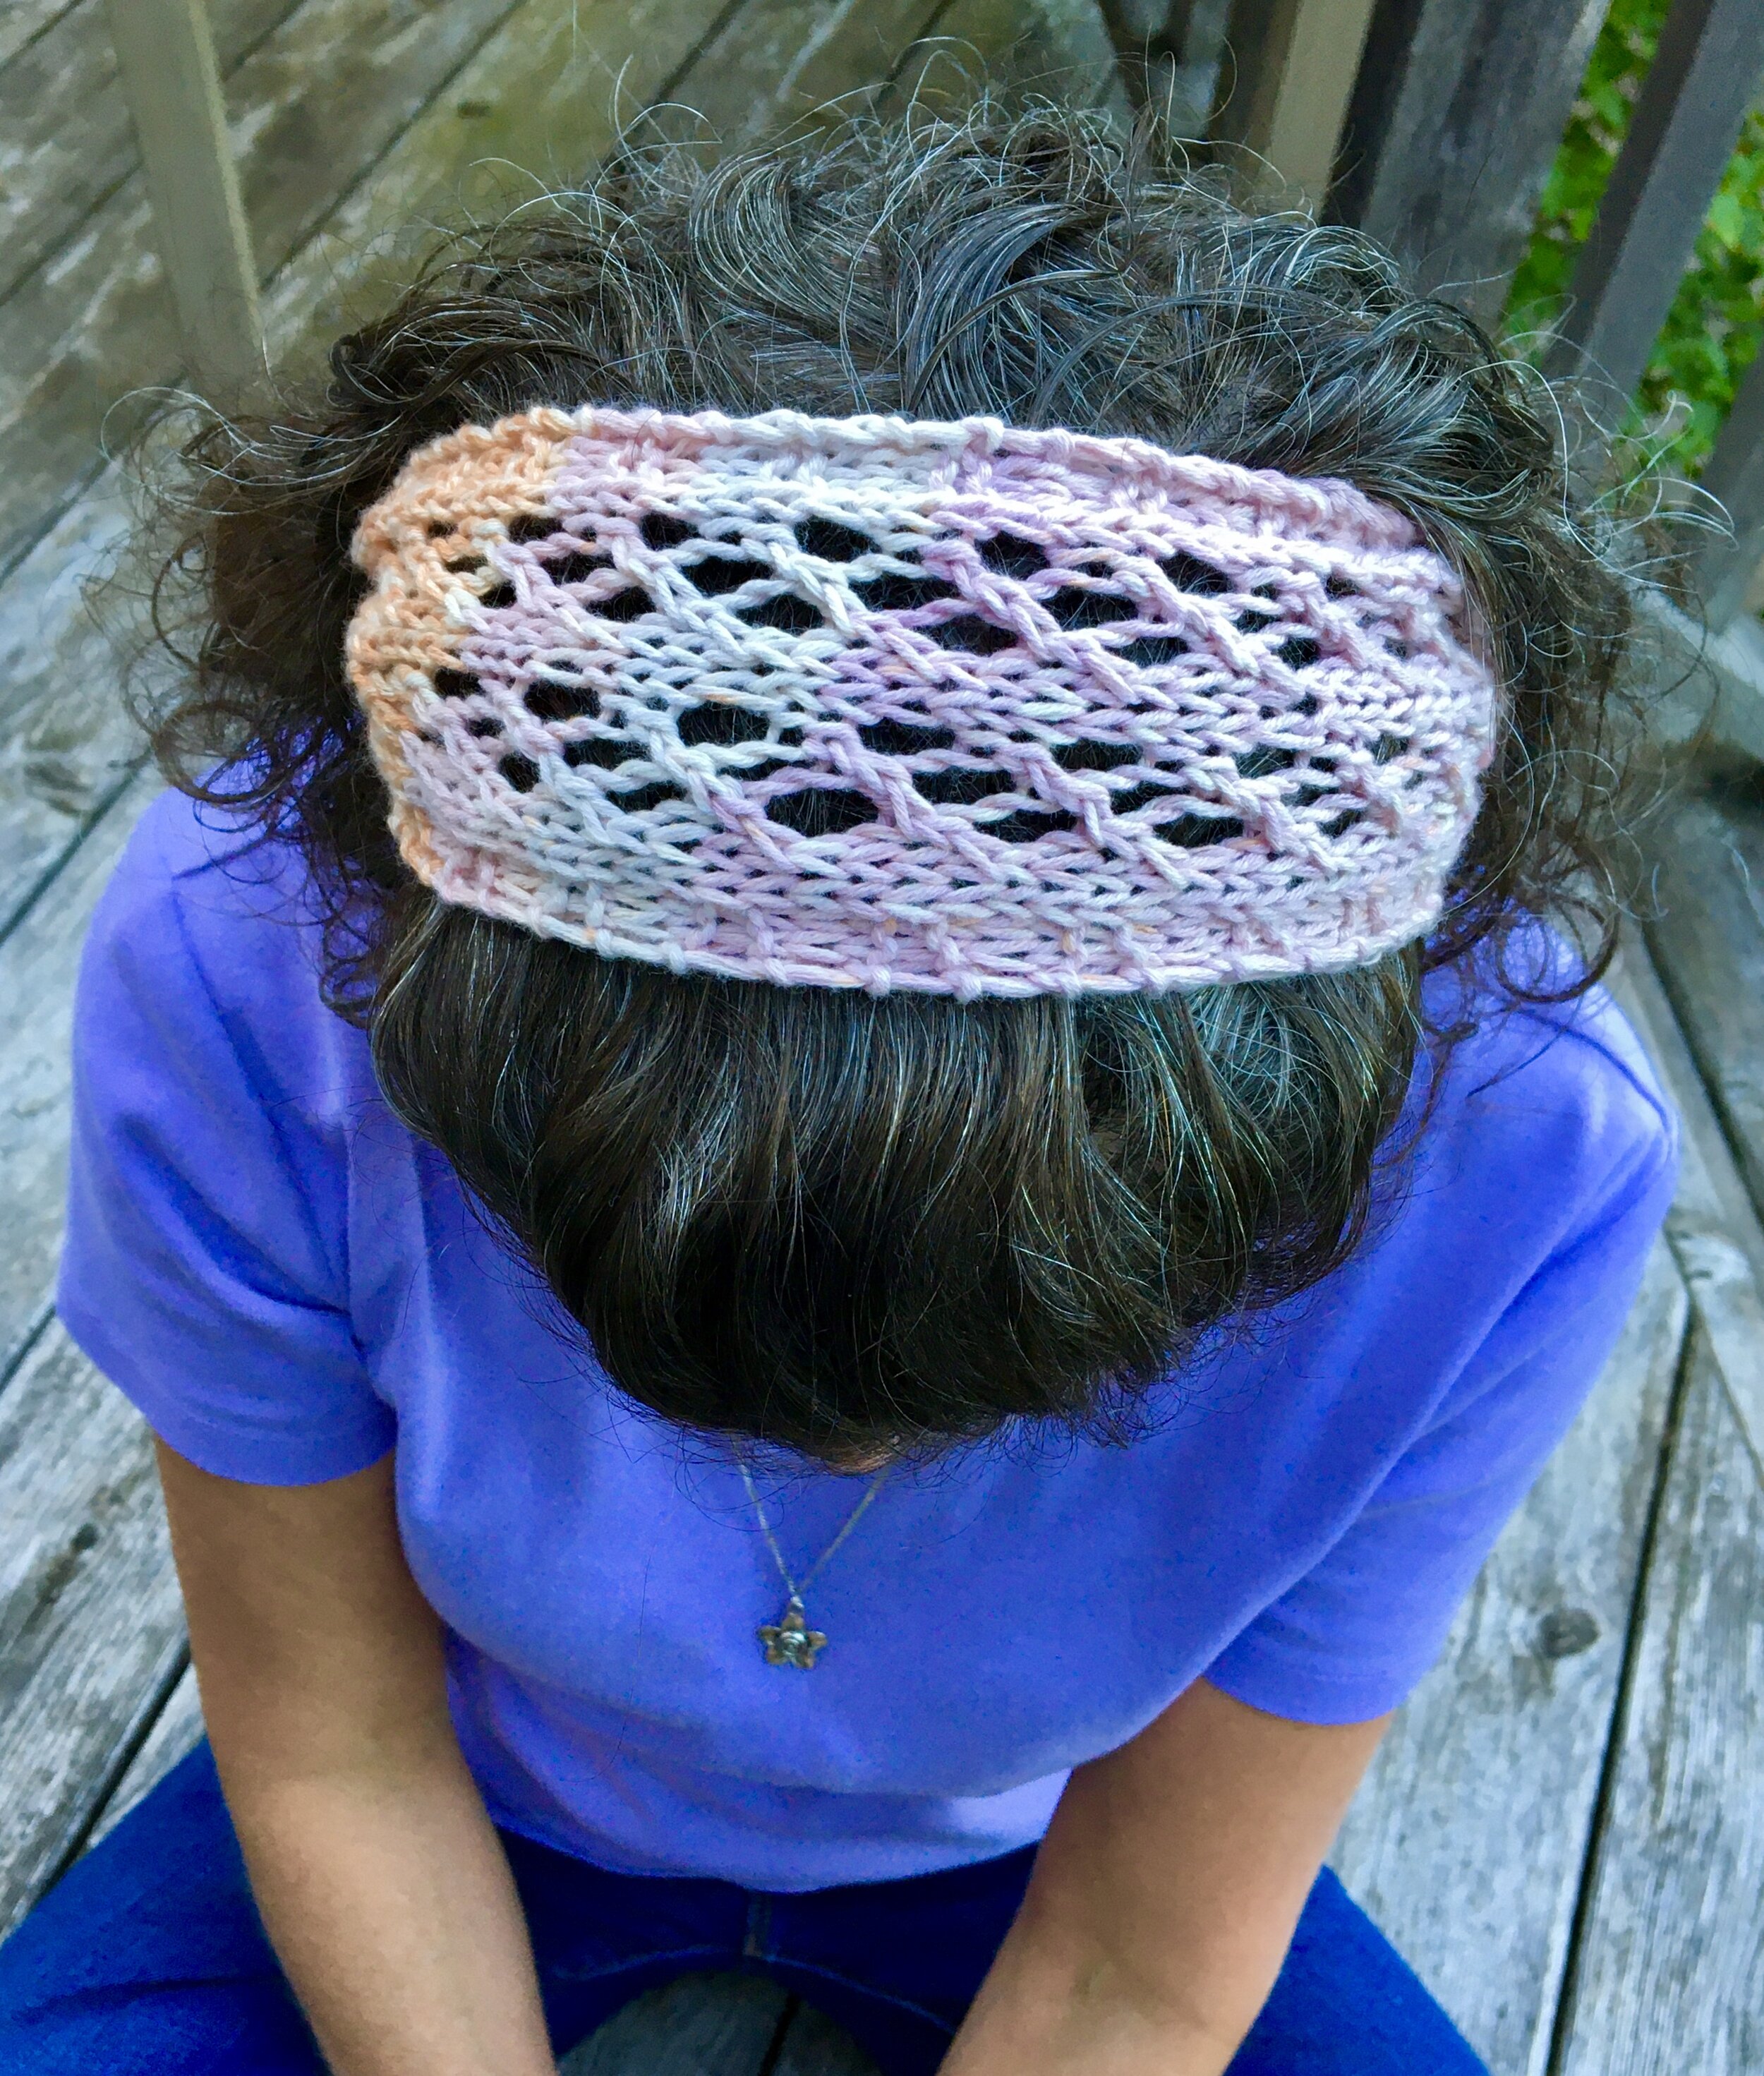
But, enough rambling from me! You’re here for the headband. This is the Walkiria Headband; the 3rd and final garment in the Walkiria Collection! (Walkiria Wrap, Walkiria Kimono, and the Walkiria Headband). This collection was so fun to design. I wanted to have 3 garments that were fun to make, but still had a lot of wearability. I think I did pretty well. What do you think?
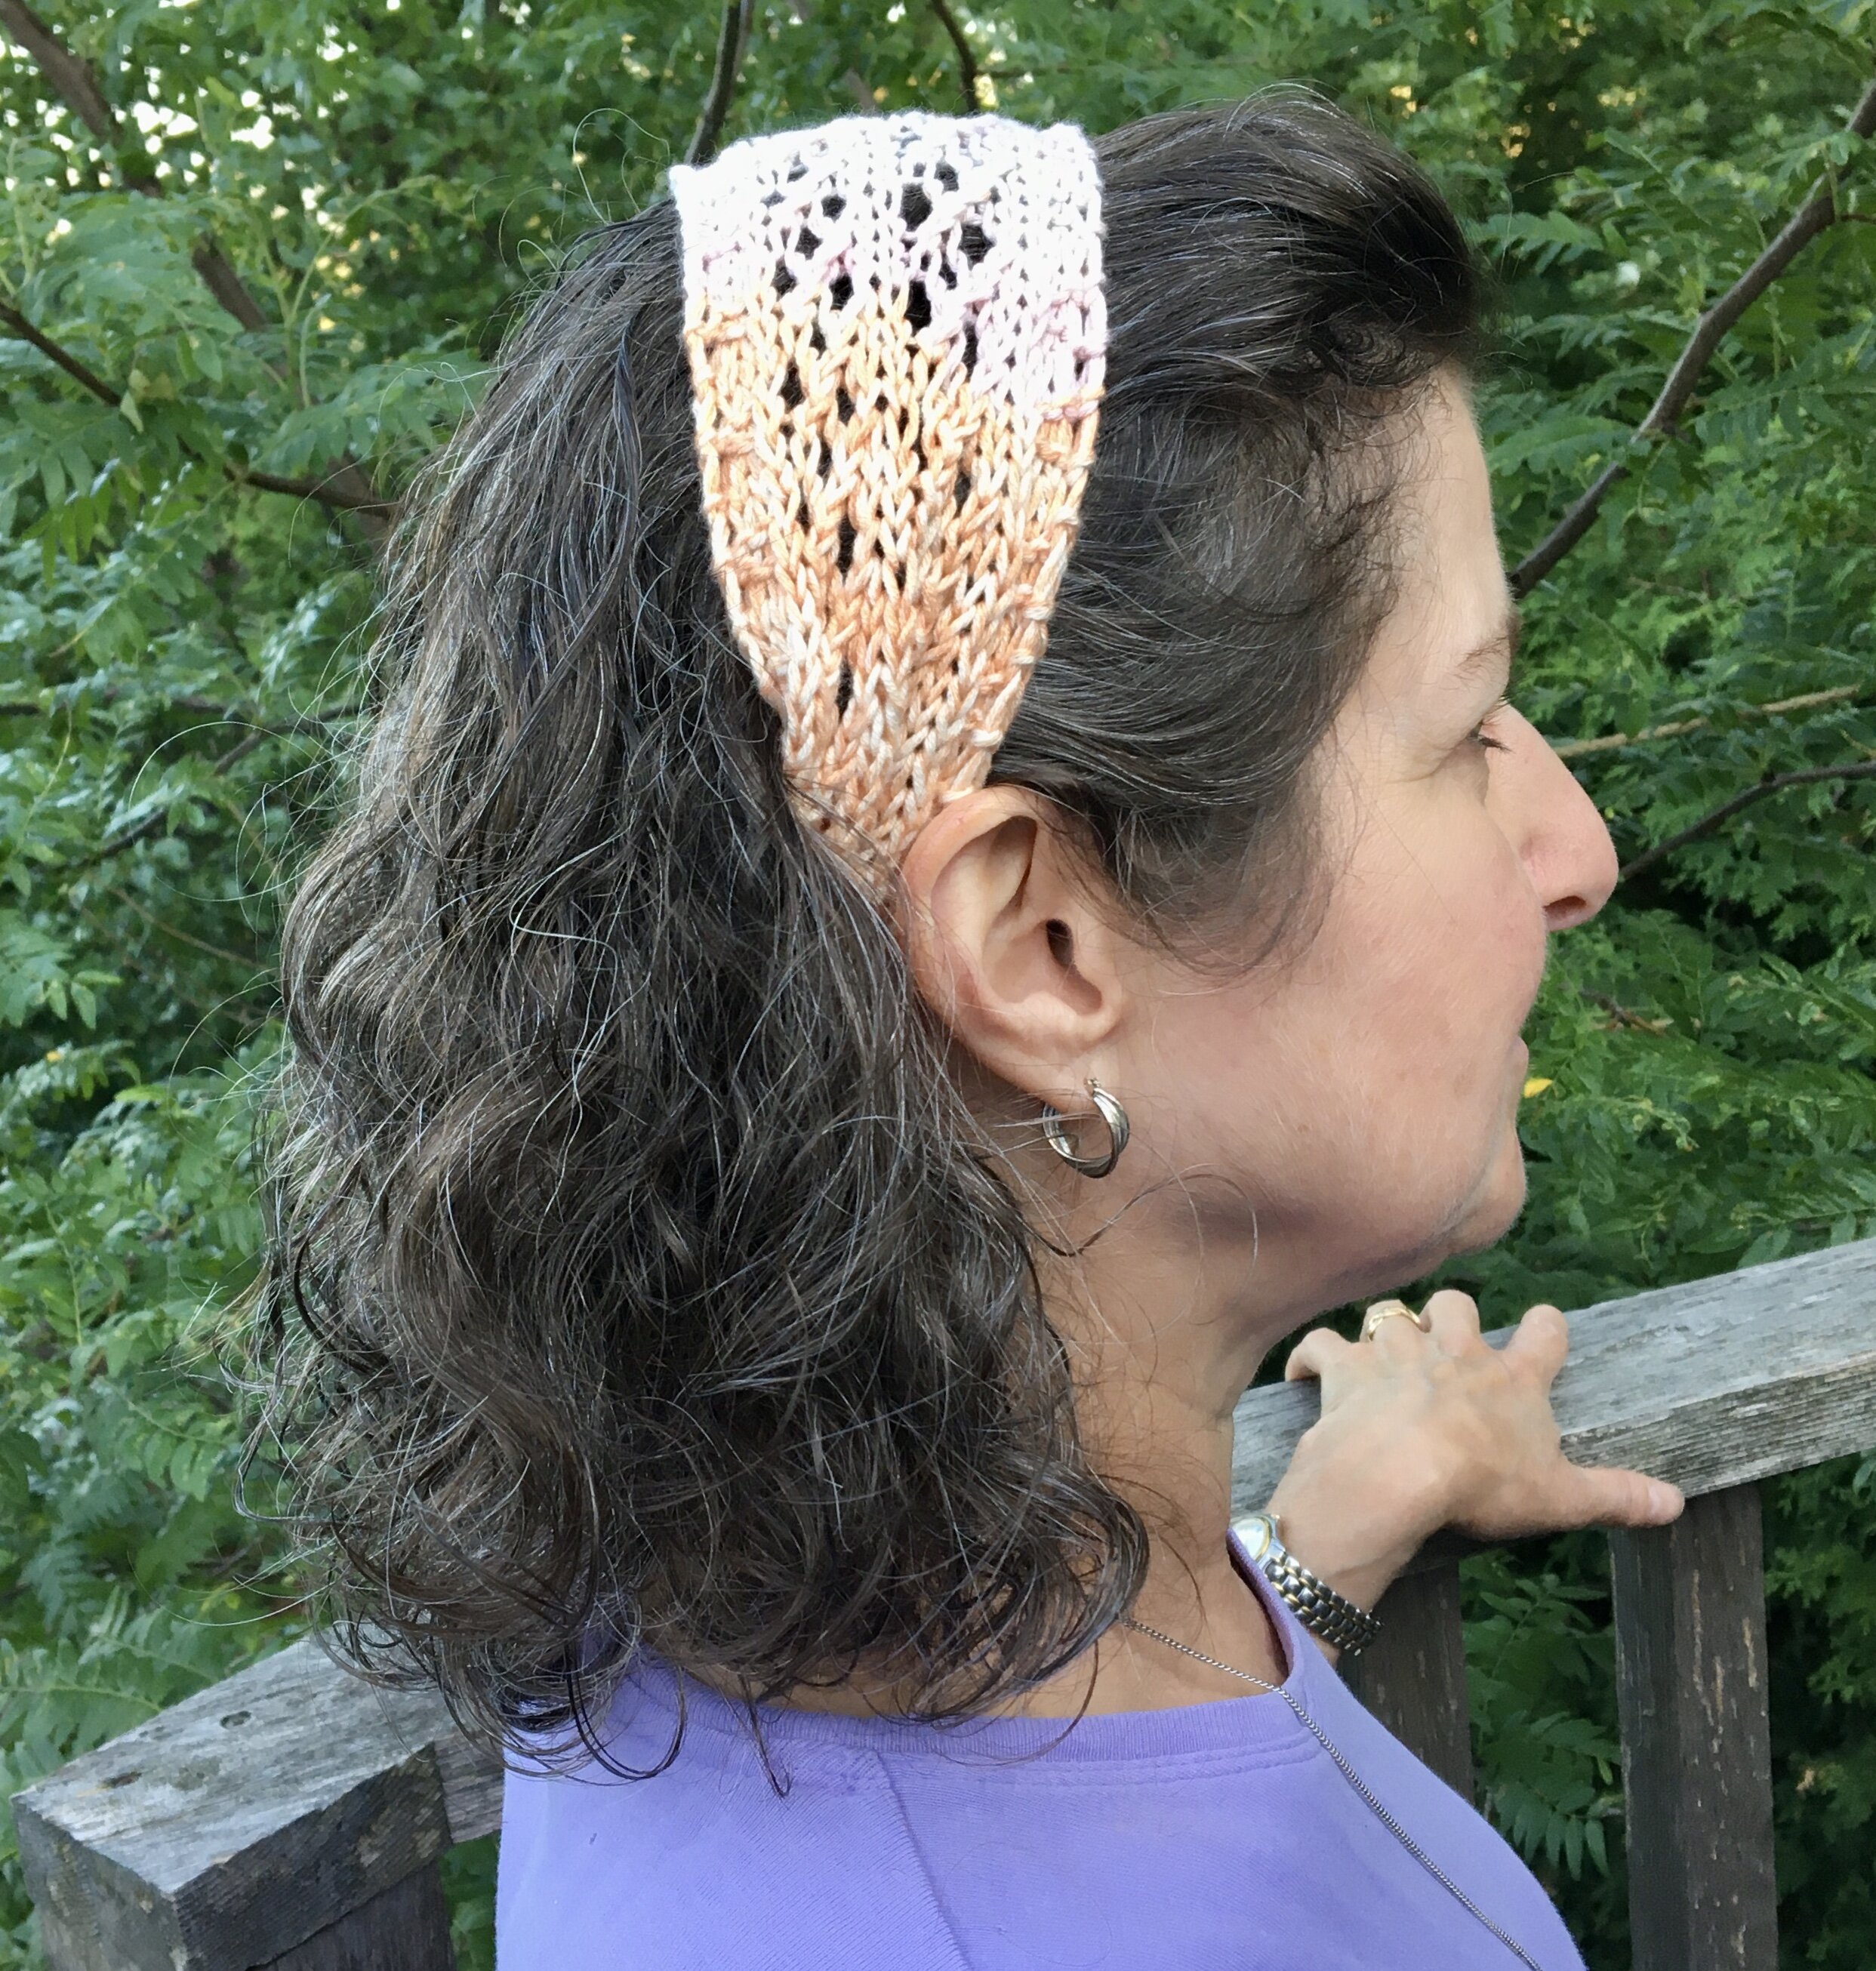
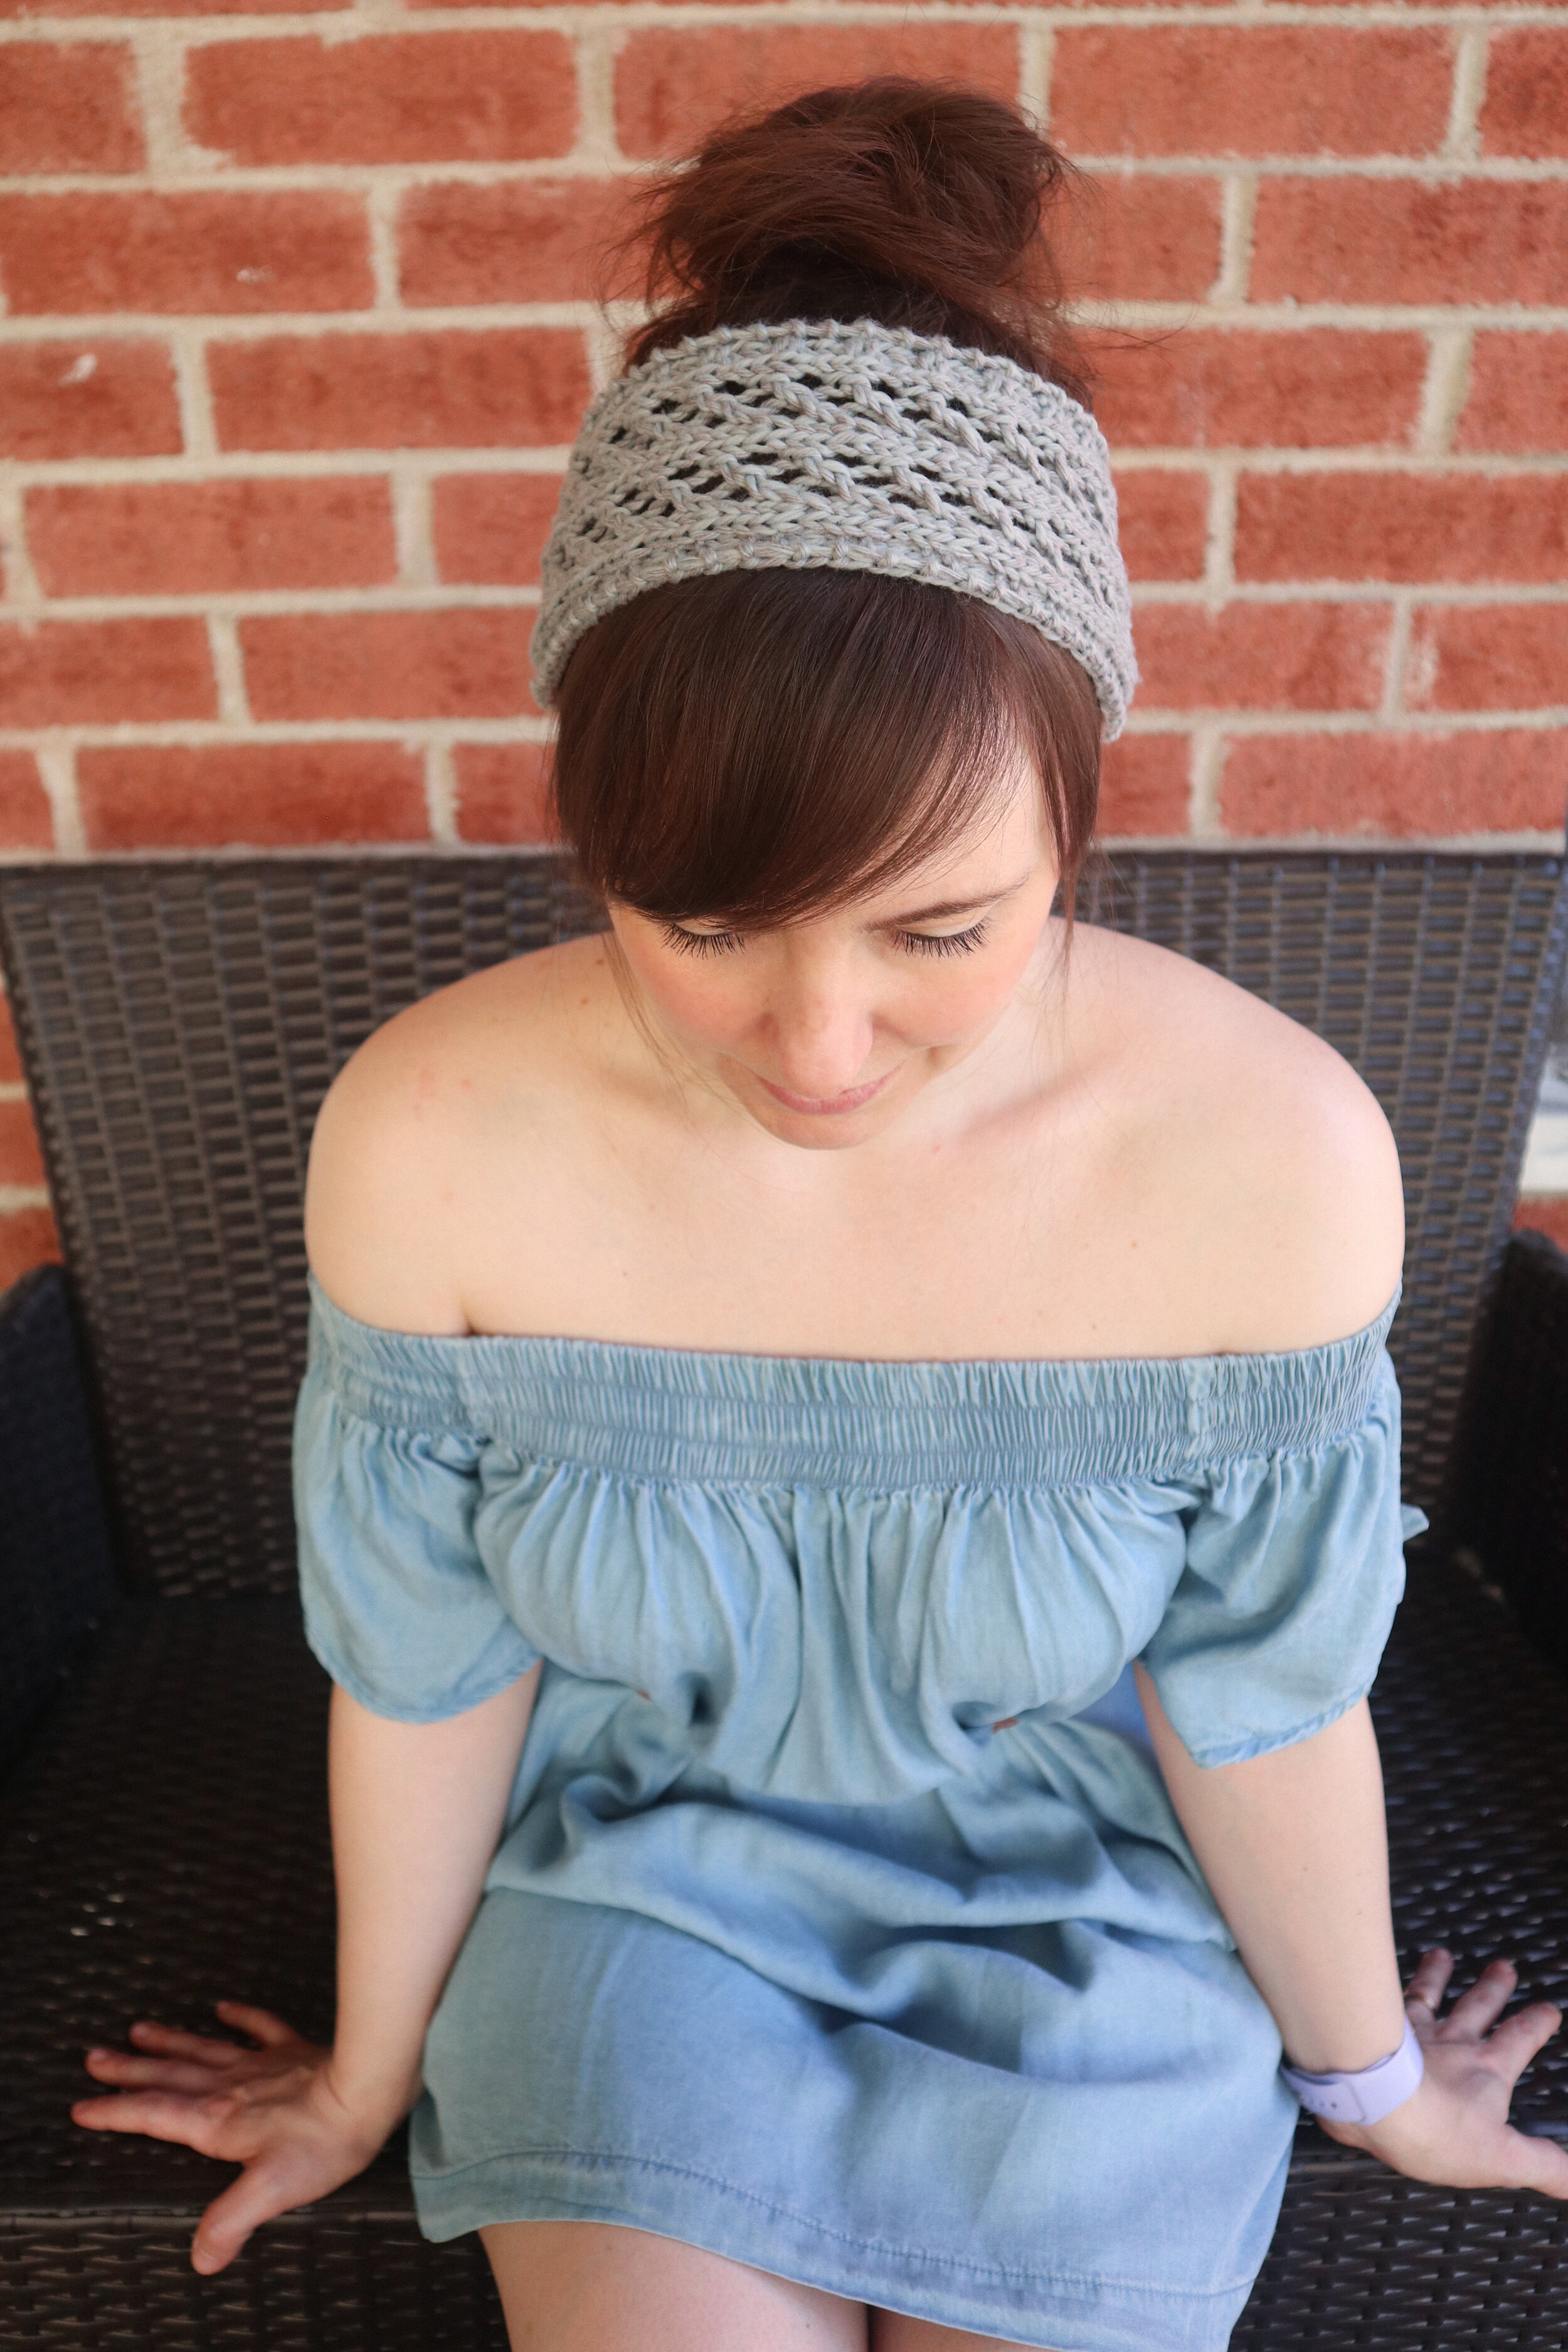
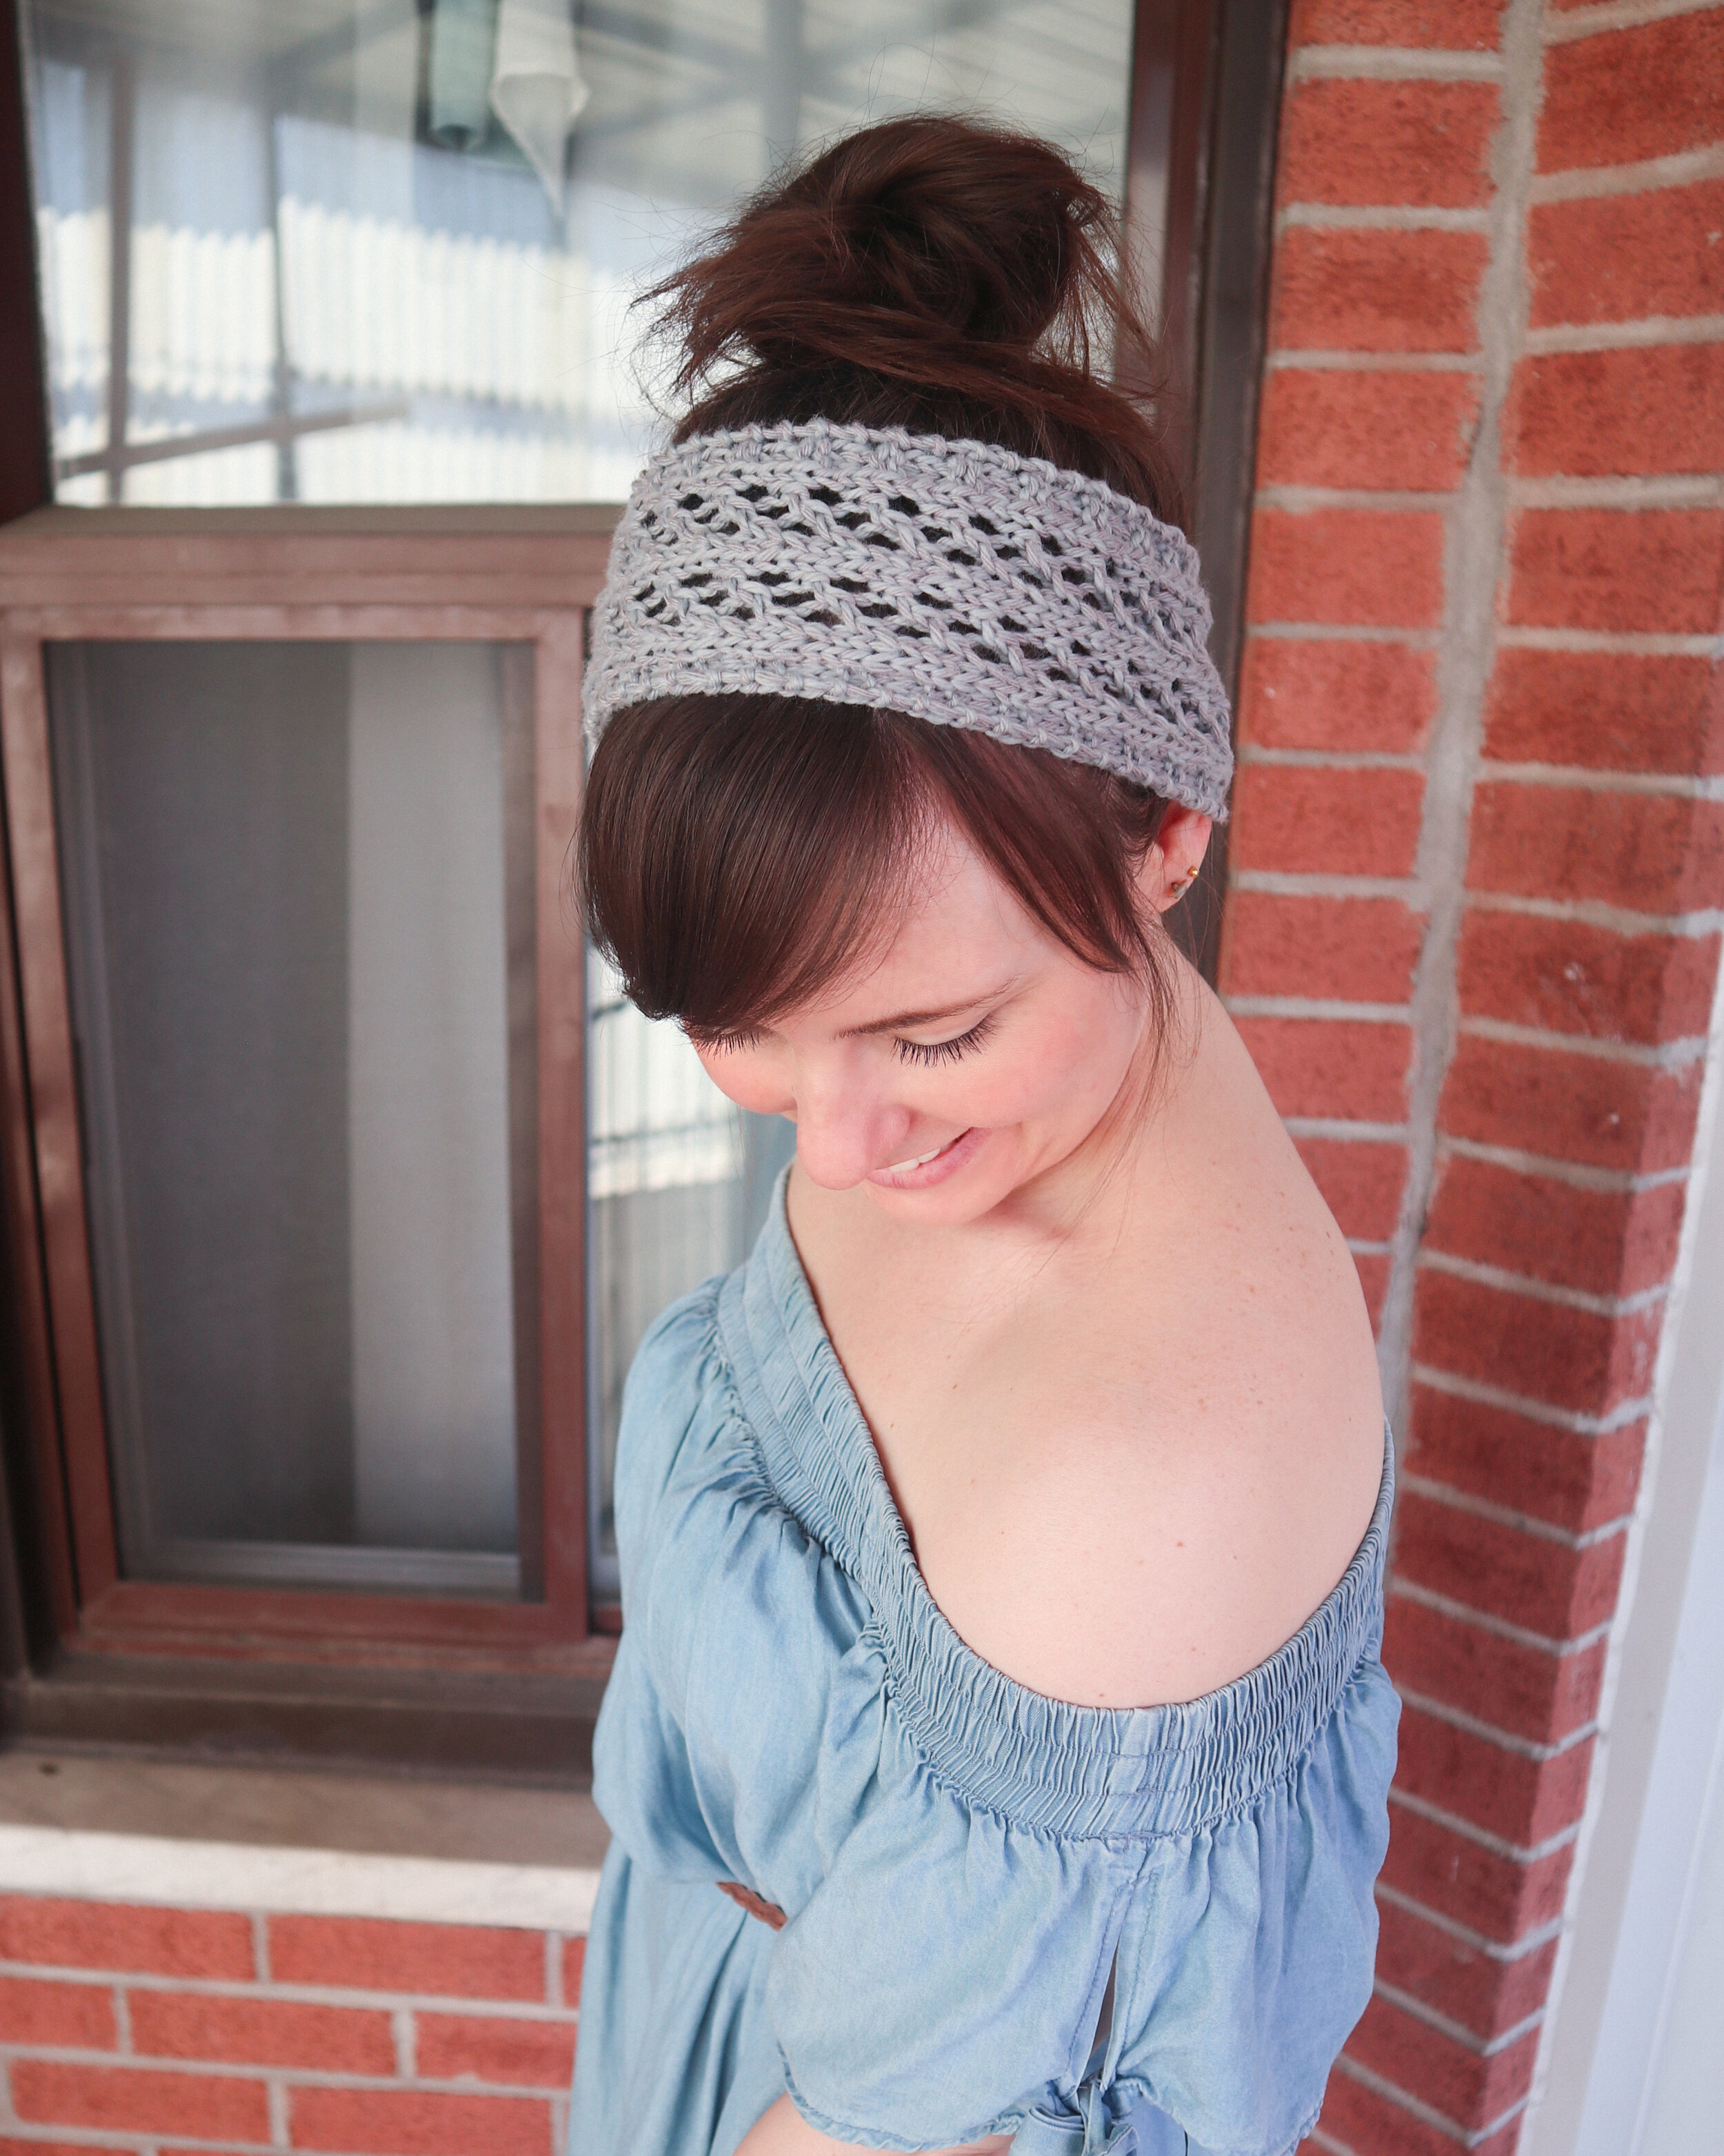
I really love this headband because it’s versatile! You can wear it with a variety of different outfits, both casual and dressy, and use it to add to all kinds of hair styles. I personally love it with a messy bun! It’s perfect to wear when you just can’t be bothered to fix your hair properly. Throw it on and viola! even the messiest do now looks intentional!
The construction of this headband is fairly simply and adjustable for any adult sized head. Just hold the CO edge of the headband at the back of your head where you would wear it normally, then when the working edge reaches to the top of your ear on the other side of your head, start the decreases. Easy!
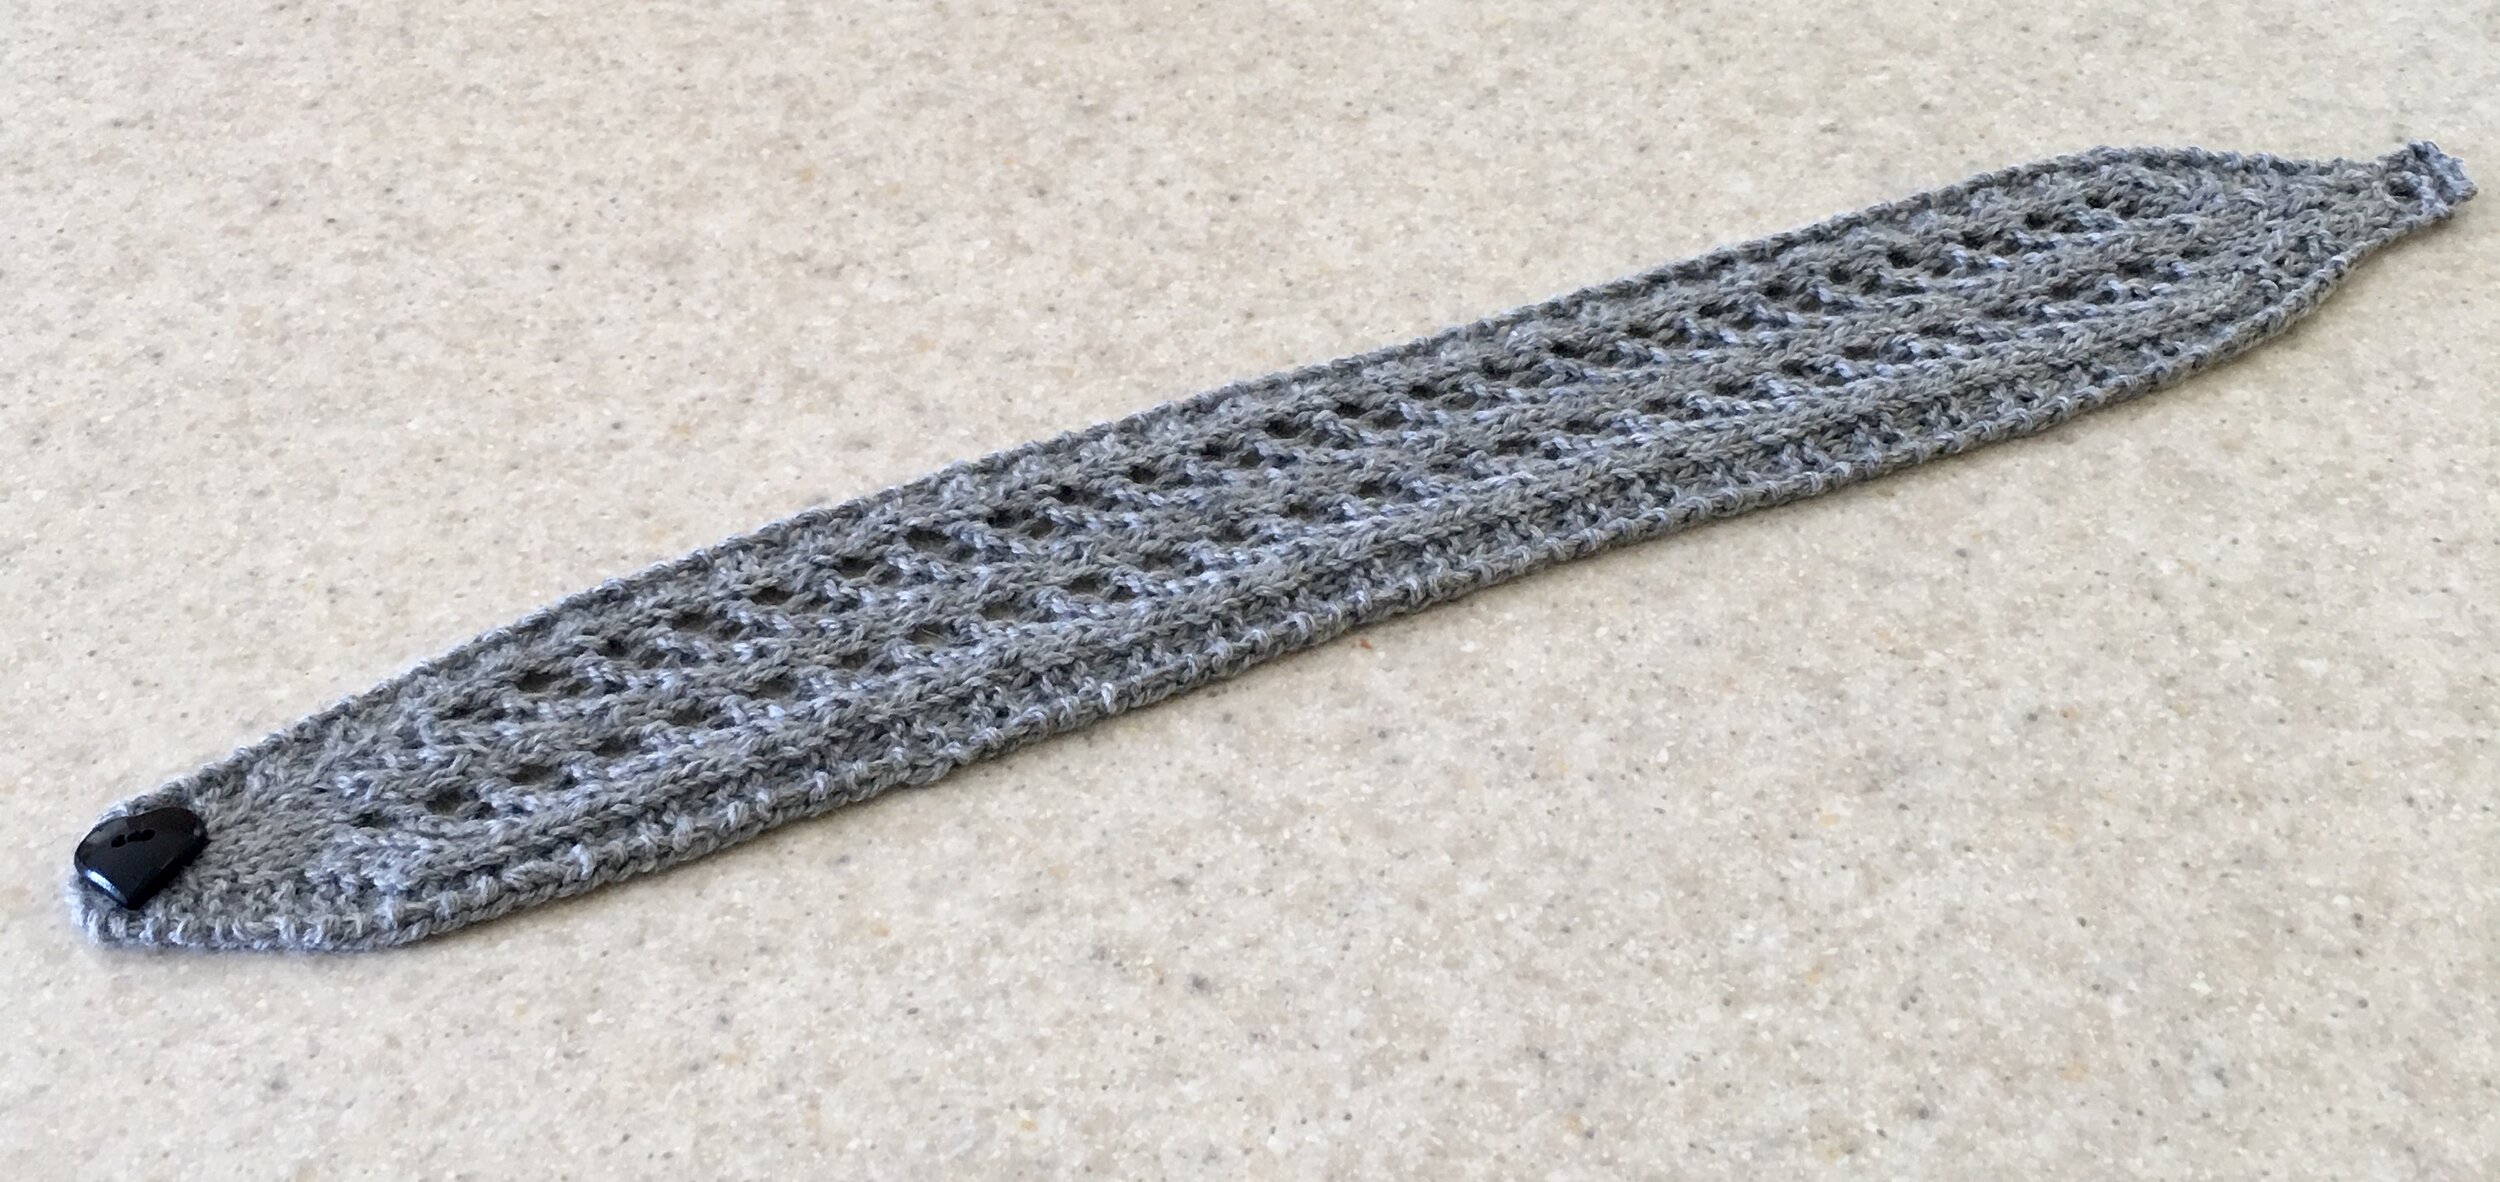
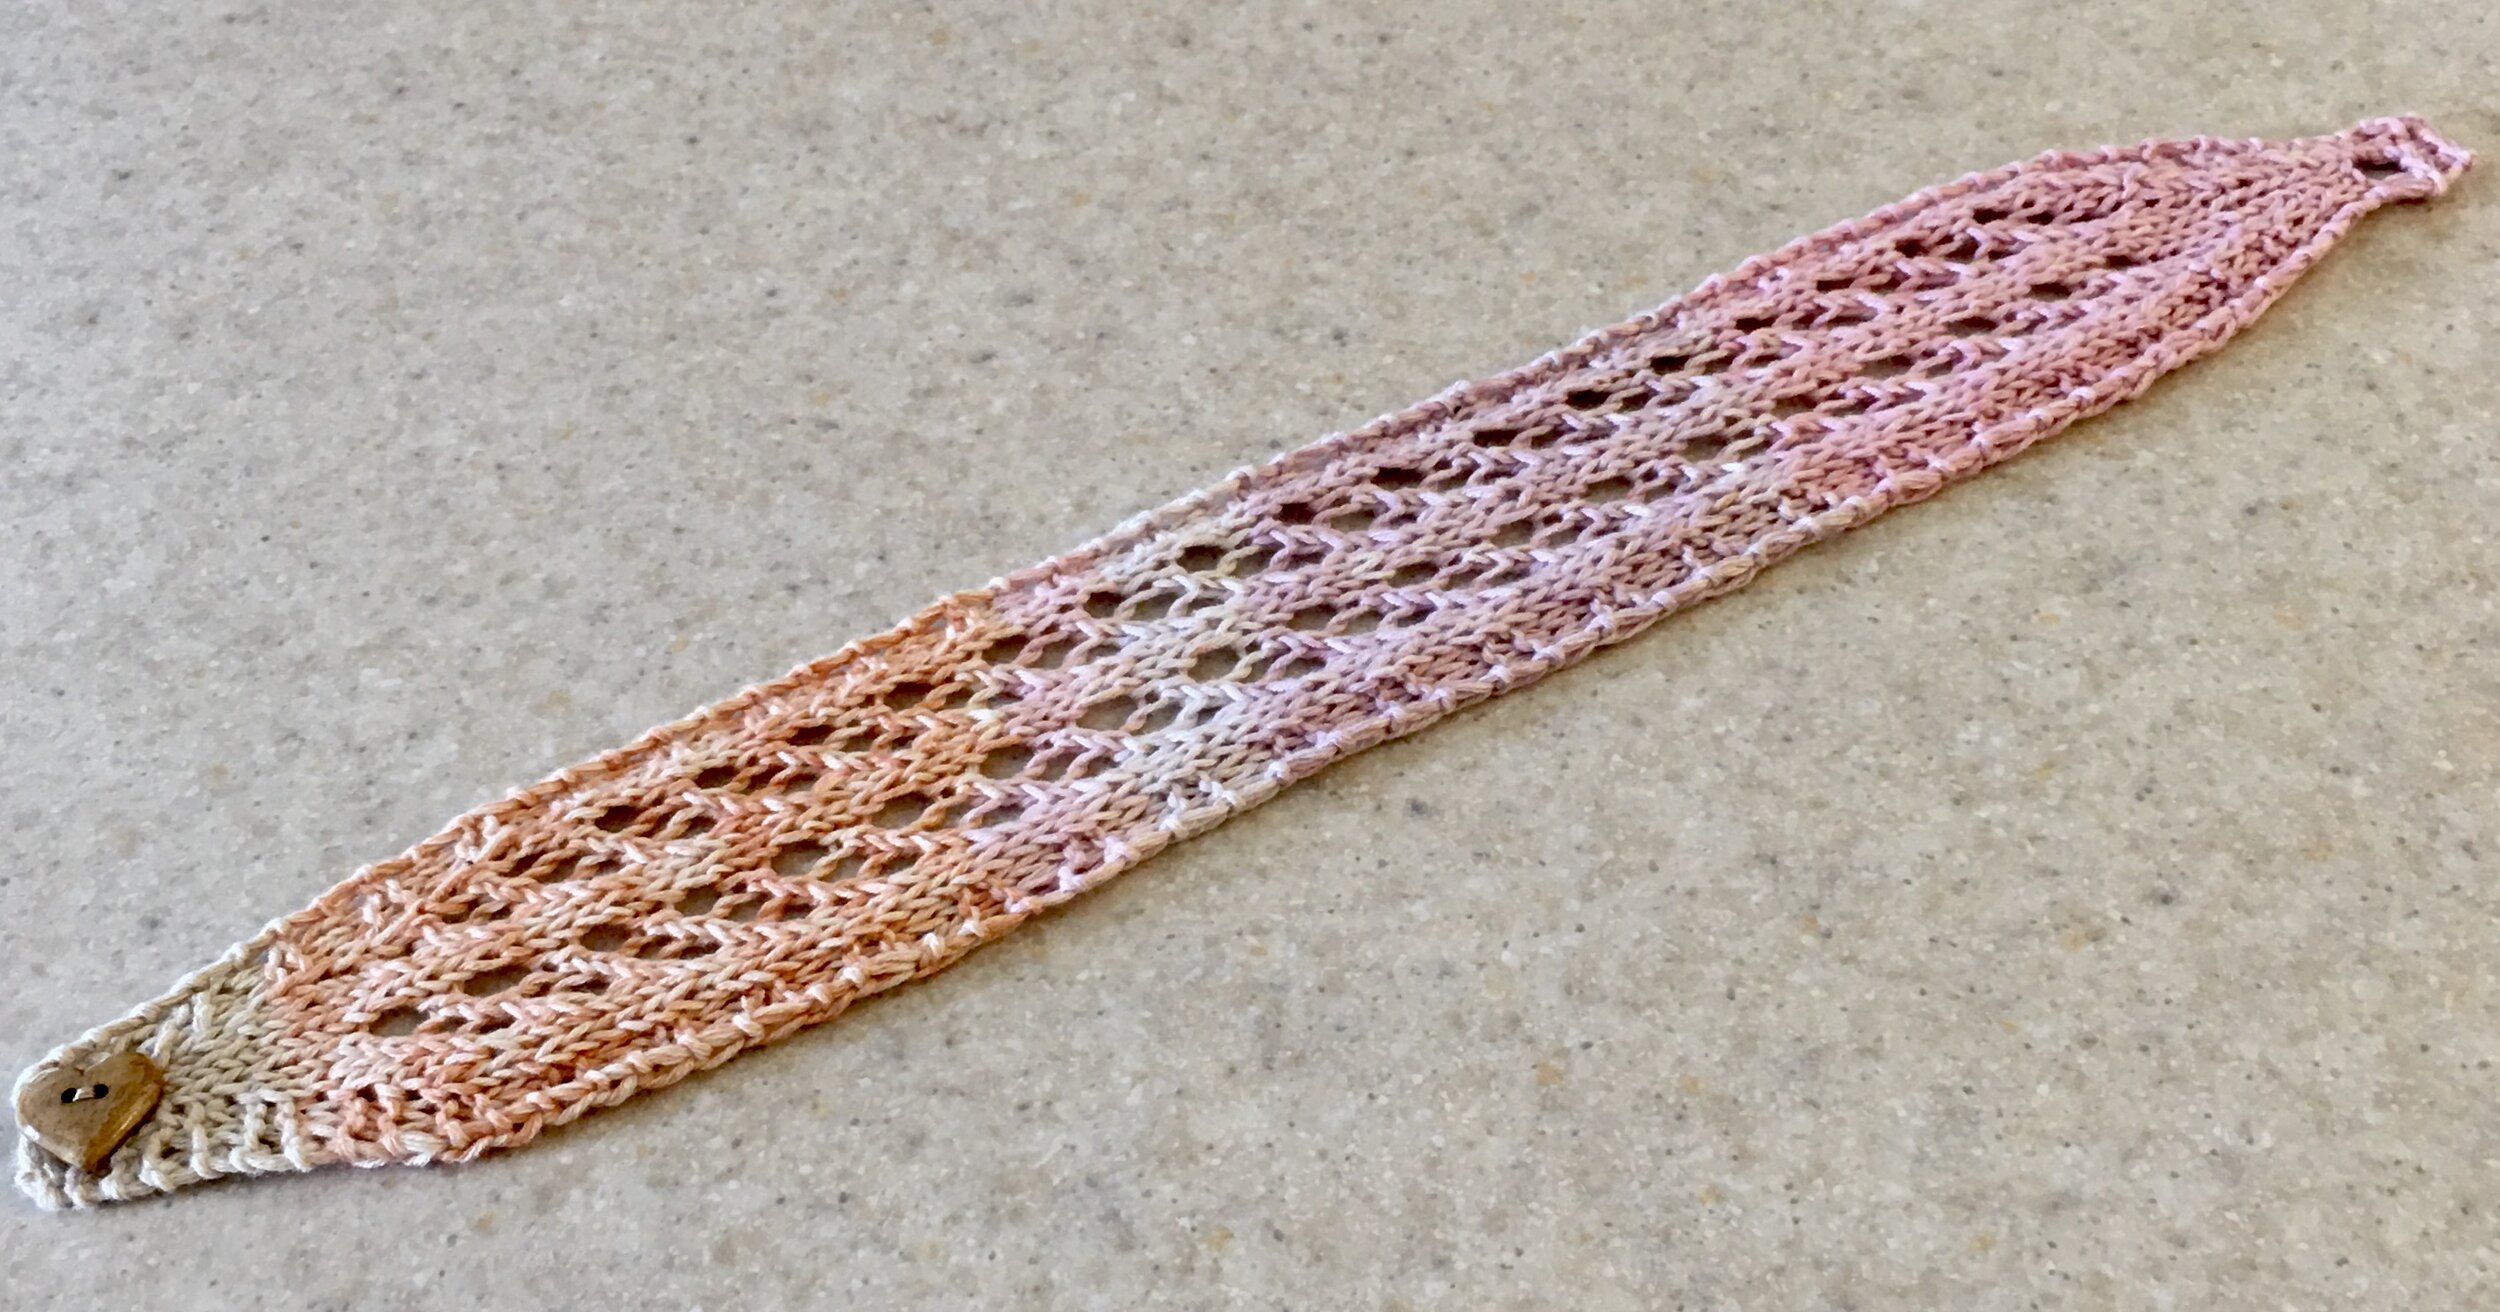
As with the rest of the collection, I created this headband with Lion Brand Comfy Cotton Blend color way Sterling. This yarn is a 50% cotton 50% polyester blend. It is delightfully soft and fluffy and is said to be a light weight 3, but it feels a bit between a weight 3 and 4. But, this pattern would be great in just about any weight 3 or 4 Dk or worsted yarn. Create this headband in wool for a warmer headband so you can use it as an ear warmer, or 100% cotton to make a lightweight and breathable headband for summer! You know me and my love of versatility!
I hope you love this headband as much as I do!
THANK YOU! to all my wonderful testers!

I LOVE TO SEE WHAT YOU CREATE!
Please share your creations with the community on social media tagging @ravinsekaidesigns and hashtag #Walkiriaheadband
I can’t wait to see the beautiful things you come up with!
FOLLOW ME ON SOCIAL MEDIA
Facebook: Ravin Sekai Designs
Ravelry: RavinSekai
Instagram: @ravinsekaidesigns
Pinterest: Ravin Sekai Designs
Patreon: Ravin Sekai Designs

Pin to Pinterest

WHAT YOU NEED:
Needles: 4.5 mm needles, Or size needed to achieve gauge.
Yarn: Weight 3 DK or Light Worsted Yarn. Sample knit in Lion Brand Comfy Cotton weight 3. 42-55 yards.
Gauge: 20st/20rows = 4” stockinette
Finished Garment Size: approx. 3.75” - 4” wide (gently stretched), variable length
Finishing: one button
ABBREVIATIONS:
CO: cast on
RS: right side
WS: wrong side
St: stitch
Sl1kw: slip right-hand needle into the 1st stitch on the left-hand needle like you are going to knit it. Without knitting it, slip it to the right-hand needle. Continue knitting as usual.
Yo: yarn over
Inc1: increase by 1.This represents 2 sts, you can use any type of increase that you like (M1, k1fb, etc). In Notes, I explain in more detail.
Cont: continue
K: knit
P: purl
K2tog: knit 2 stitches together
Ssk: slip one stitch knitwise, slip another stitch knitwise, knit these 2 stitches together through the back loop.
Rep: repeat
One row buttonhole
1. knit to start of buttonhole. Bring yarn in front (purl position); slip 1stitch purl-wise, bring yarn back to knit position.
2. Slip 1 next stitch on left needle to right needle purl-wise, pass first slipped stitch (step one) over second and off the needle.
(repeat this part 2 more times. You will pass over 3 stitches total, for a 3-stitch buttonhole) Place last stitch back on left needle.
Turn work over so you’re now working on the RS
3. Cable CO 4stitches
4. Turn work again(WS). Bring yarn to back; slip first st of left needle onto right needle and pass last CO st over it.
5. Pass the first stitch on right hand needle back to the left hand needle and continue in pattern.
BO: bind off

Notes:
In Increase Rows, I personally used M1R and M1L, but some people prefer k1fb. The pattern is written to be accessible to both preferences. If you use M1R and M1L method you must remember to still knit a st before or after “inc1”, for example, Row 1 would read like this: sl1kw, M1R, k3, M1L, k1. However, if you want, you can easily use knit 1 st front and back (k1fb) as your increase. If you use this method, your Row 1 would look like this: sl1kw, k1fb, k1, k1fb, k1. Both methods will increase the row by 2 stitches, giving you 7 st.
The headband can be adjusted to any adult or teen sized head. Simply hold the starting edge at the back of your head where you would normally wear it, then knit the Main Body portion of the pattern until it reaches the top of your ear on the opposite side. Then start the Decrease Rows. I have a 21” circumference head and knit 80 rows of the Main Body for the sample.
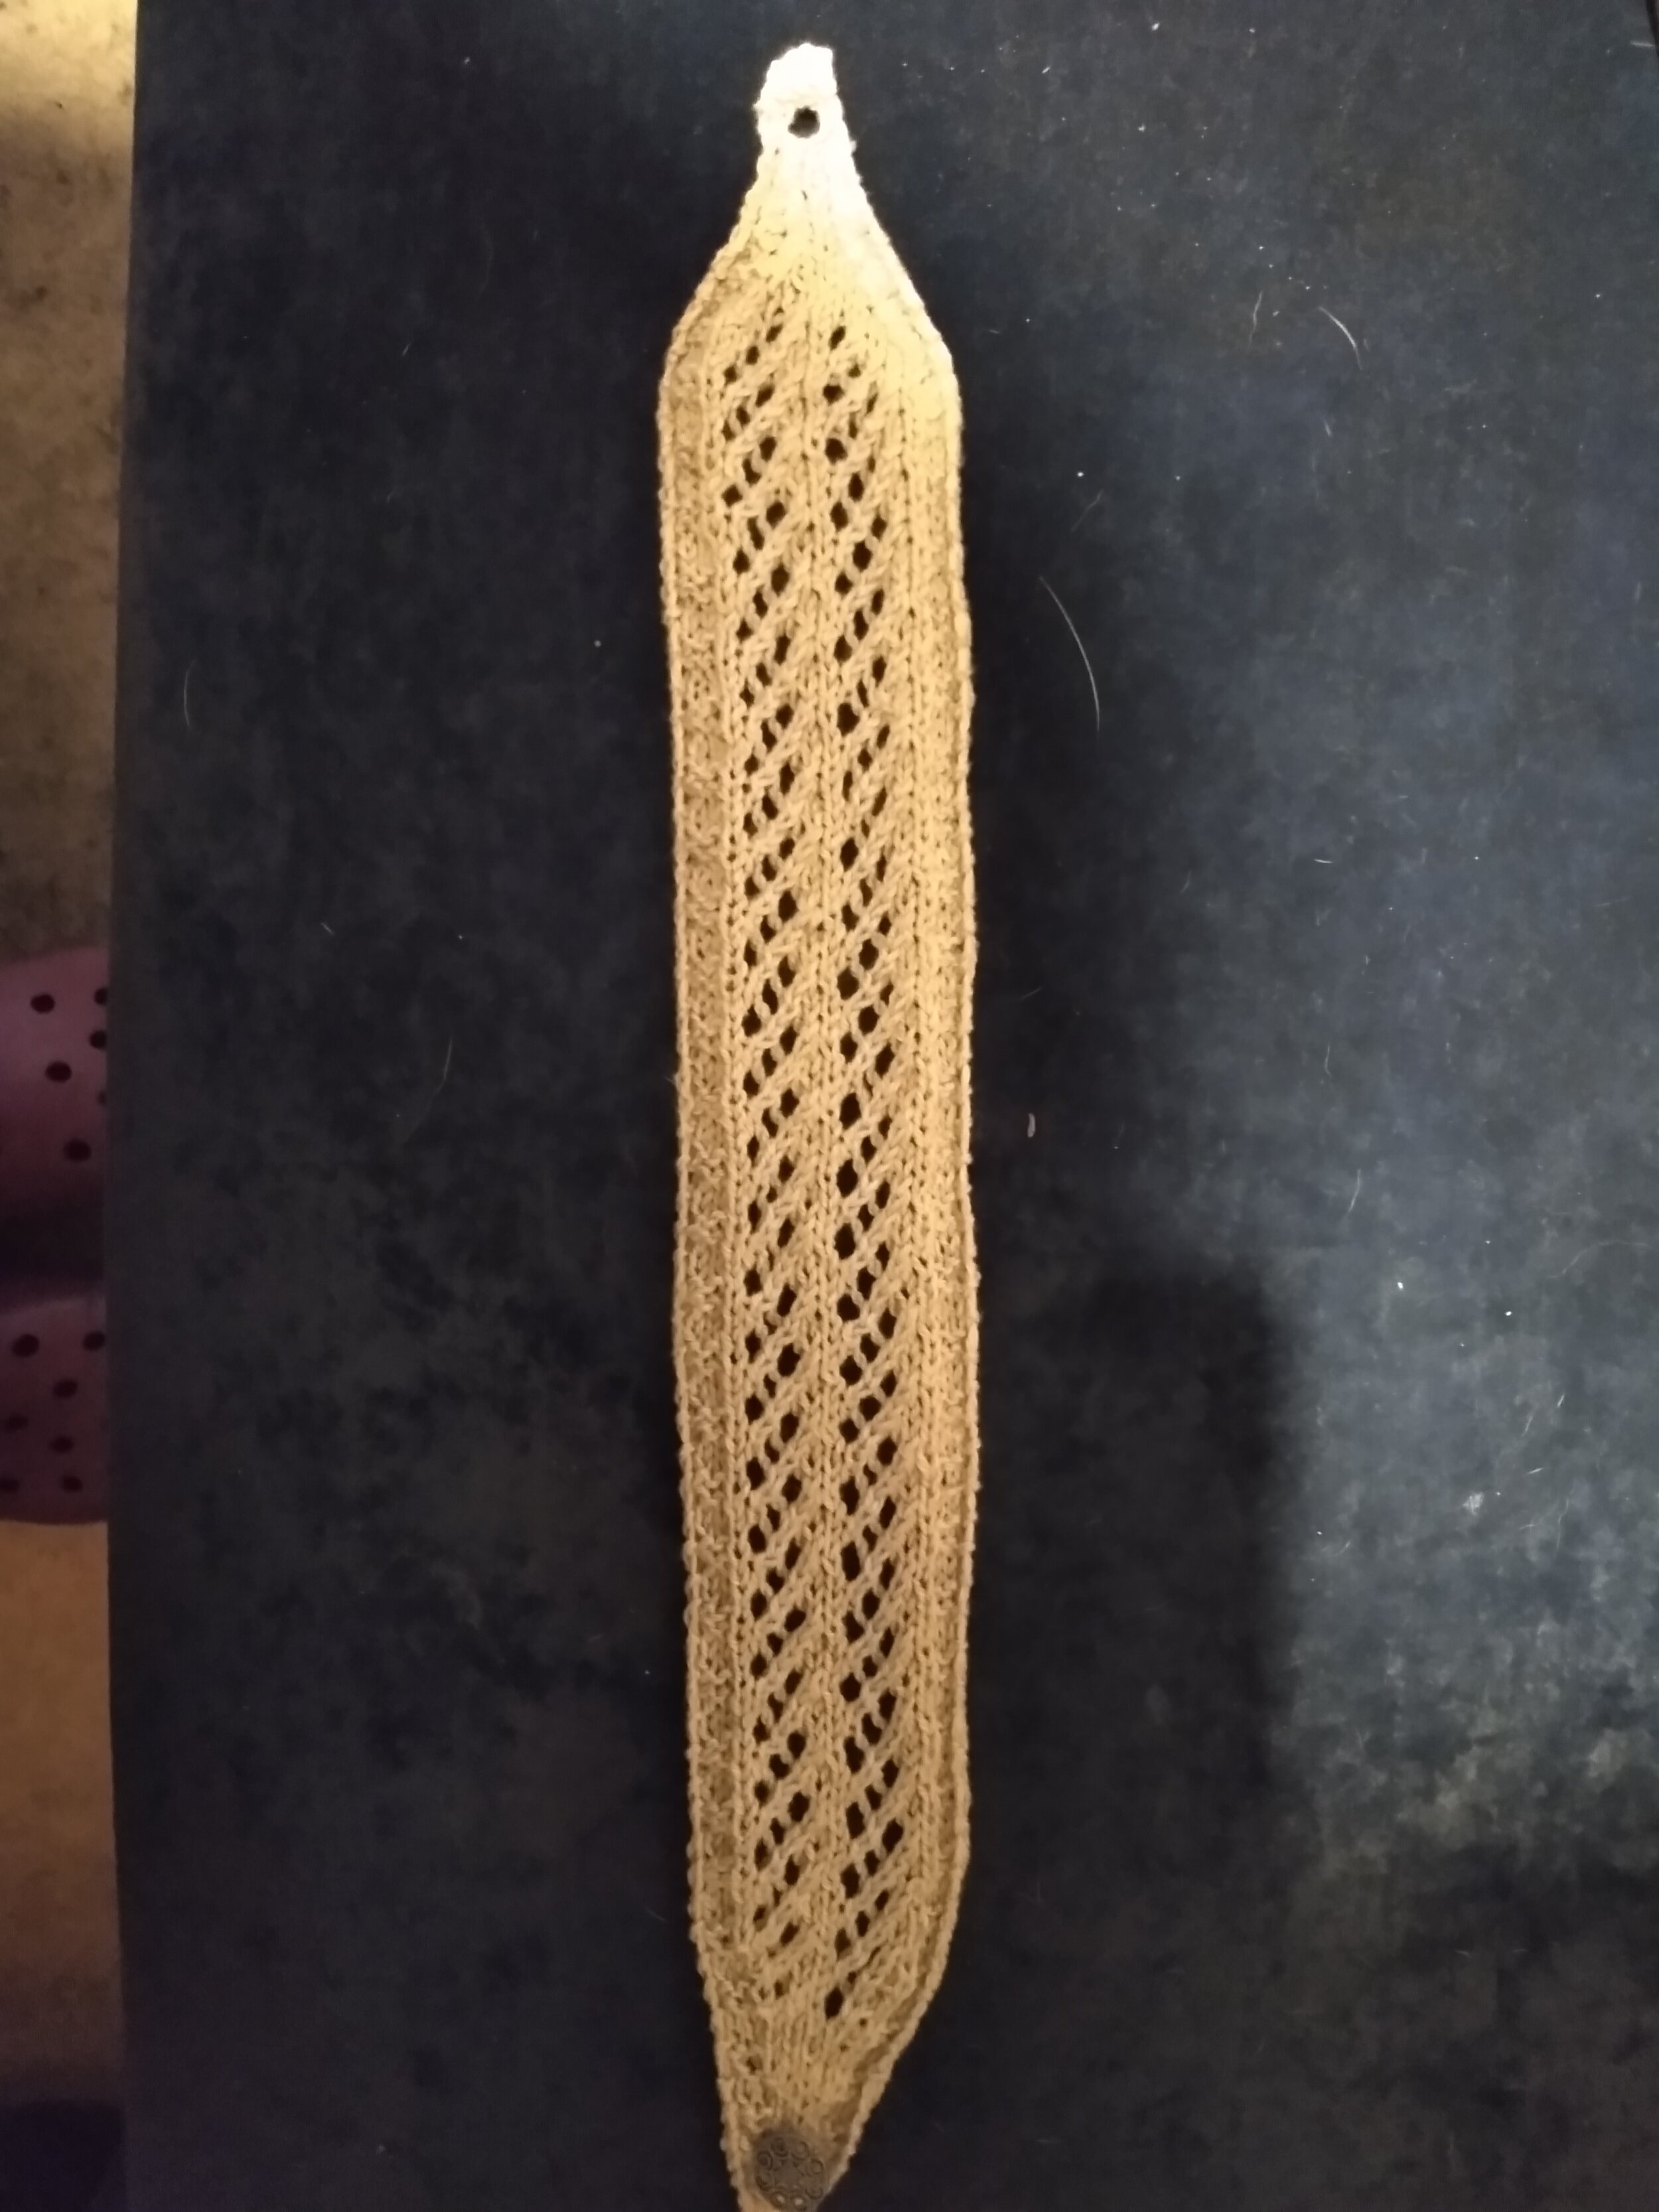
Finished headband should be blocked. After blocking, headband may curl a bit when not being worn, but when it is worn, it straightens out beautifully.
THE PATTERN:
For the free pattern of this headband please continue on this page. Please consider supporting me by purchasing the 100% ad-free PDF with full charts for this pattern on my Ravelry or ETSY pages. Or consider joining my Patreon for member perks.
EDIT July 28th, 2020: M1 abbreviation has now become “inc1”. There is no change in pattern, just clarification of abbreviation.
Increase Rows:
CO 5 stitches.
Row 0:(WS): sl1kw, K across (5st)
Row 1: sl1kw, inc1, k1, inc1, k1 (7st) (Refer to notes if you have a question about the inc1, remember inc1 represents 2 sts)
Row 2: sl1kw, k1, p3, k2 (7st)
Row 3: sl1kw, p1, inc1, k1, inc1, p1, k1 (9st)
Row 4: sl1kw, k2, p3, k3 (9st)
Row 5: sl1kw, p1, k5, p1, k1 (9st)
Row 6: sl1kw, k1, p1, k1, p1, k1, p1, k2 (9st)
Row 7: sl1kw, p2, inc1, k1, inc1, p2, k1 (11st)
Row 8: sl1kw, k3, p3, k4 (11st)
Row 9: sl1kw, p1, k to last 2 st, p1, k1 (11st)
Row 10: sl1kw, k1, p to last 2 st, k2 (11st)
Row 11: sl1kw, p3, inc1, k1, inc1, p3, k1 (13st)
Row 12: sl1kw, k3, p5, k4 (13st)
Row 13: sl1kw, p1, k to last 2 st, p1, k1 (13st)
Row 14: sl1kw, k1, p to last 2 st, k2 (13st)
Row 15: sl1kw, p3, inc1, k3, inc1, p3, k1 (15st)
Row 16: sl1kw, k3, p to last 4 st, k4 (15st)
Row 17: sl1kw, p1, k2, inc1, k2tog, yo, k1, k2tog, yo, inc1, k2, p1, k1 (17st)
Row 18: sl1kw, k1, p to last 2 st, k2 (17st)
Row 19: sl1kw, p3, inc1, k2tog, yo, k3, k2tog, yo, inc1, p3, k1 (19st)
Row 20: sl1kw, k3, p to last 4 st, k4 (19st)

Main Body:
Row 1: sl1kw, p1, k3, [k2tog, yo, k2tog, yo], k1, rep [ ] again, k3, p1, k1 (19st)
Row 2: sl1kw, k1, p to last 2 st, k2
Row 3: sl1kw, p3, k2, k2tog, yo, k3, k2tog, yo, k2, p3, k1
Row 4: sl1kw, k3, p to last 4 st, k4
Rep these 4 rows until desired length.
How to know when to stop Main Body: hold the CO edge of headband at the back of your head where you would wear it normally. When the working edge reaches to the top of your ear on the other side of your head, start decrease.
Decrease Rows:
Row 1: sl1kw, p1, k2, ssk, k1, k2tog, yo, k1, k2tog, yo, k1, k2tog, k2, p1, k1 (17st)
Row 2: sl1kw, k2, p to last 3 st, k3 (17st)
Row 3: sl1kw, p3, ssk, k5, k2tog, p3, k1 (15st)
Row 4: sl1kw, k4, p5, k5 (15st)
Row 5: sl1kw, p1, k2, ssk, k3, k2tog, k2, p1, k1 (13st)
Row 6: sl1kw, k2, p to last 3 st, k3 (13st)
Row 7: sl1kw, p3, ssk, k1, k2tog, p3, k1 (11st)
Row 8: sl1kw, k3, p3, k4 (11st)
Row 9: sl1kw, p1, k1, ssk, k1, k2tog, k1, p1, k1 (9st)
Row 10: sl1kw, k1, p5, k2 (9st)
Row 11: sl1kw, p1, ssk, k1, k2tog, p1, k1 (7st)
Row 12: sl1kw, k1, p3, k2 (7st)
Row 13: sl1kw, p1, k3, p1, k1 (7st)
Row 14: sl1kw, k1, one row buttonhole, k2 (7st)
Row 15: sl1kw, ssk, k1, k2tog, k1 (5st)
Row 16: k2, p1, k2 (5st)
BO
Block garment and weave in ends. Once headband is dry, sew a button onto the end without the button hole.
If you liked this pattern, please support me on Patreon or buy me a coffee!


Buy Me a Coffee
Support me on Patreon
Happy knitting!
I LOVE TO SEE WHAT YOU CREATE!
Please share your creations with the community on social media tagging @ravinsekaidesigns and hashtag #walkiriaheadband
I can’t wait to see the beautiful things you come up with!
FOLLOW ME ON SOCIAL MEDIA
Facebook: Ravin Sekai Designs
Ravelry: RavinSekai
Instagram: @ravinsekaidesigns
Pinterest: Ravin Sekai Designs
Patreon: Ravin Sekai Designs