
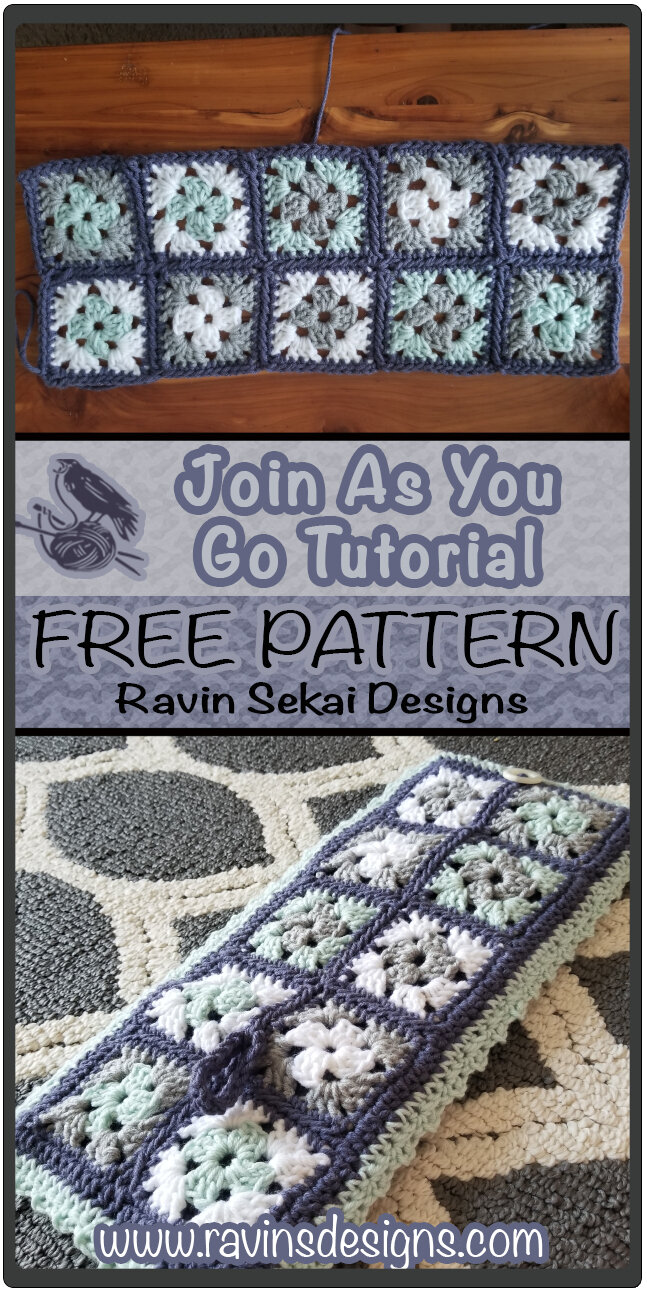
Join As You Go Tutorial
Many people have asked me how to join granny squares. I’ll tell you, there are probably a million ways to do it! Some of the options you have are very decorative, and others are deceptively simple. I know, when I made my first granny square blanket, I had NO IDEA how I was going to put the squares together once I finished. Then, once I did some research, the number of joining options out there was super daunting!
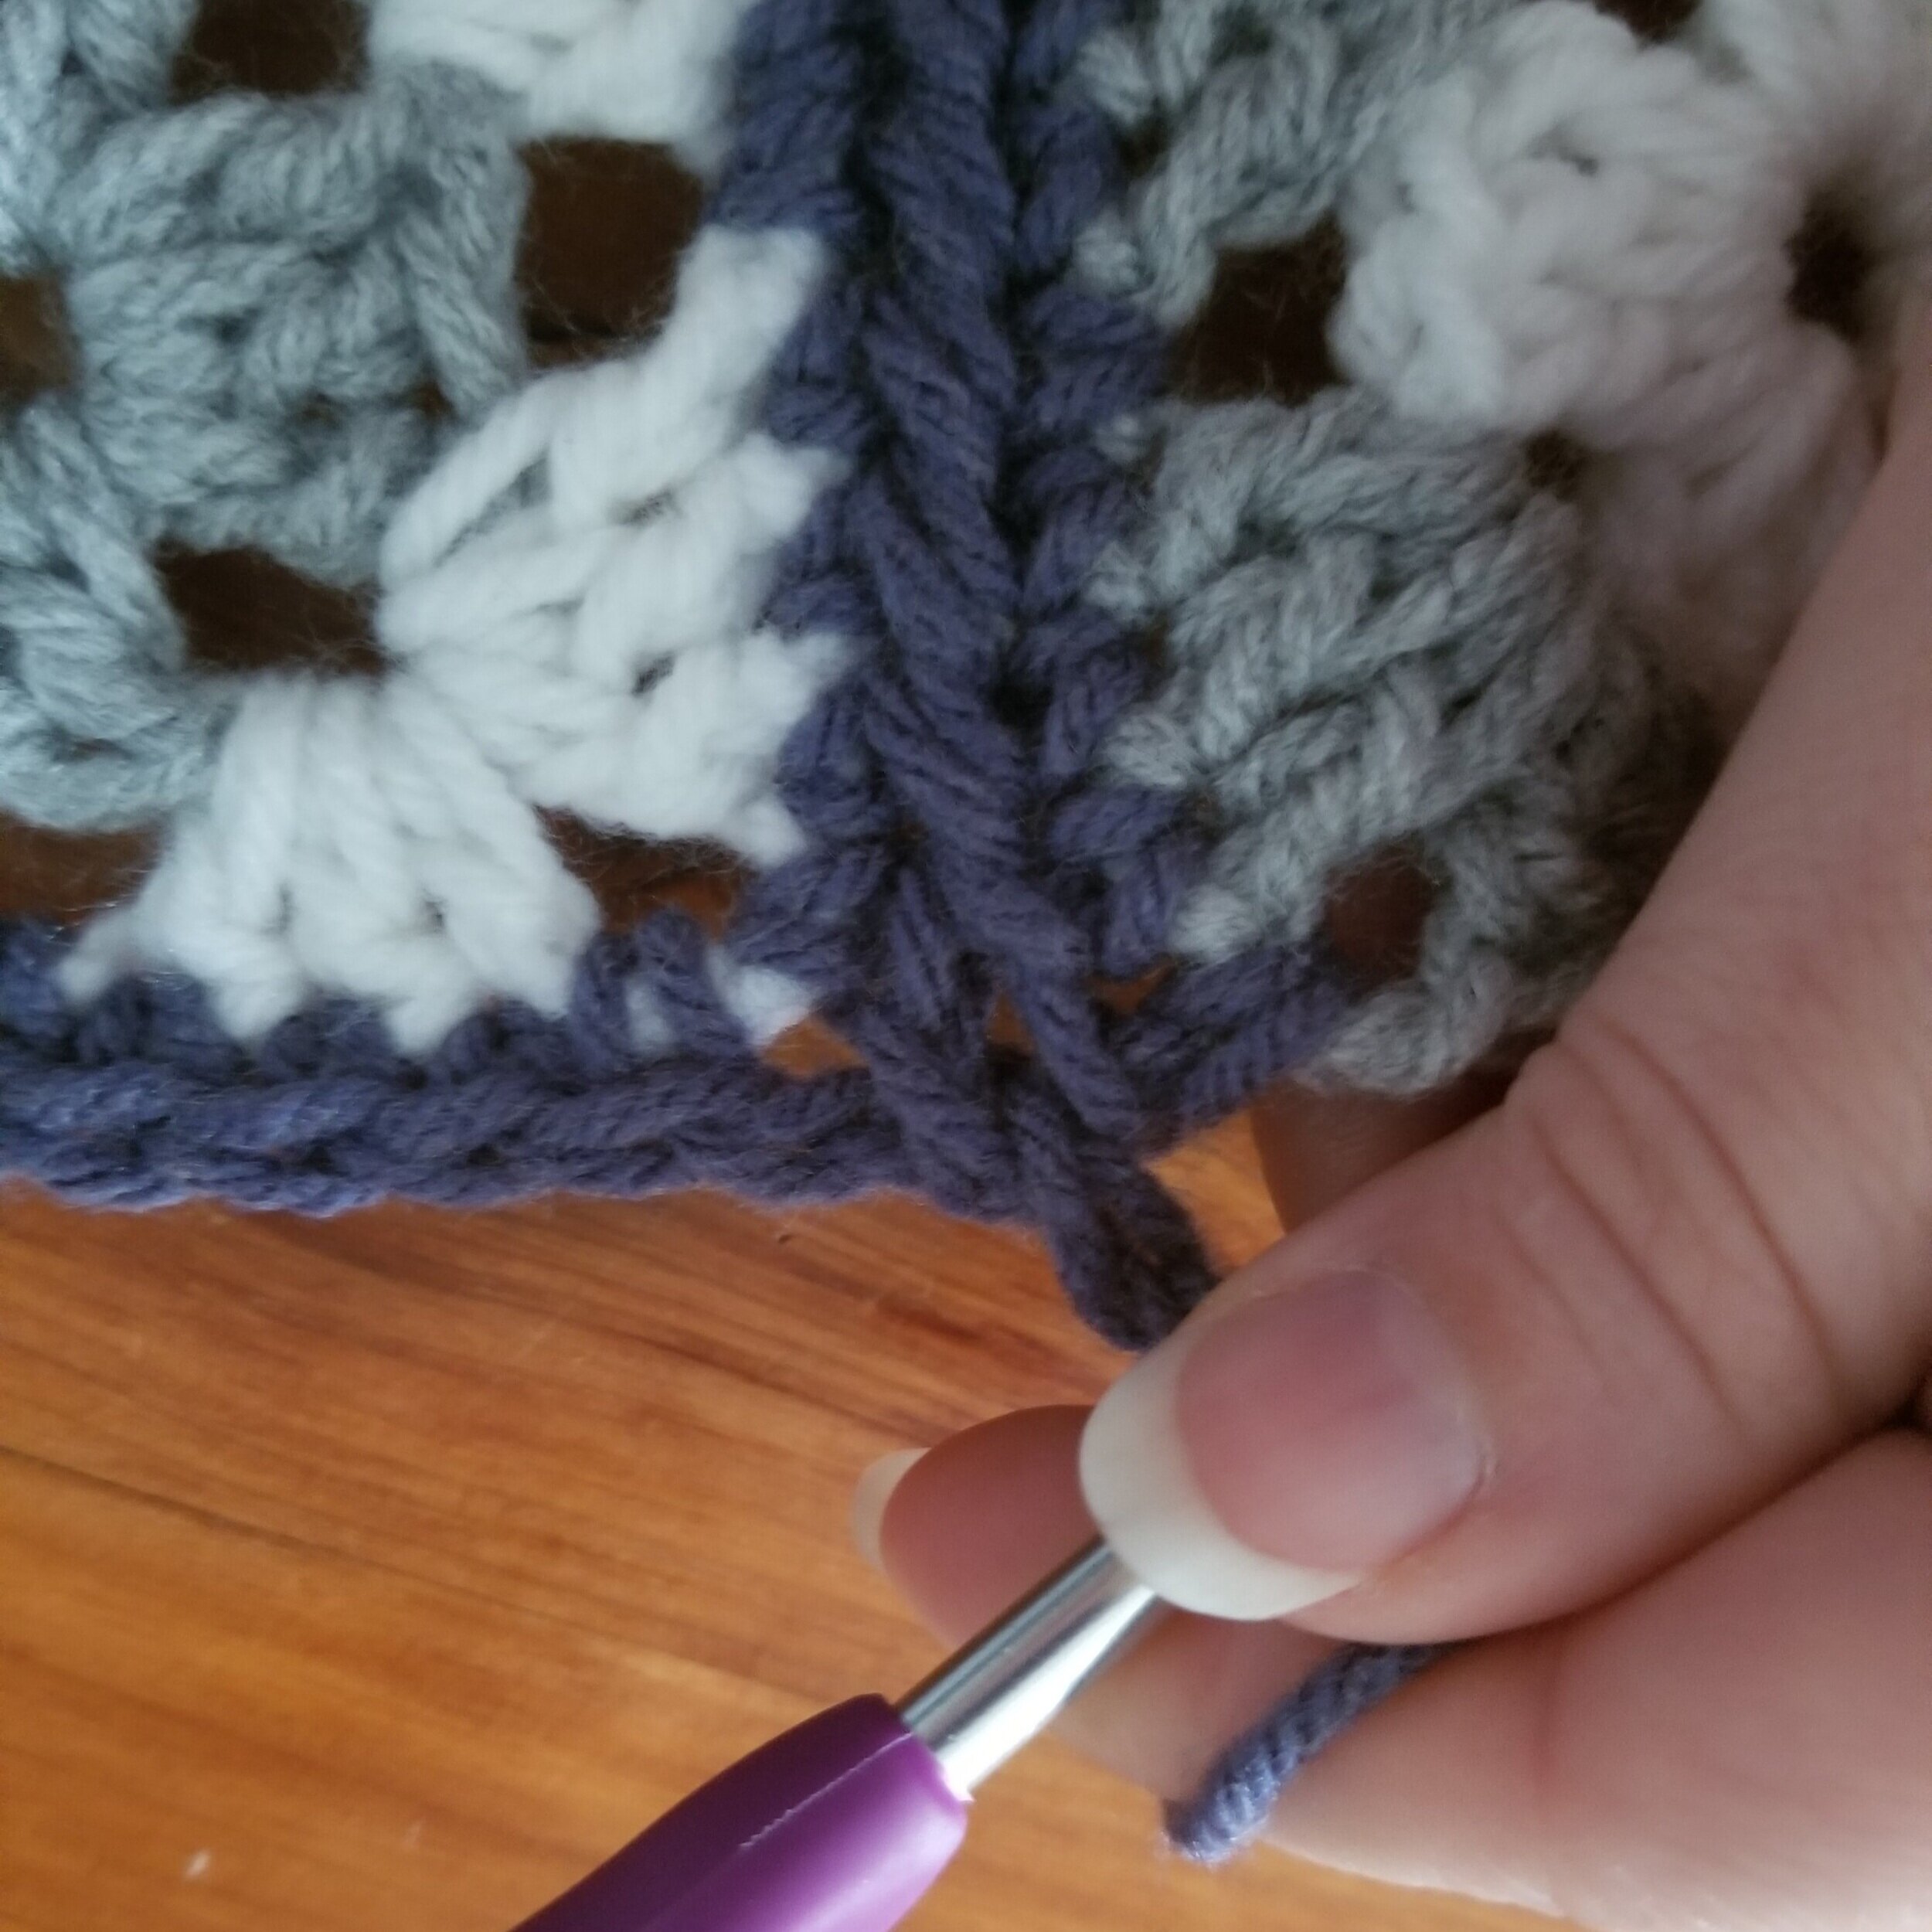
Because of this, I decided to make a short tutorial (kind of short, I guess) on a very simple way to continuously join squares. This method creates a solid, slightly twisted boarder around each square.
This tutorial is specifically for joining my Around the Square Case Pattern. But, you can use this method to join any squares for any project!
Here is the quick tutorial on how I joined the squares.
I love to see what you create!
Please share your creations with the community on social media by tagging @ravinsekaidesigns
I can’t wait to see the beautiful things you come up with!
Facebook: Ravin Sekai Designs
Ravelry: RavinSekai
Instagram: @ravinsekaidesigns
Pinterest: Ravin Sekai Designs
Patreon: Ravin Sekai Designs
Save for Later!
Pin to Pinterest
The Tutorial:
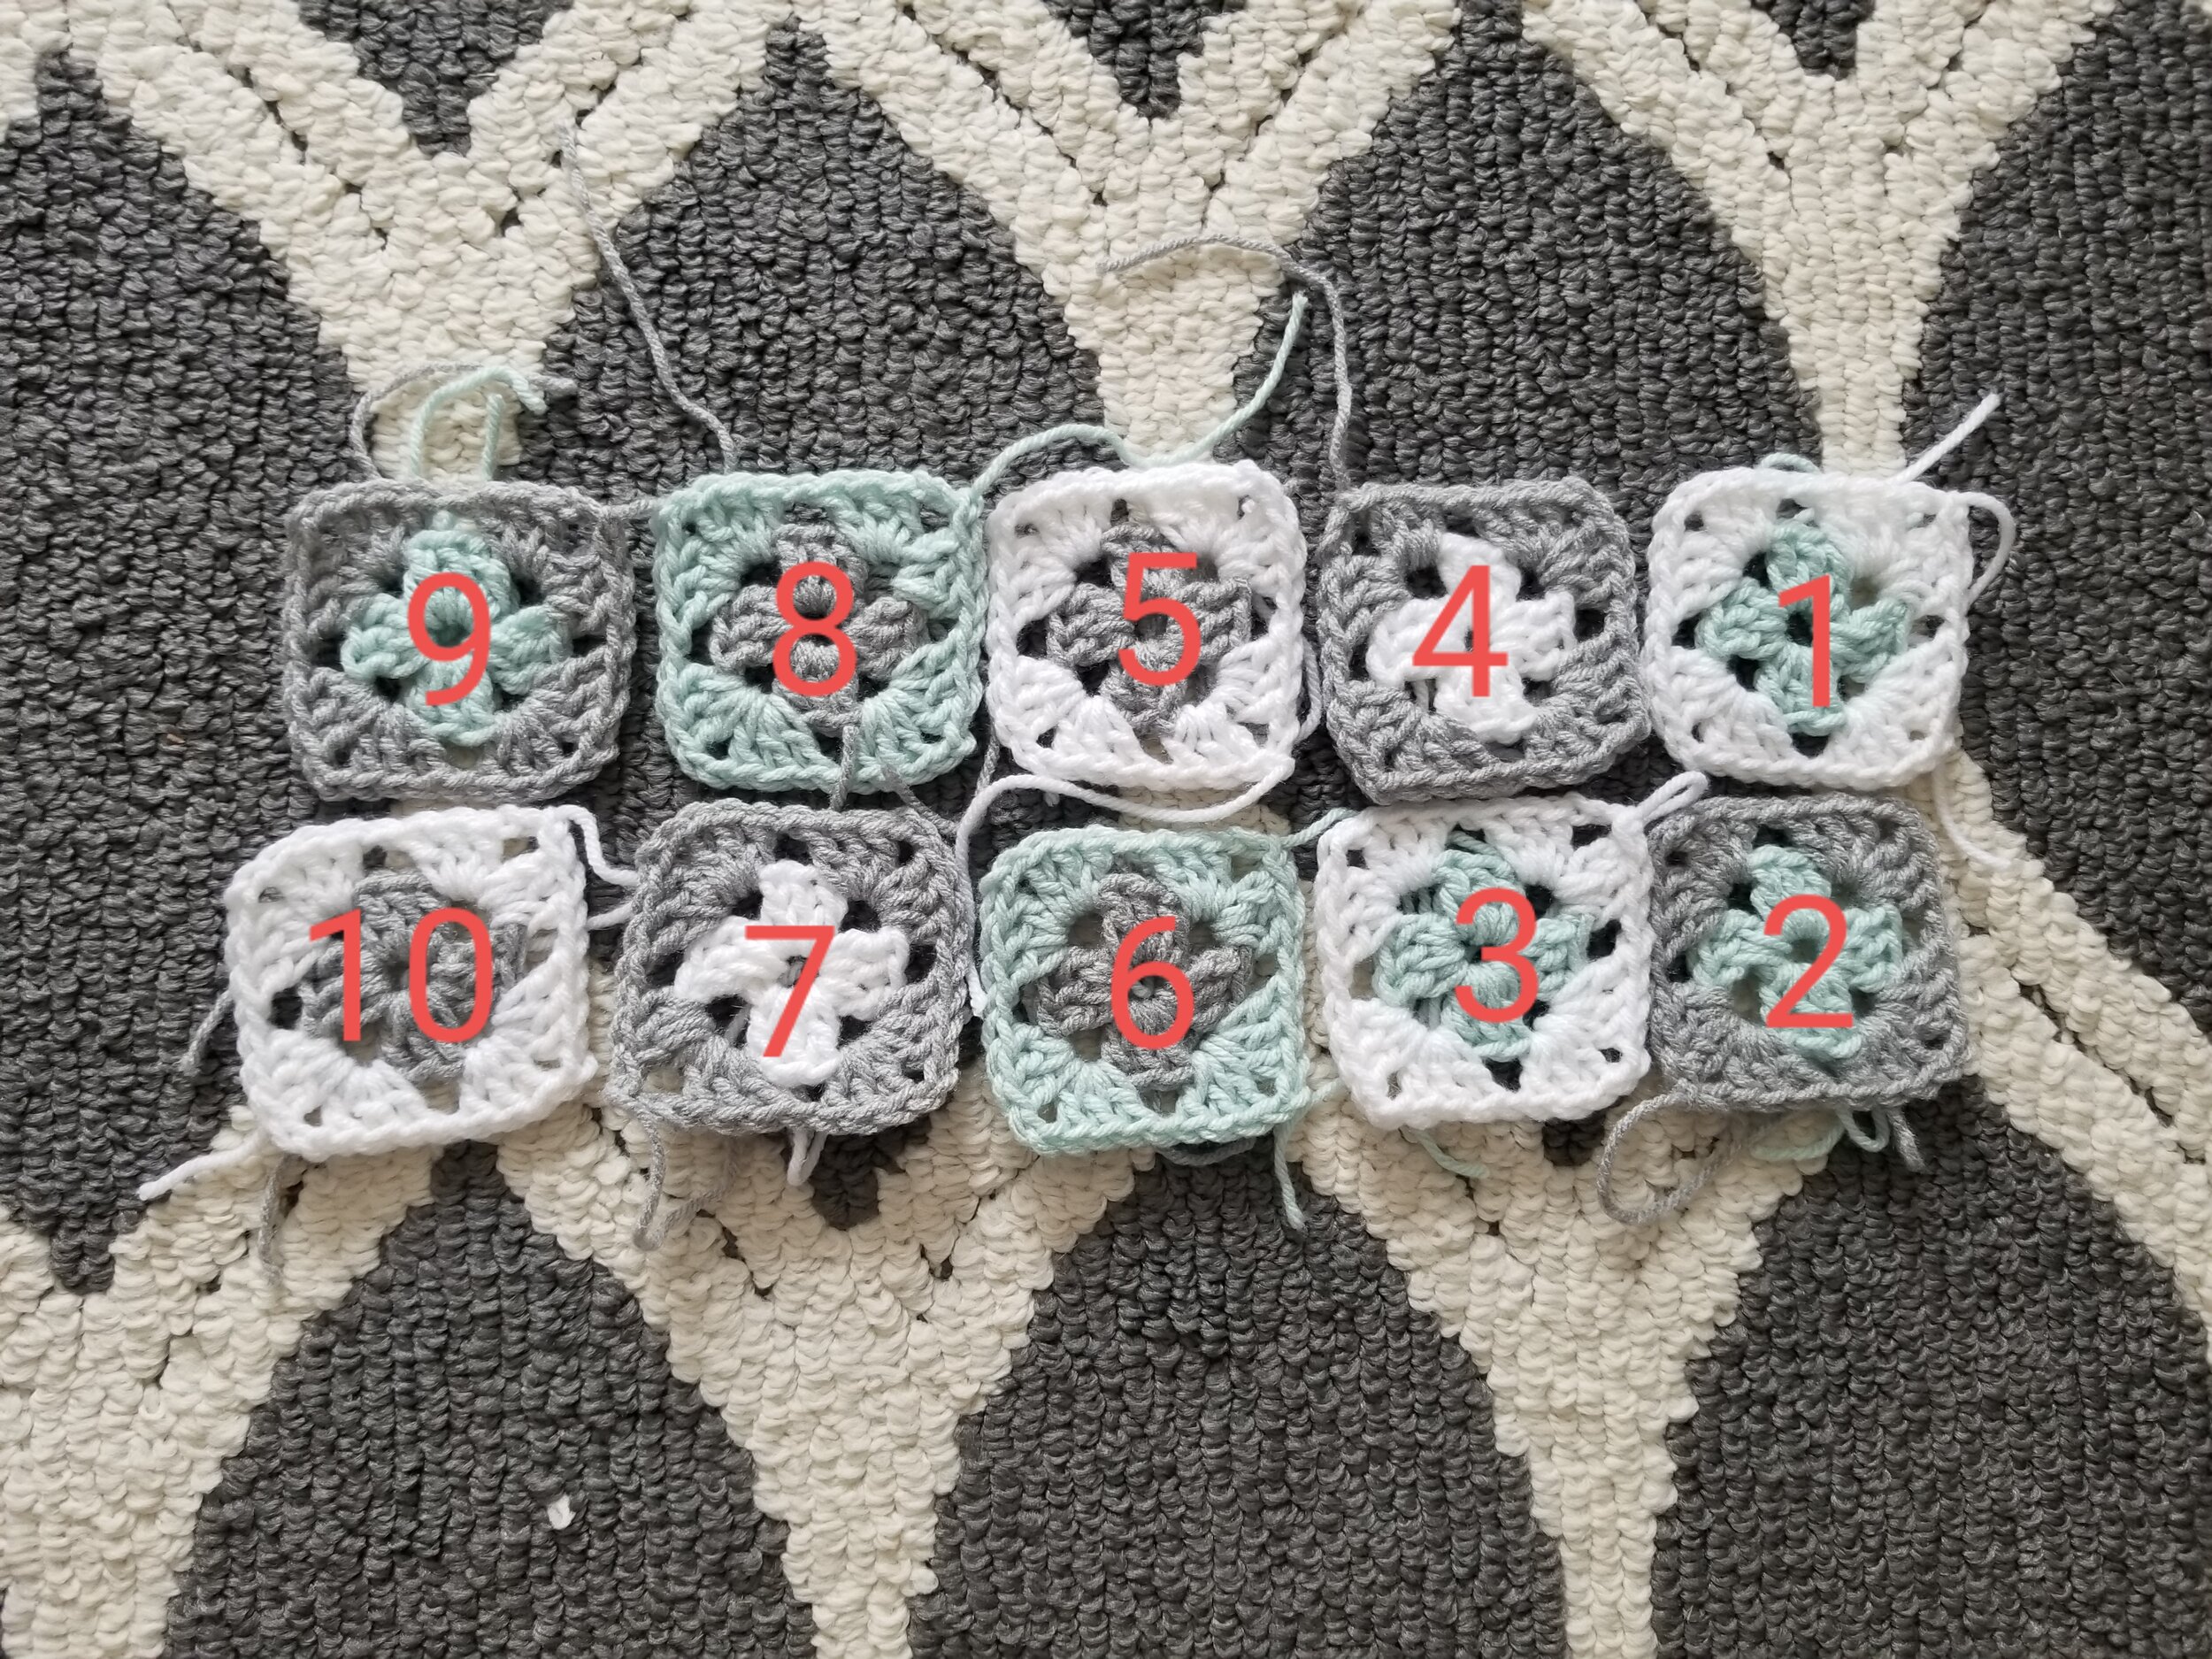
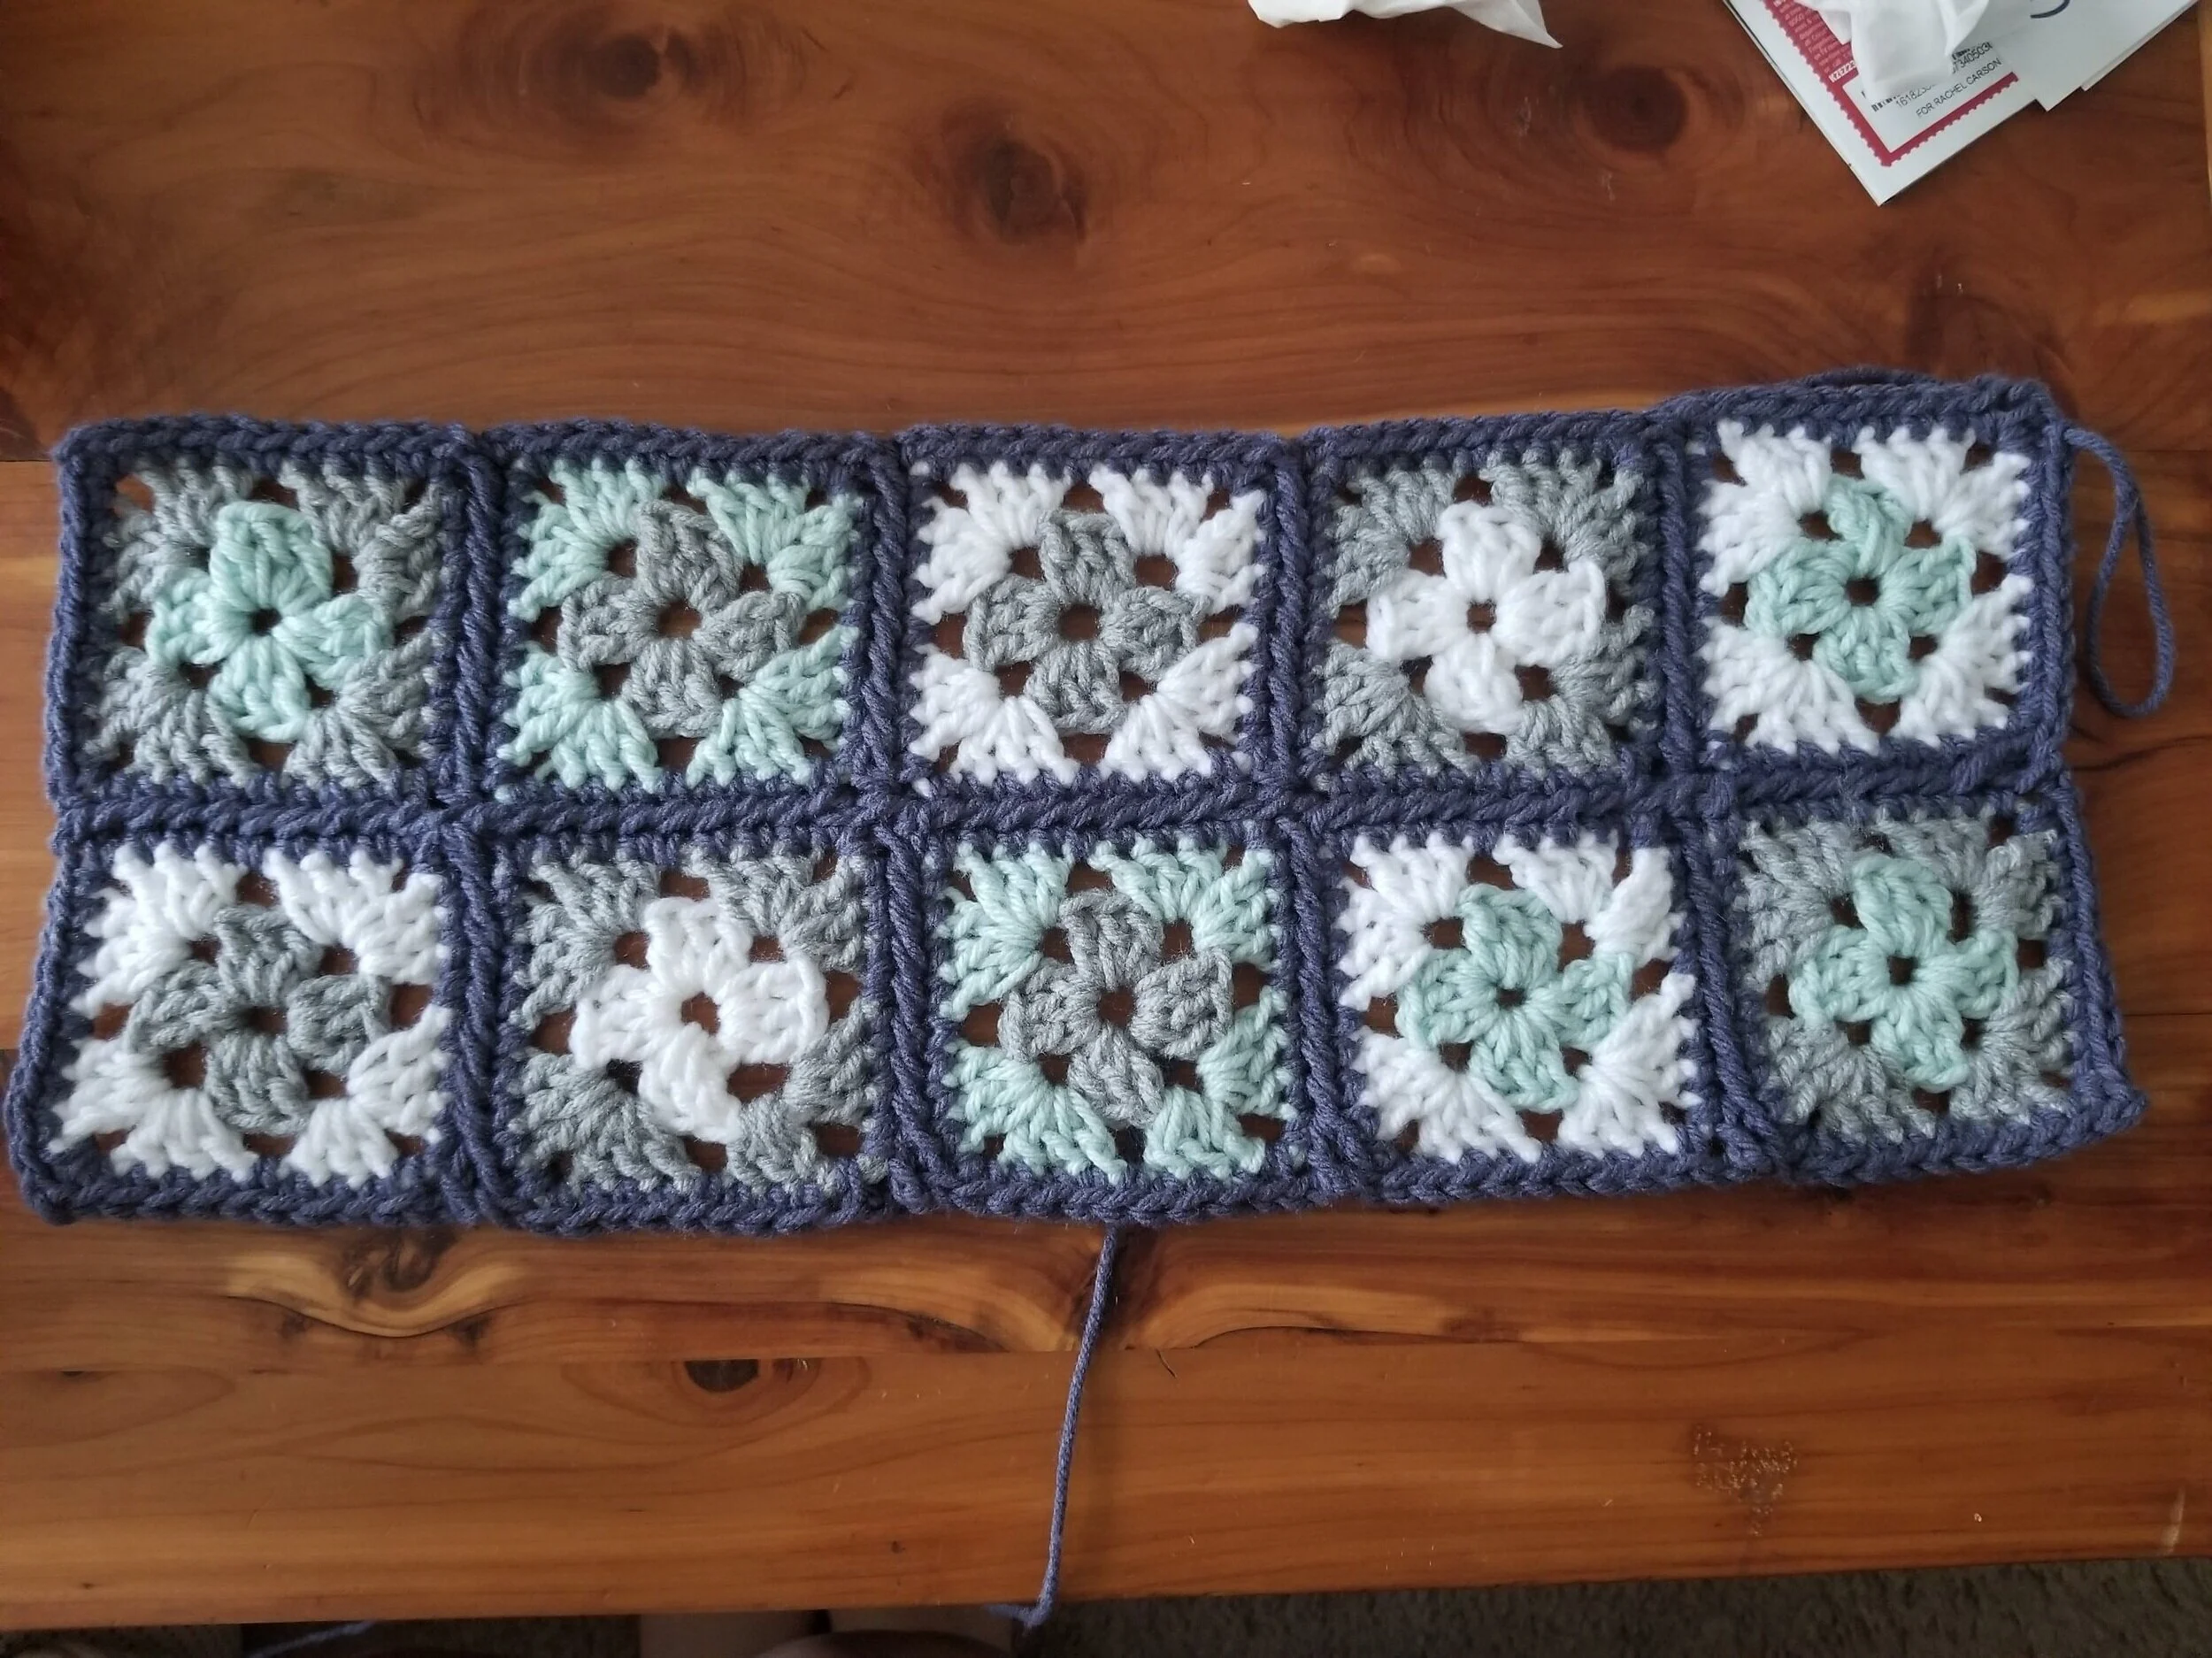
First off, You will be joining the squares in this order.
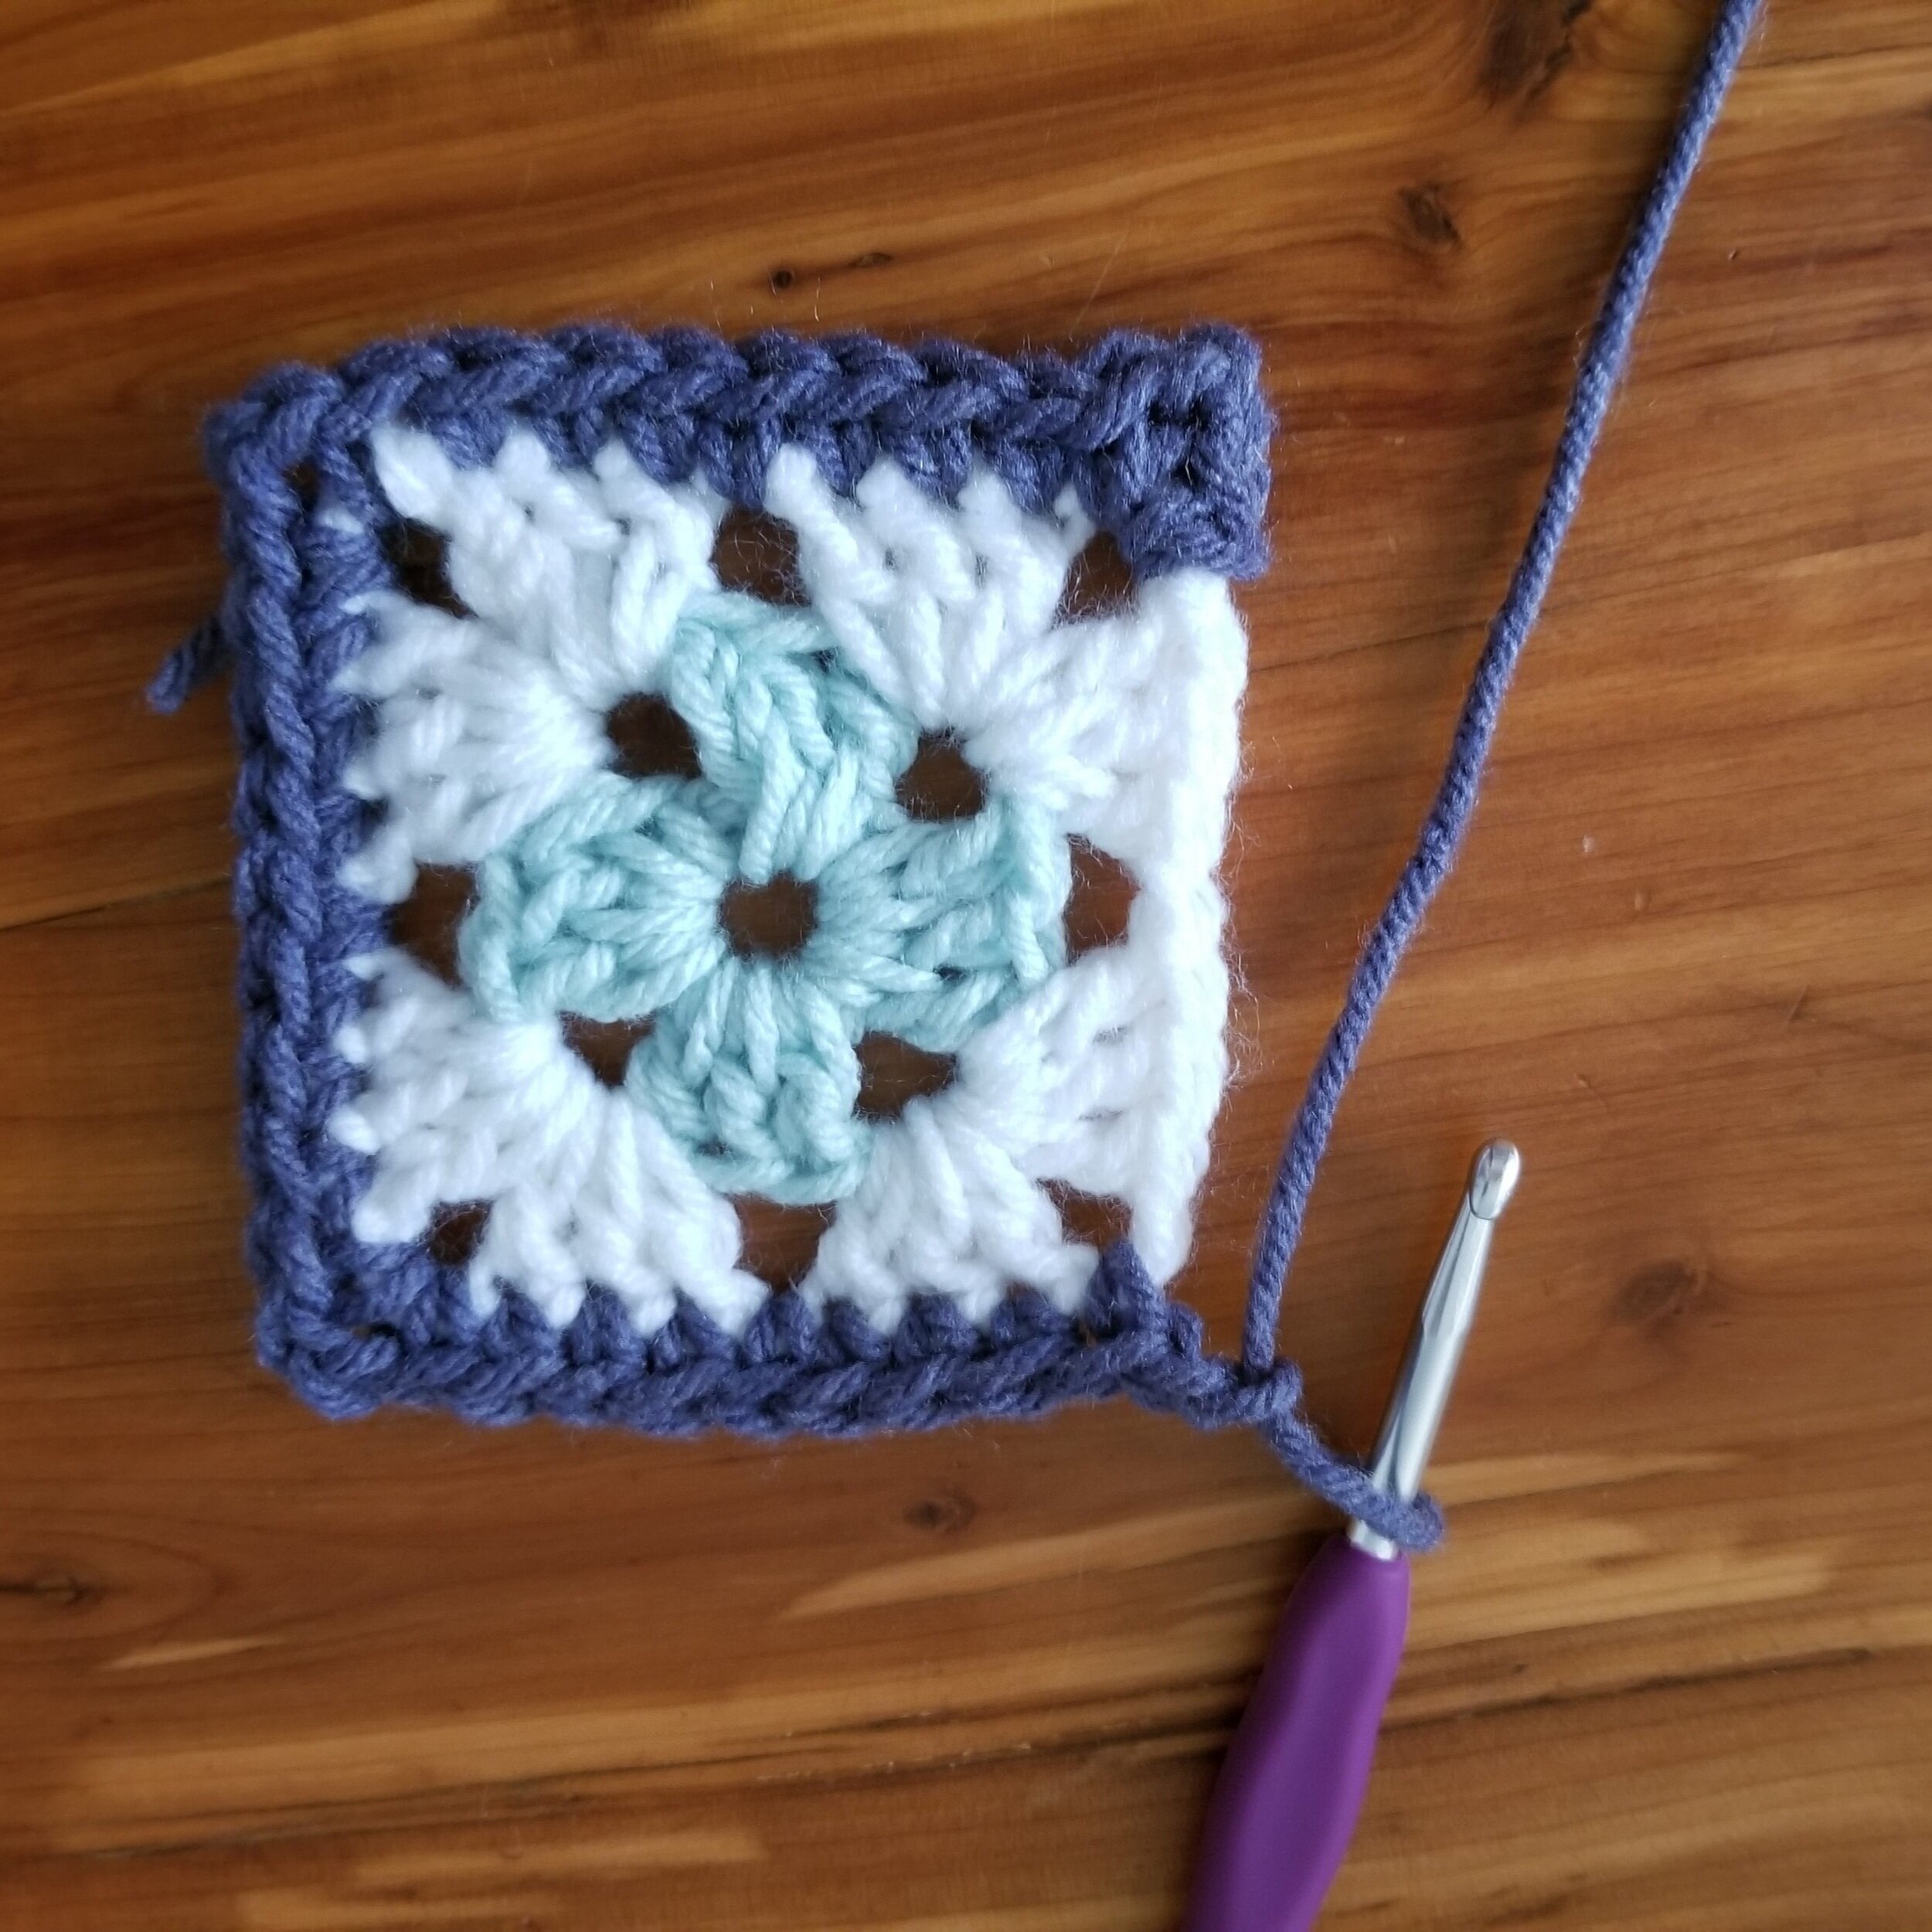
Step 1: Starting in any corner of square 1, [[(sc, chain 2, sc) in the corner. sc along side]]. Repeat [[ ]] until 3 sides of Square 1 are worked. 1 sc in final corner, ch2.
Step 2: Taking square 2, sc in any corner, remove hook from loop

Step 3: Insert hook in next st of Square 1 and pull loop from Square 2 through.
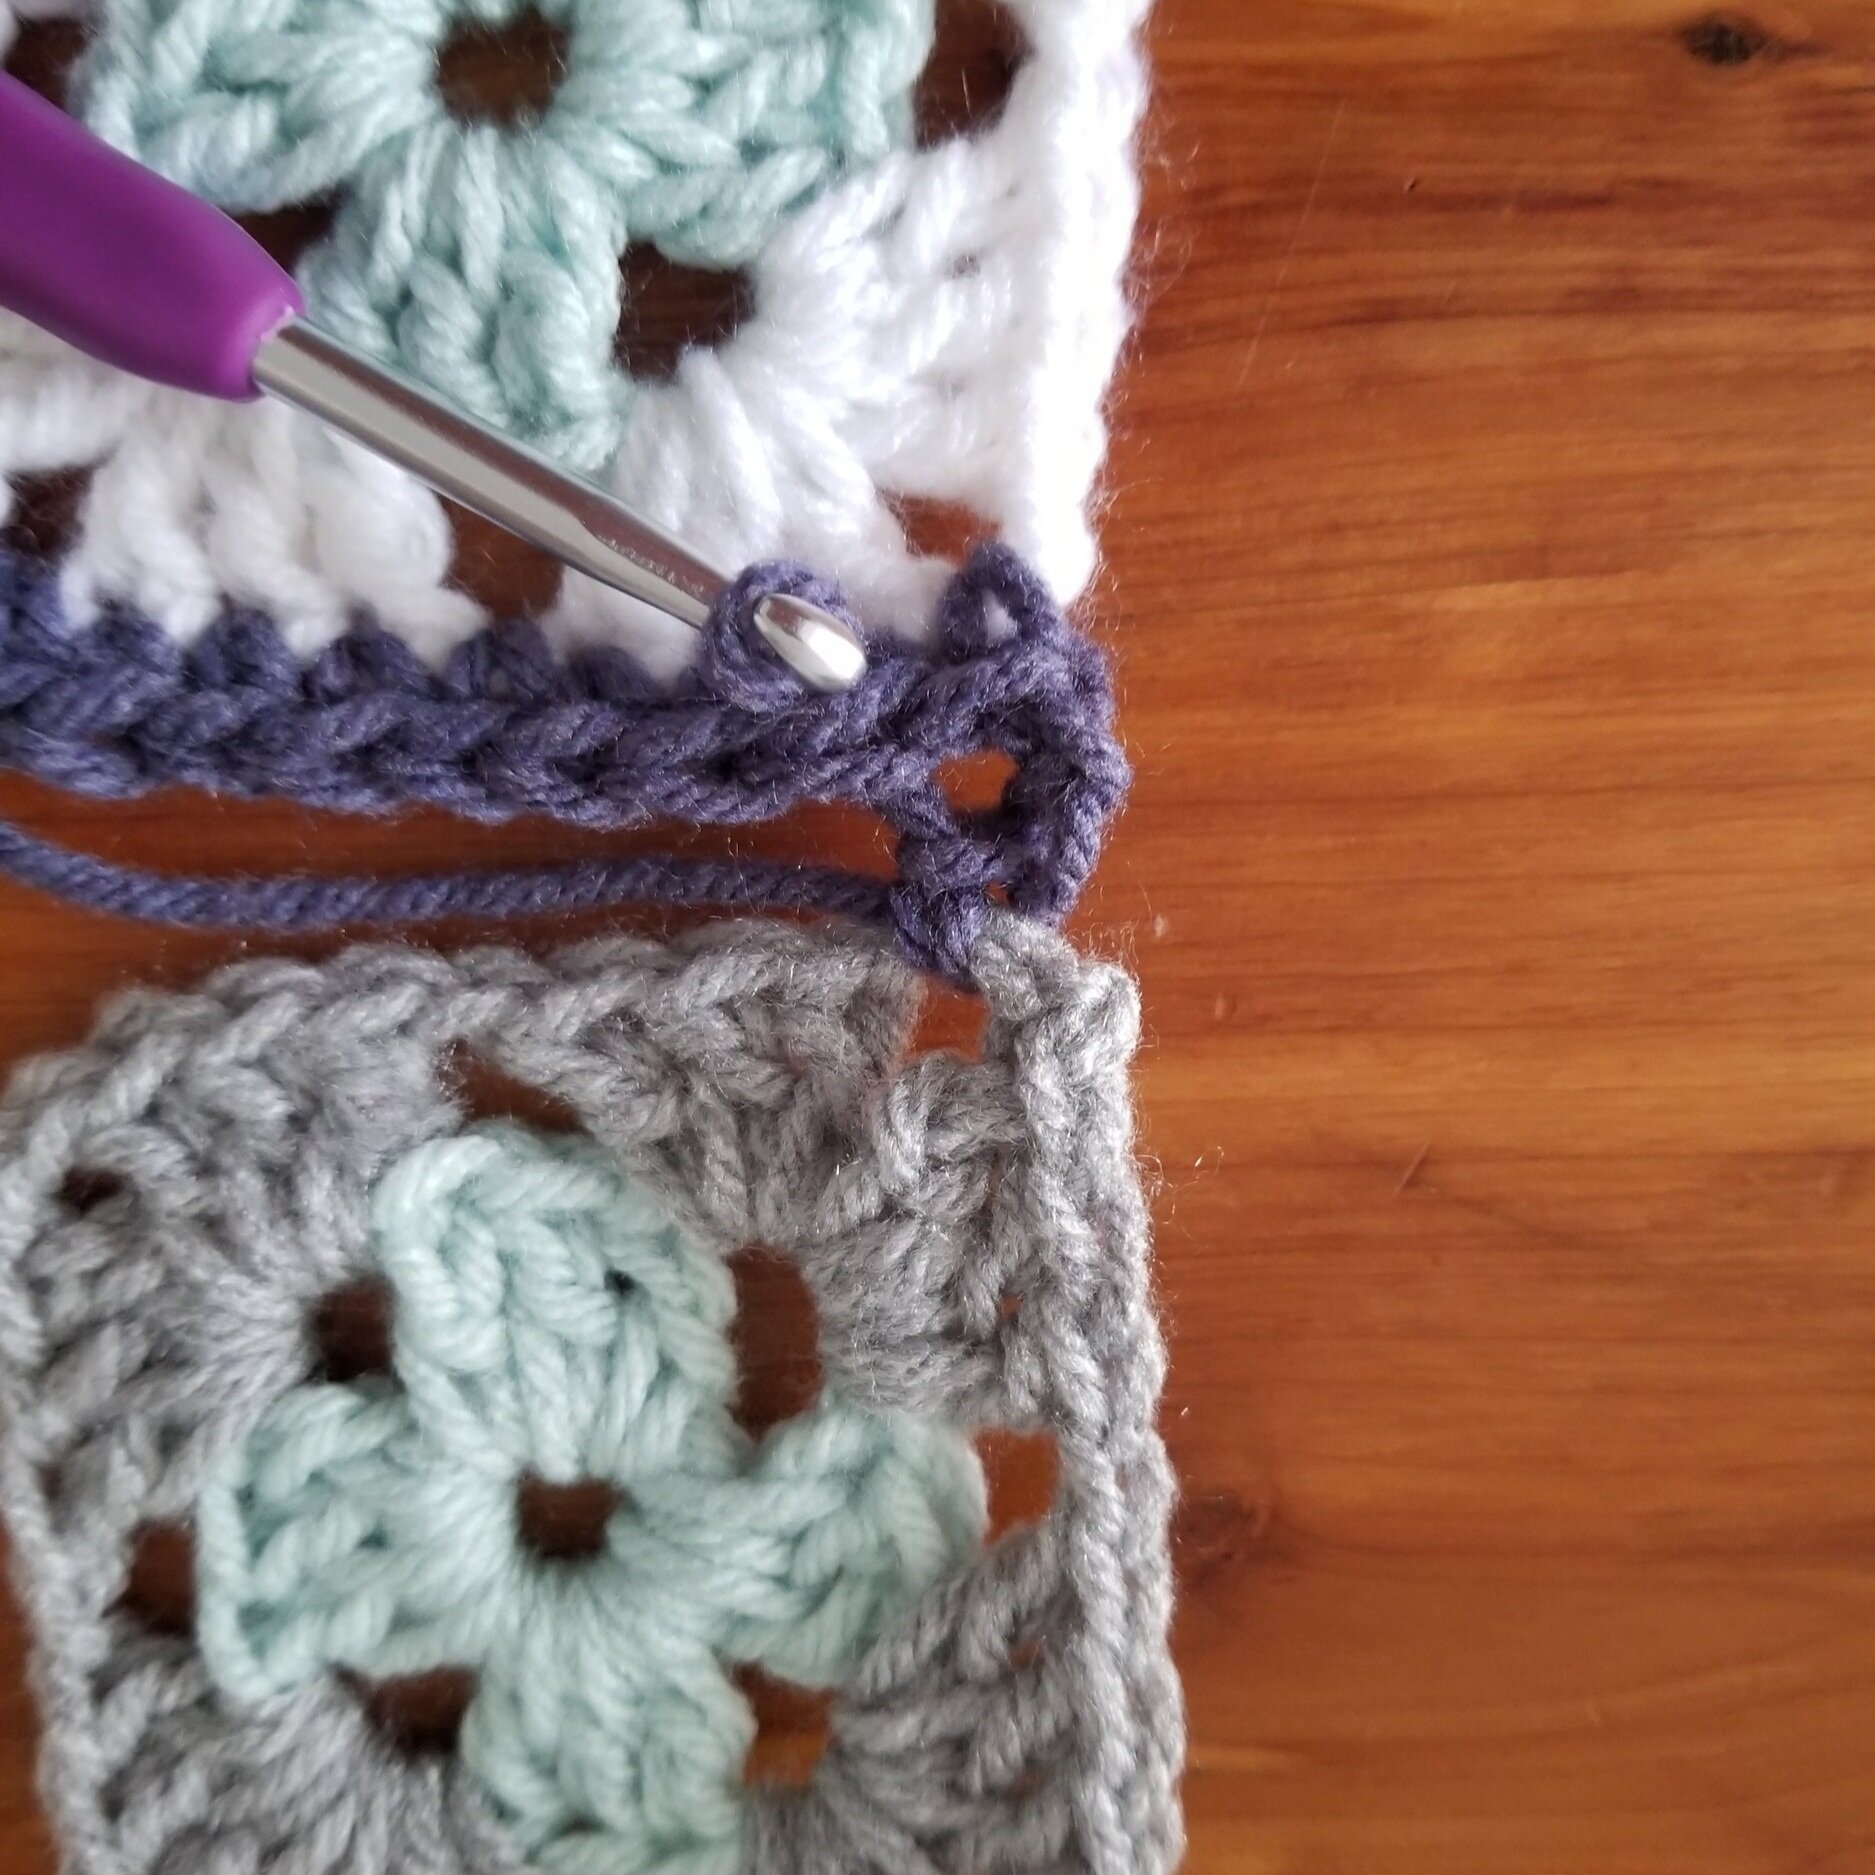
Step 4: Sc into next st of square 2. And remove hook from loop again. Then, pull through the next st on square 1 as you did in Step 3. Continue in this manner until you reach the last st on square 2 before the corner.
Step 5: (Sc in corner st, ch 2, sc) all in square 2’s corner and sc in each stitch along next side. 1Sc in next corner. Ch 2 (if attaching more squares in this row, you will finish this square like square one, then repeat steps 2-5 until all squares in row are joined leaving 2 sides of last square unworked).

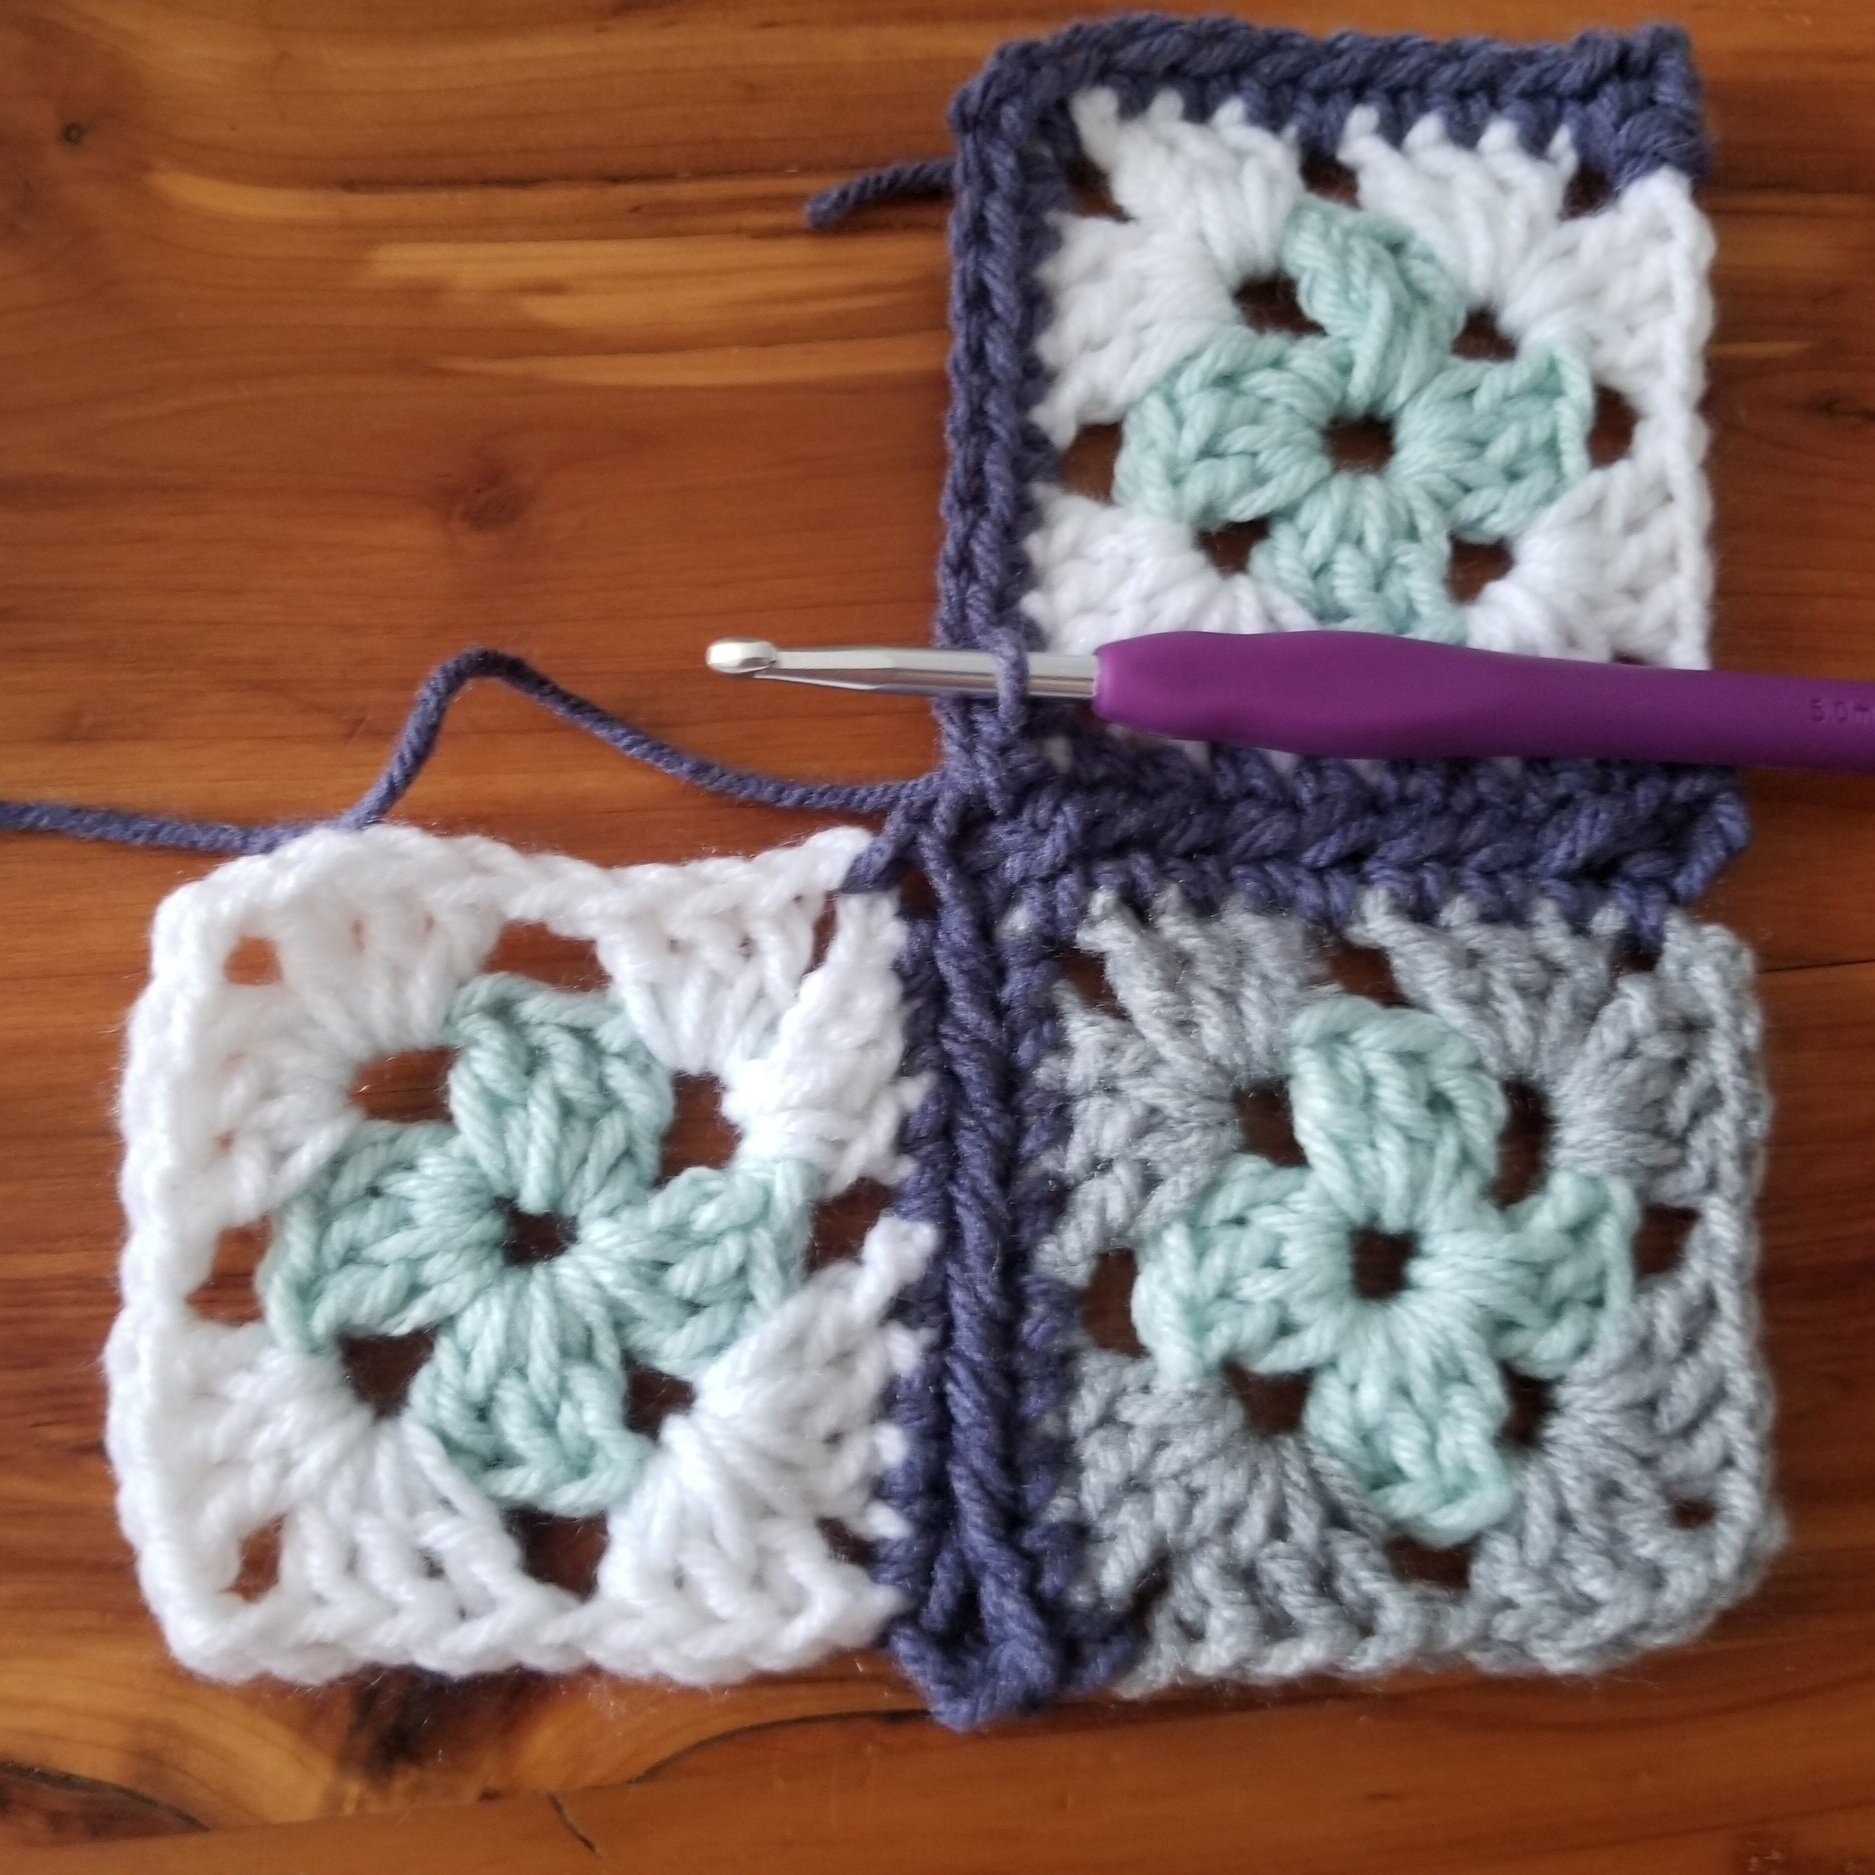
Step 6: Attach square 3 to square 2 using the same method, Step 2 - Step 4. Then, 1sc in corner, ch2

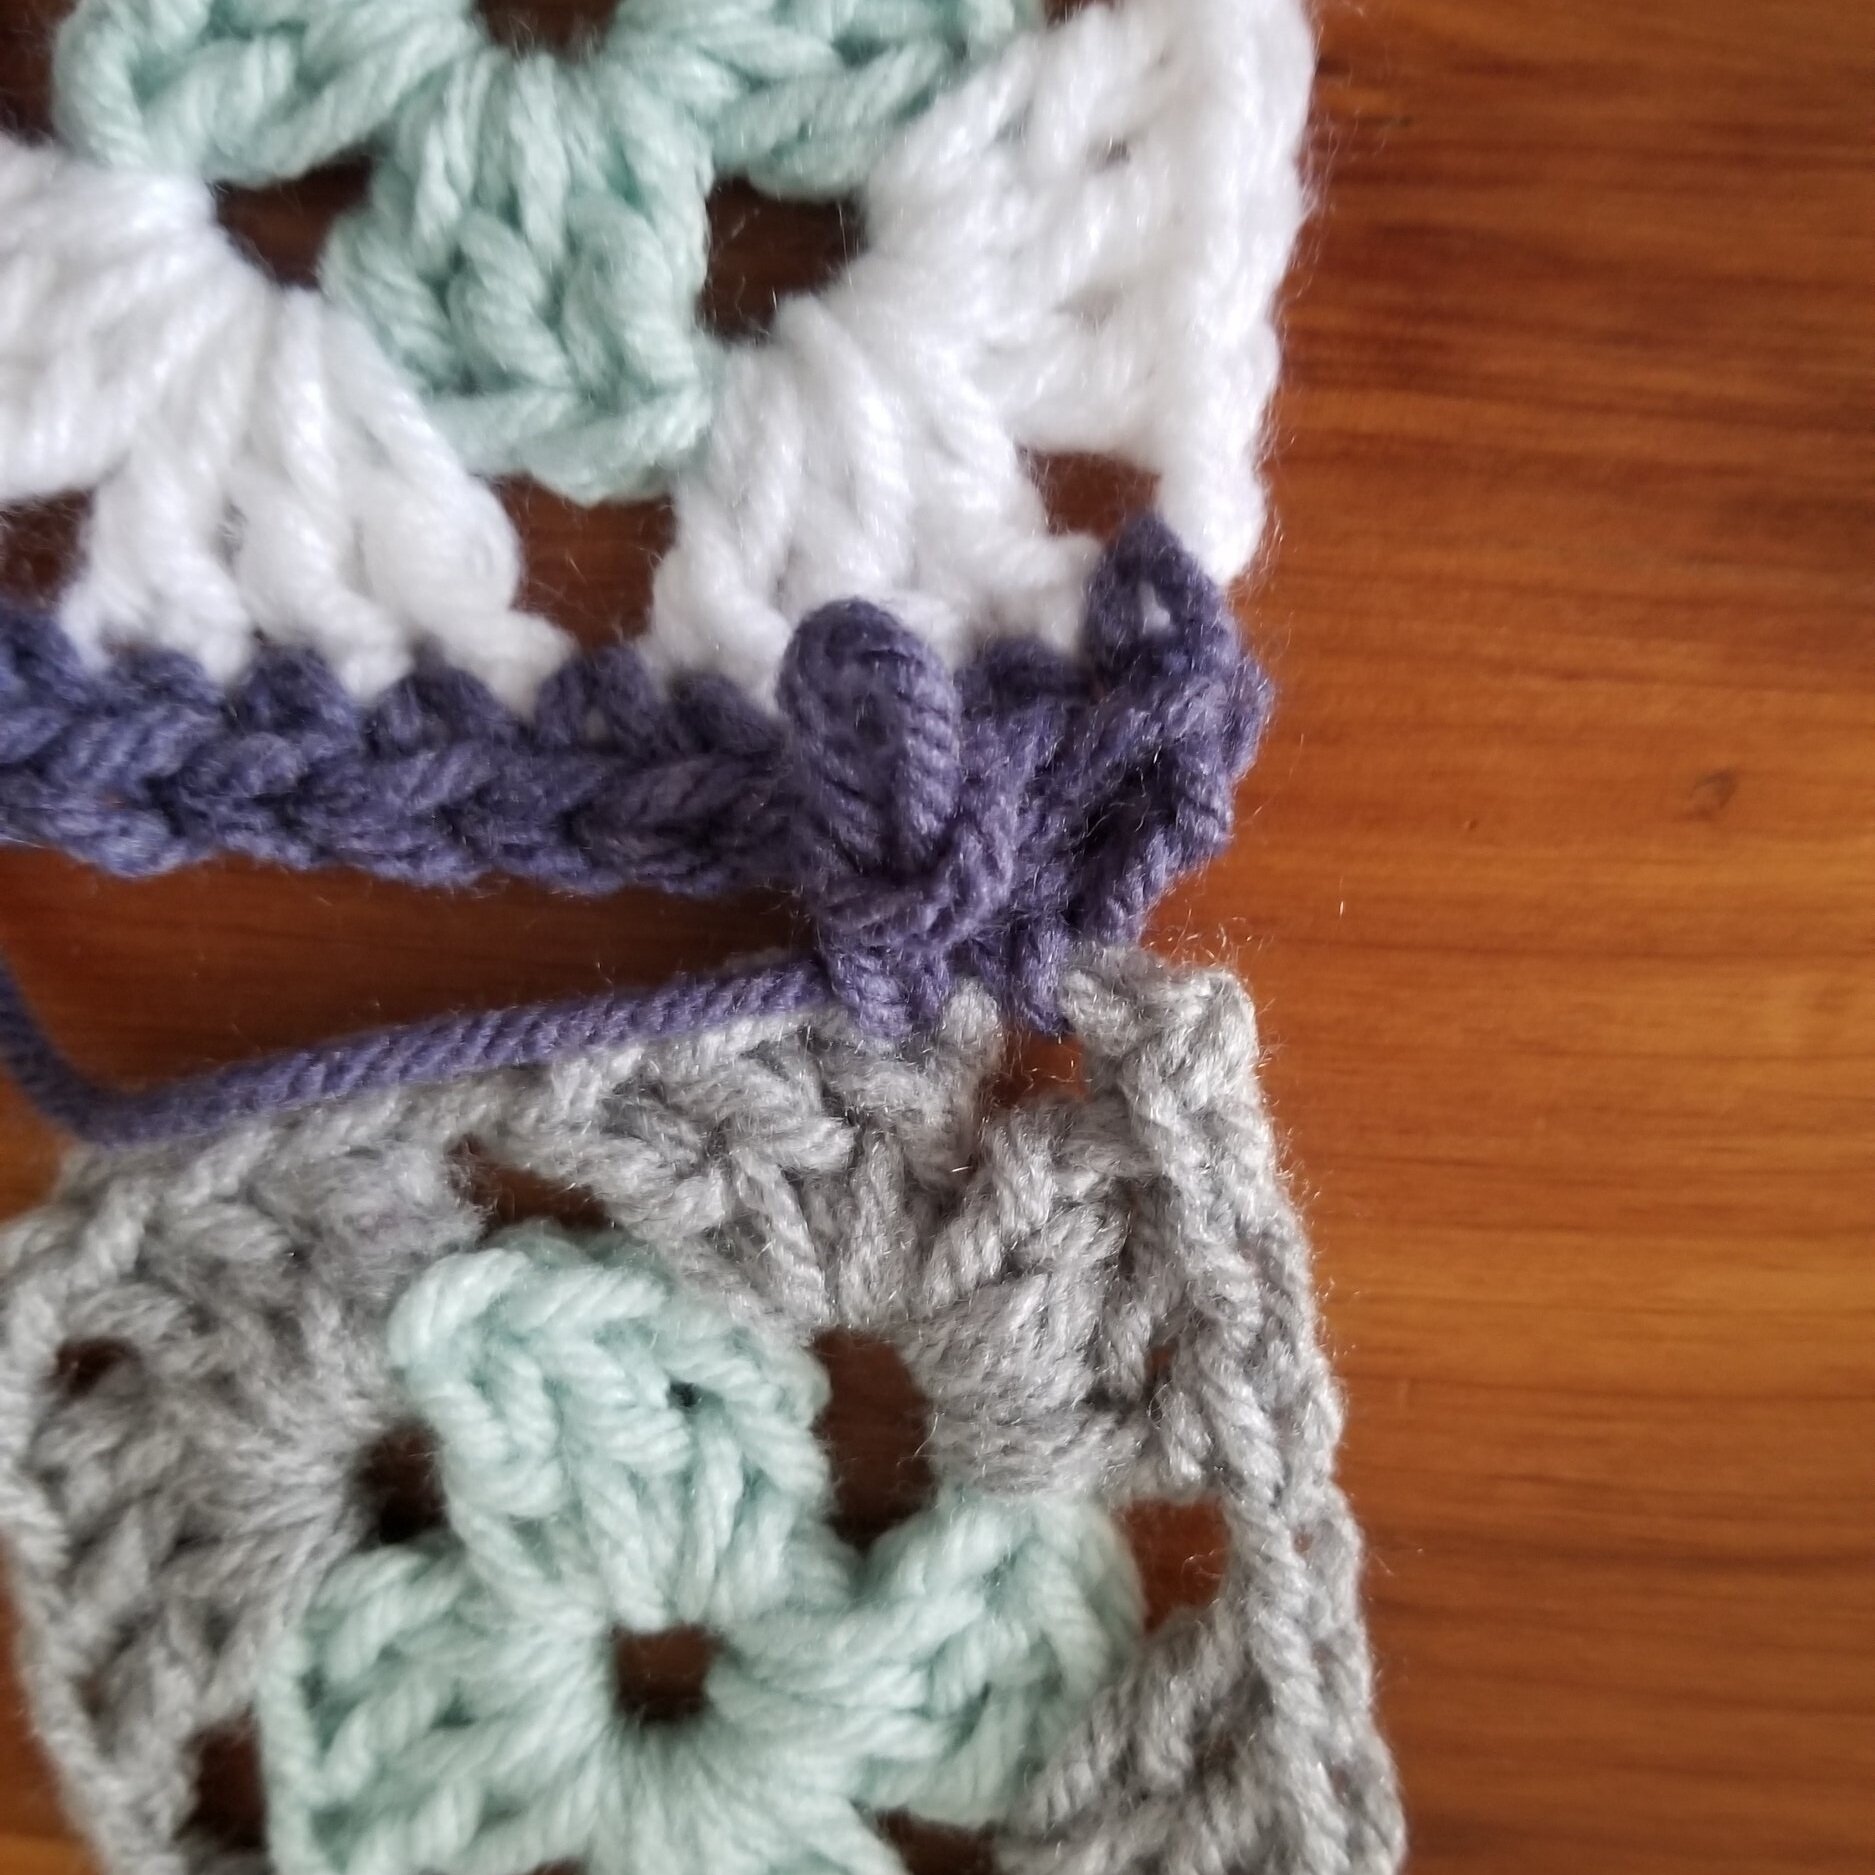
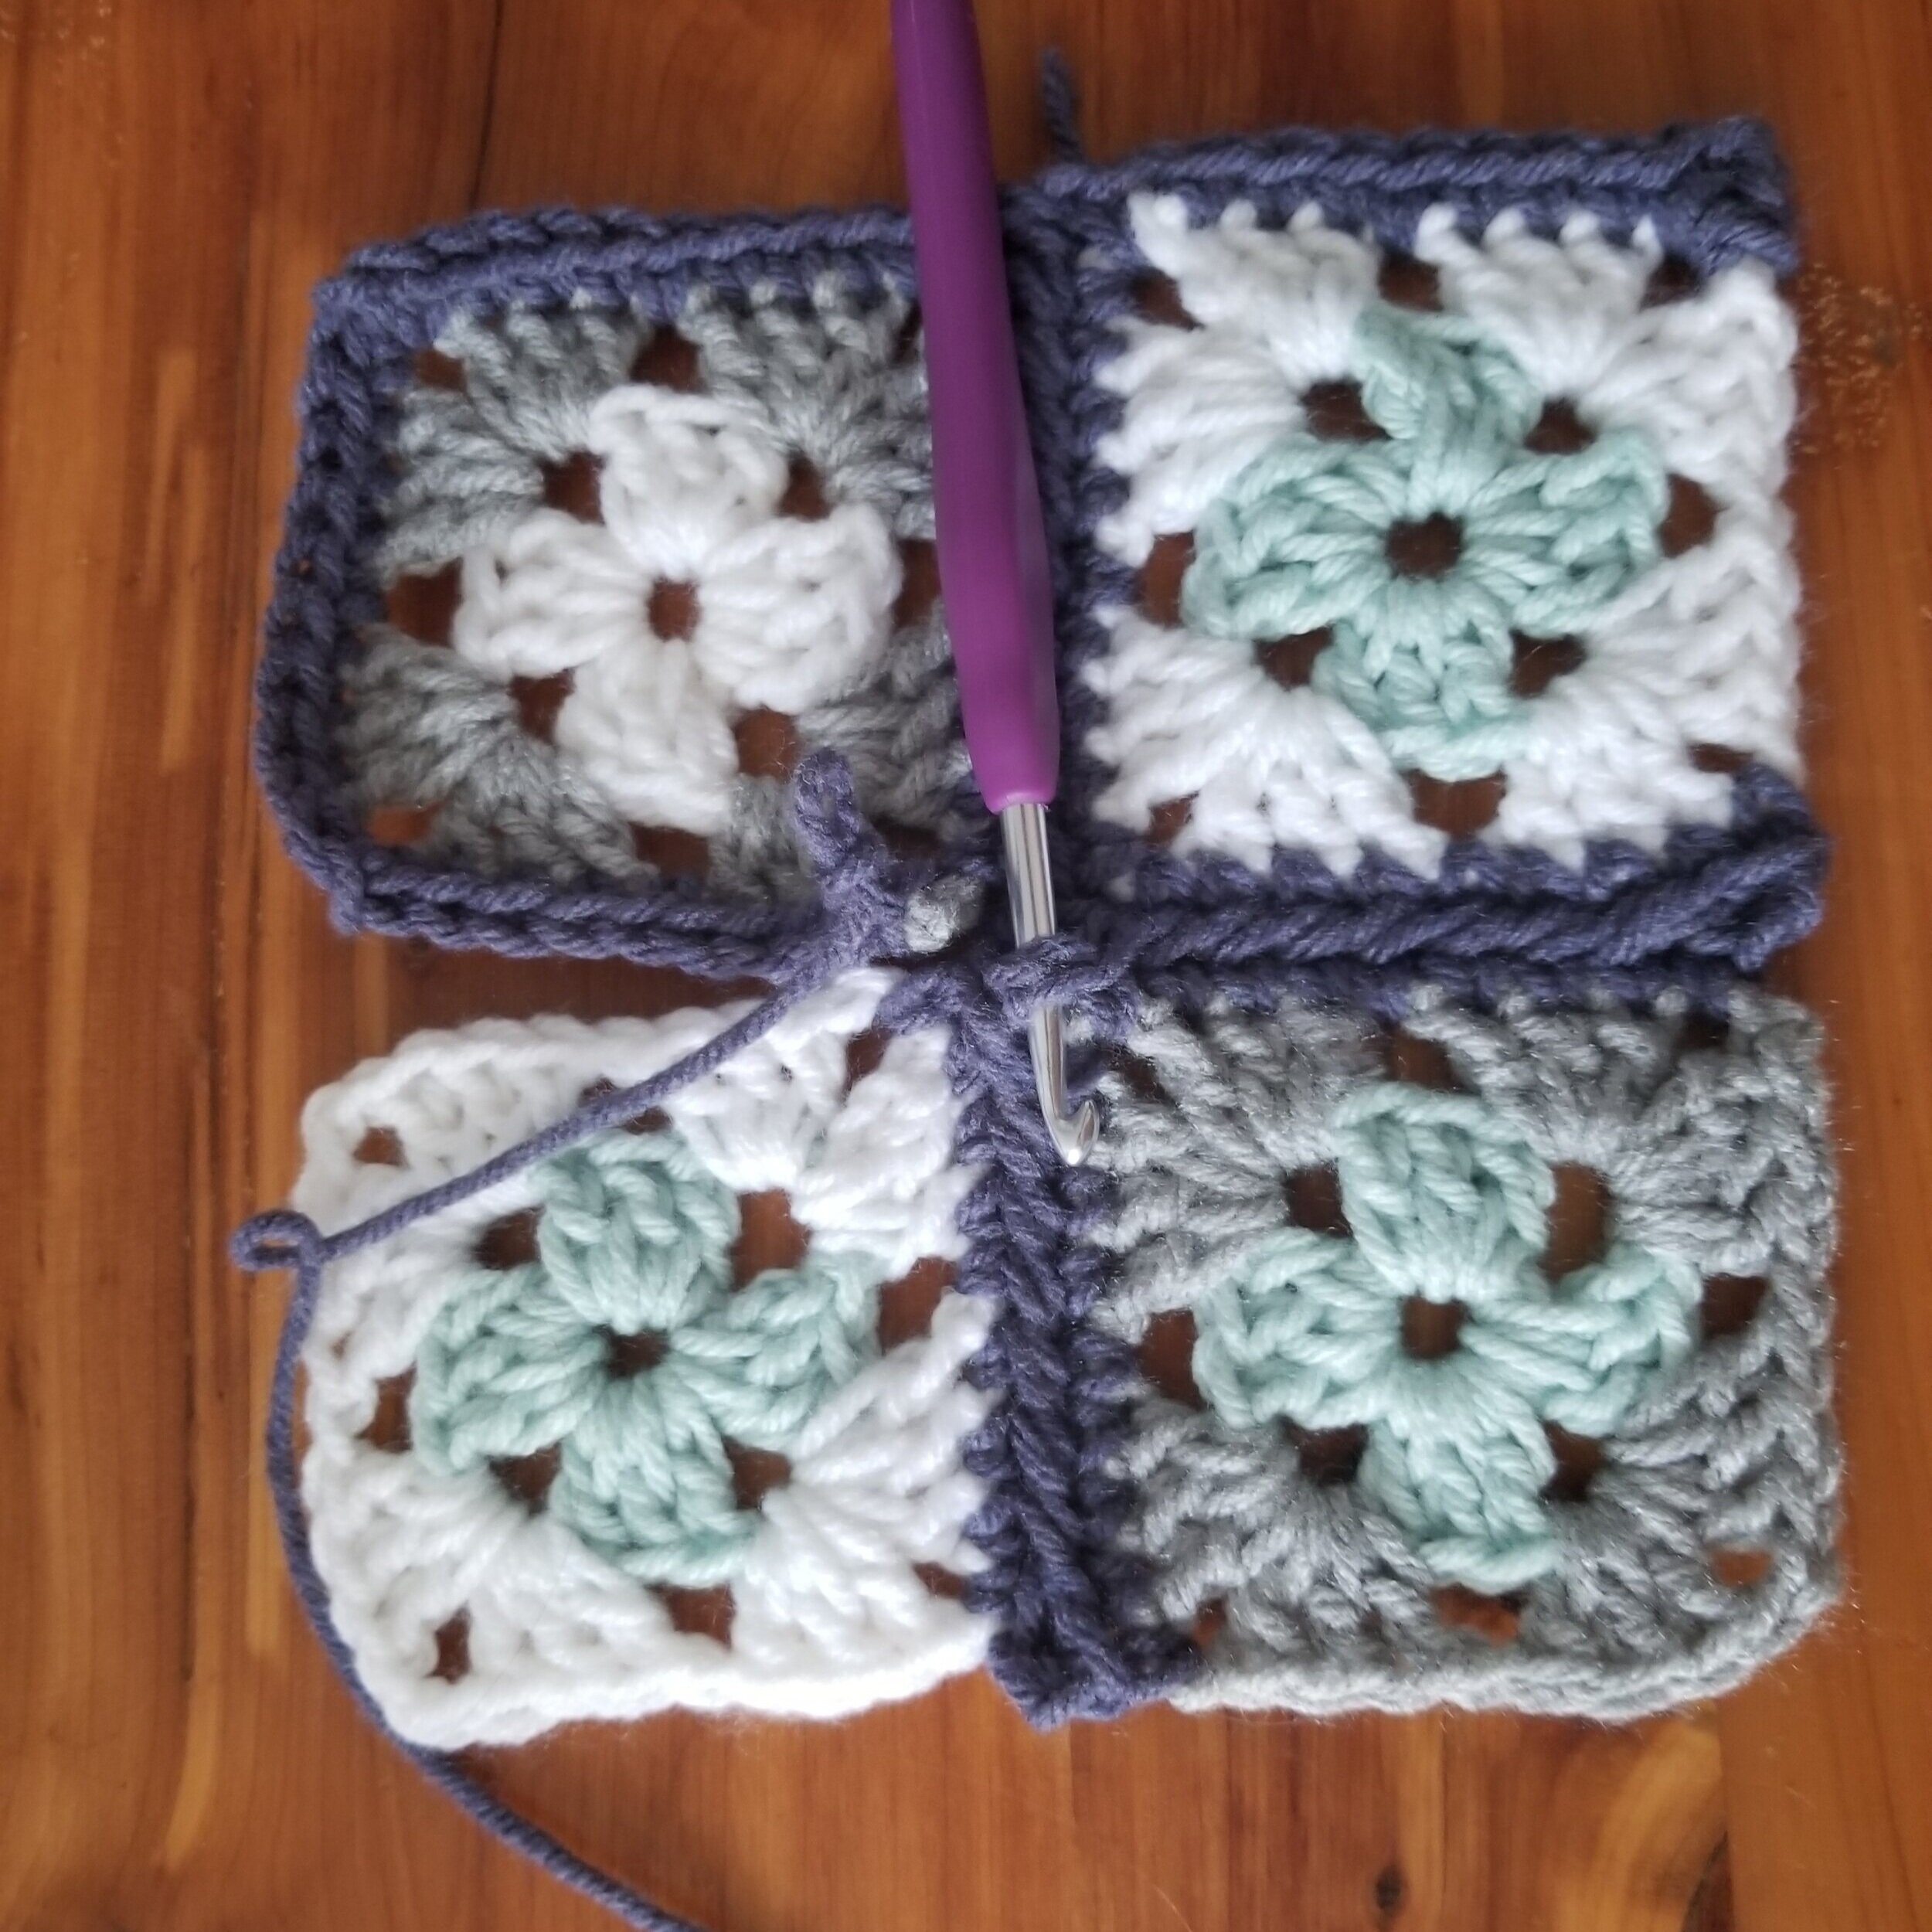
Step 7: remove hook from loop, insert hook in ch2 corner of square 1 (diagonal) and pull through. Ch1.
Step 8: repeat Step 2 - Step 4 to attach square 4 to square 1. At corner, sc1 in corner ch 2, slip loop off hook, insert hook into corner of square 1, pull loop through, ch1 and sc in corner of square 4 again.

Step 9: finish next 3 sides of square 4.
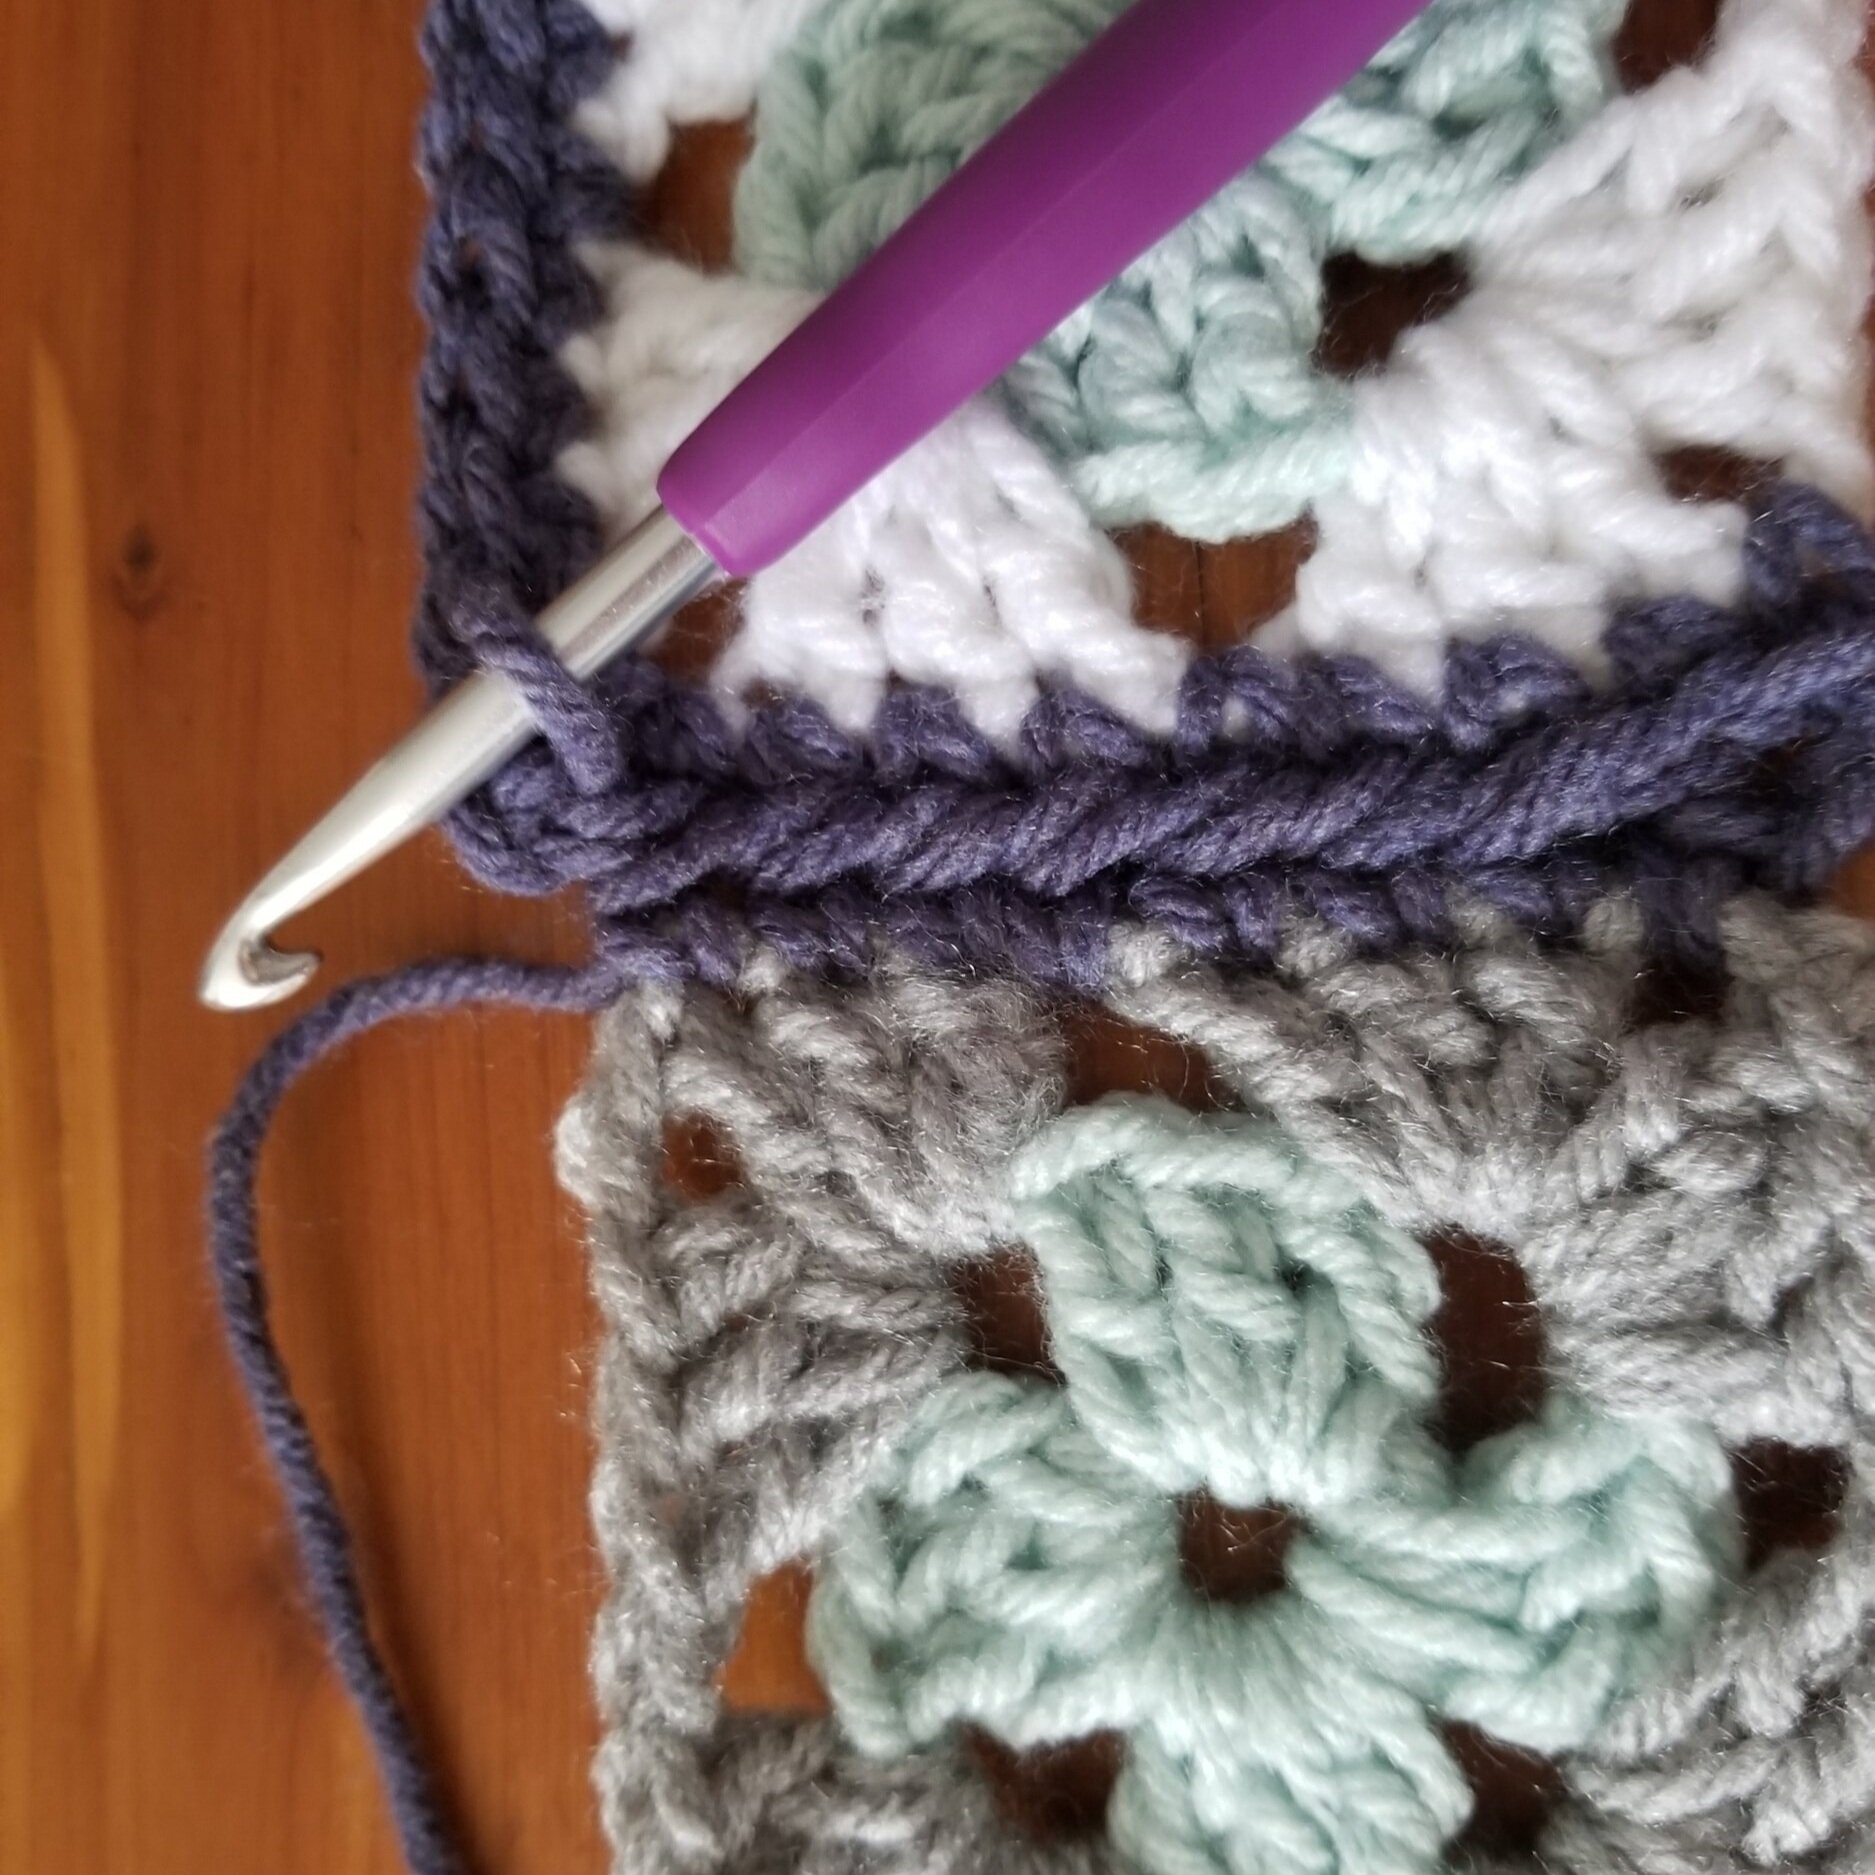
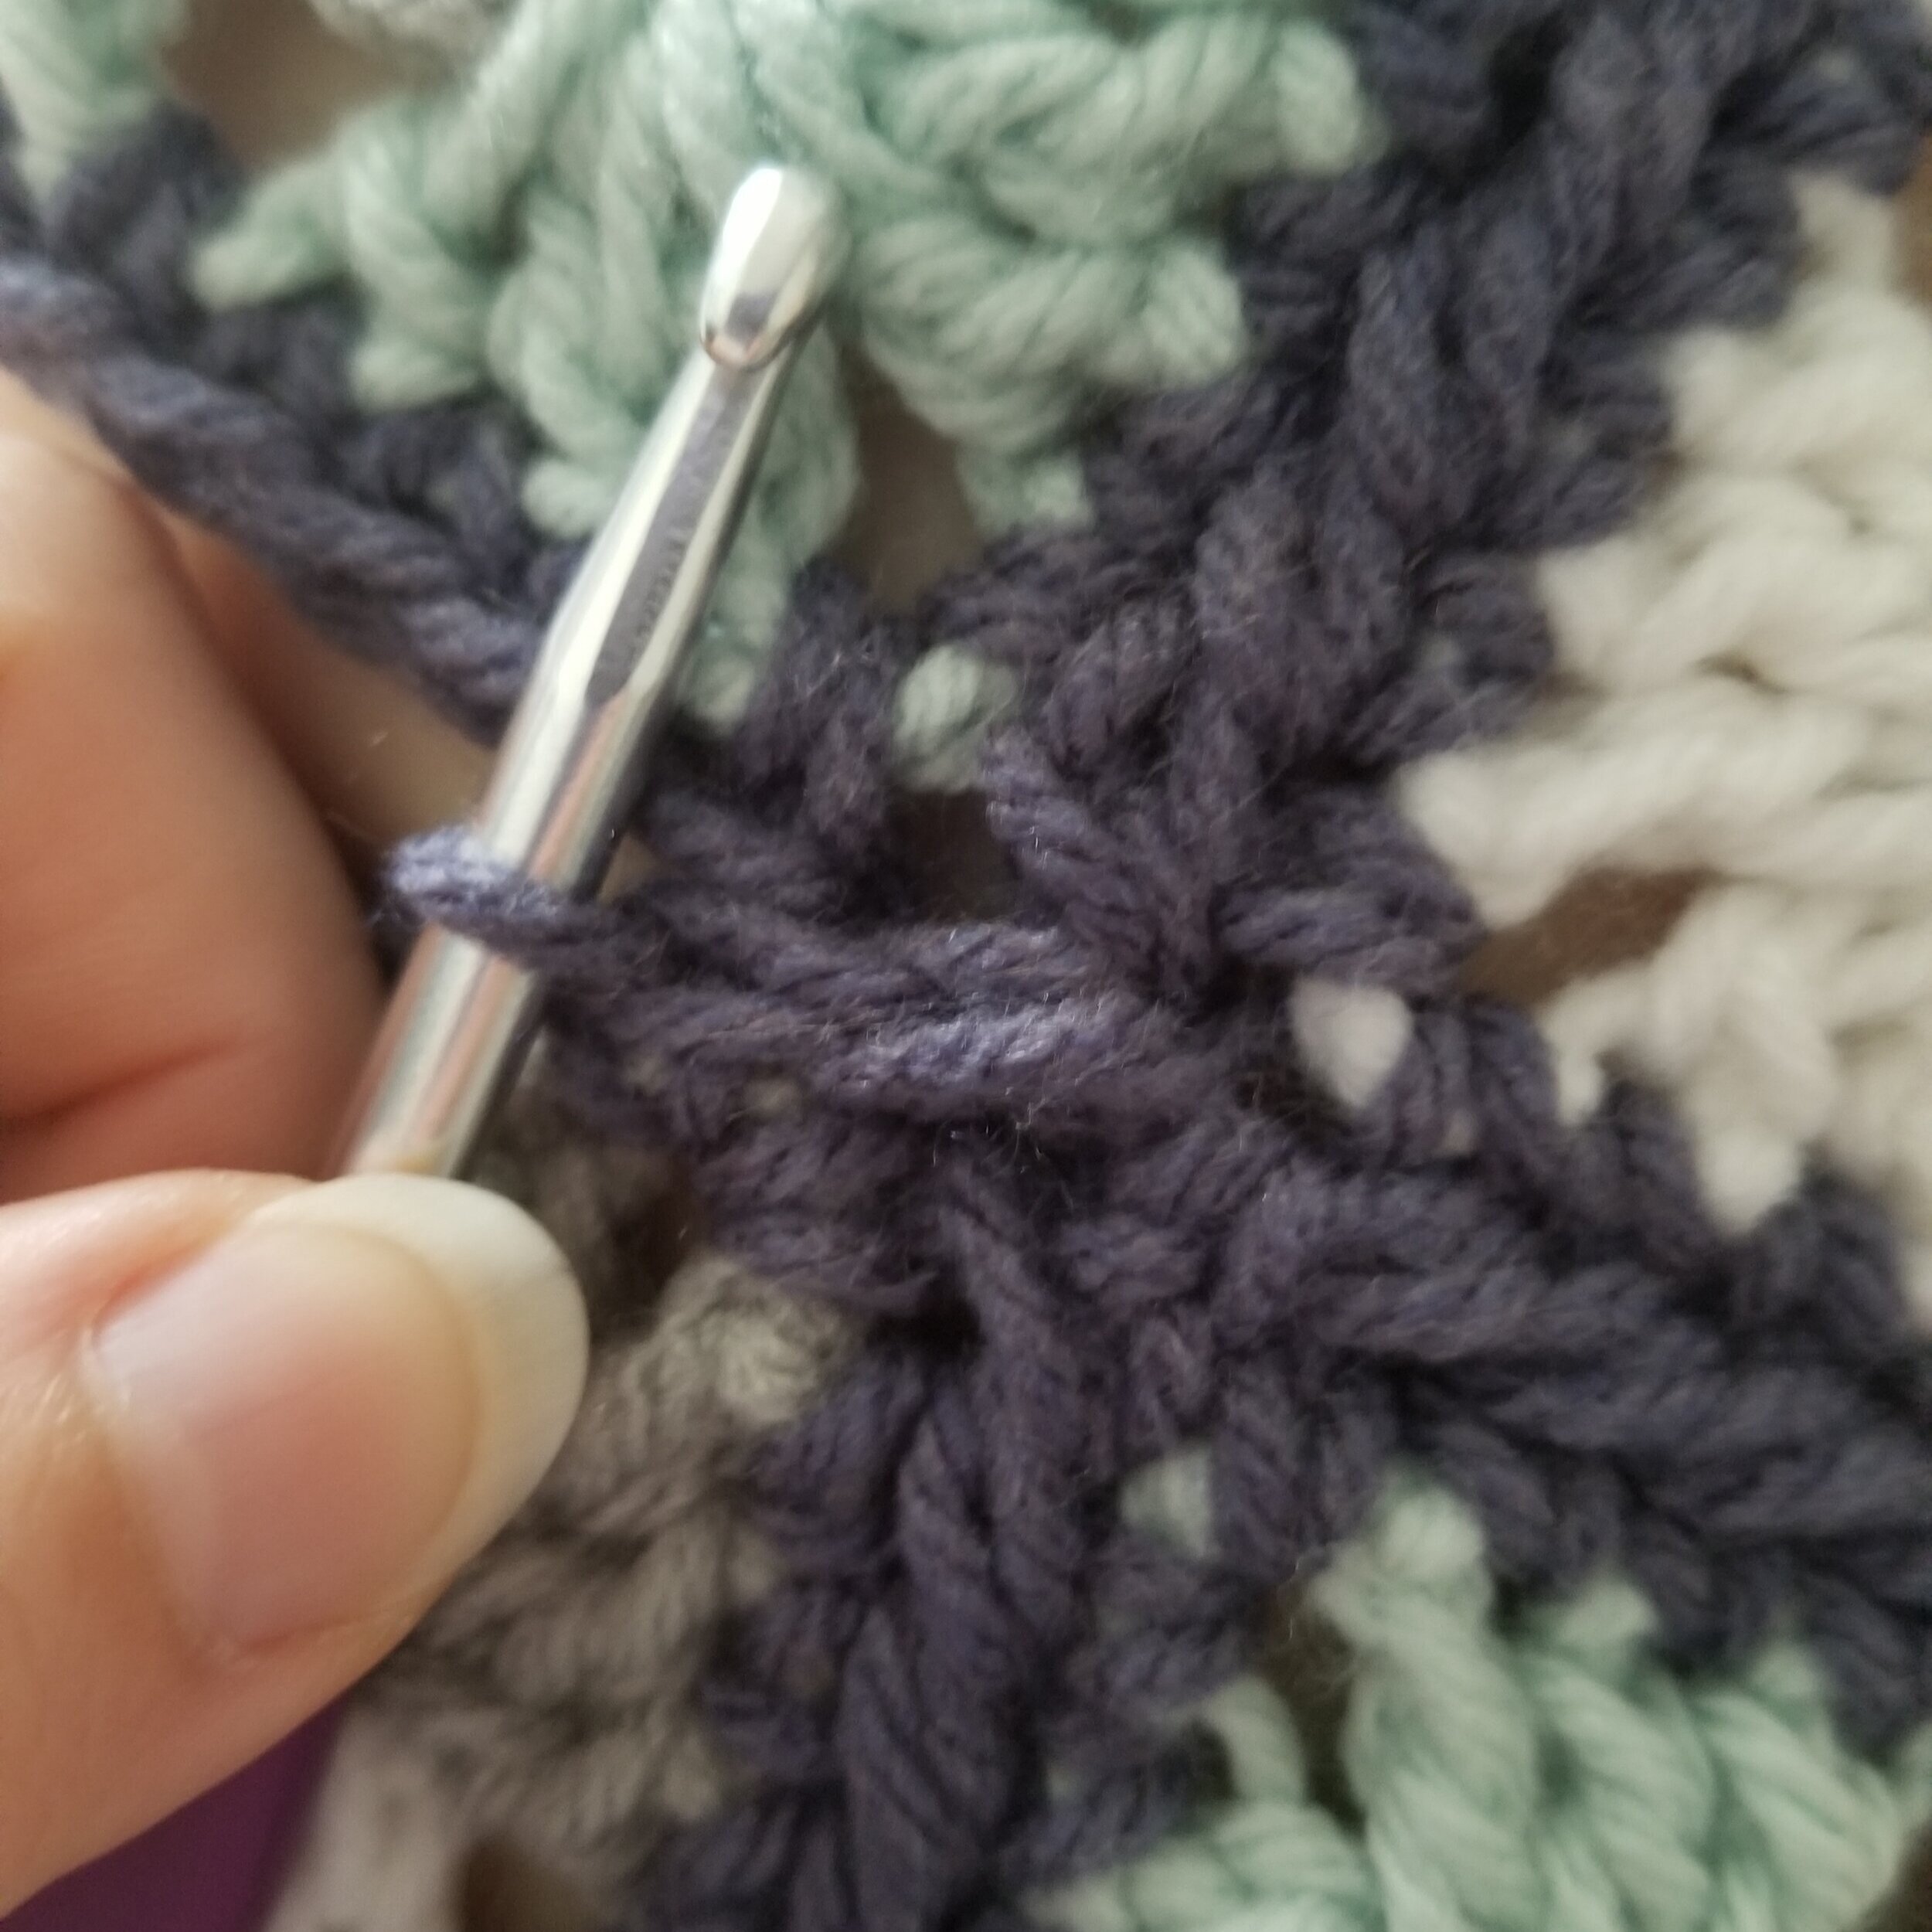
Step 10: sc in corner of square 4, ch2, remove hook from loop, insert hook through corner of square 1 and 2 together and pull loop through (see below), ch 1, sc in corner of square 3.
Step 11: Attatch square 3 to square 4 in the same manner as Step 2 - Step 4 and then finish side 3 of square 3.

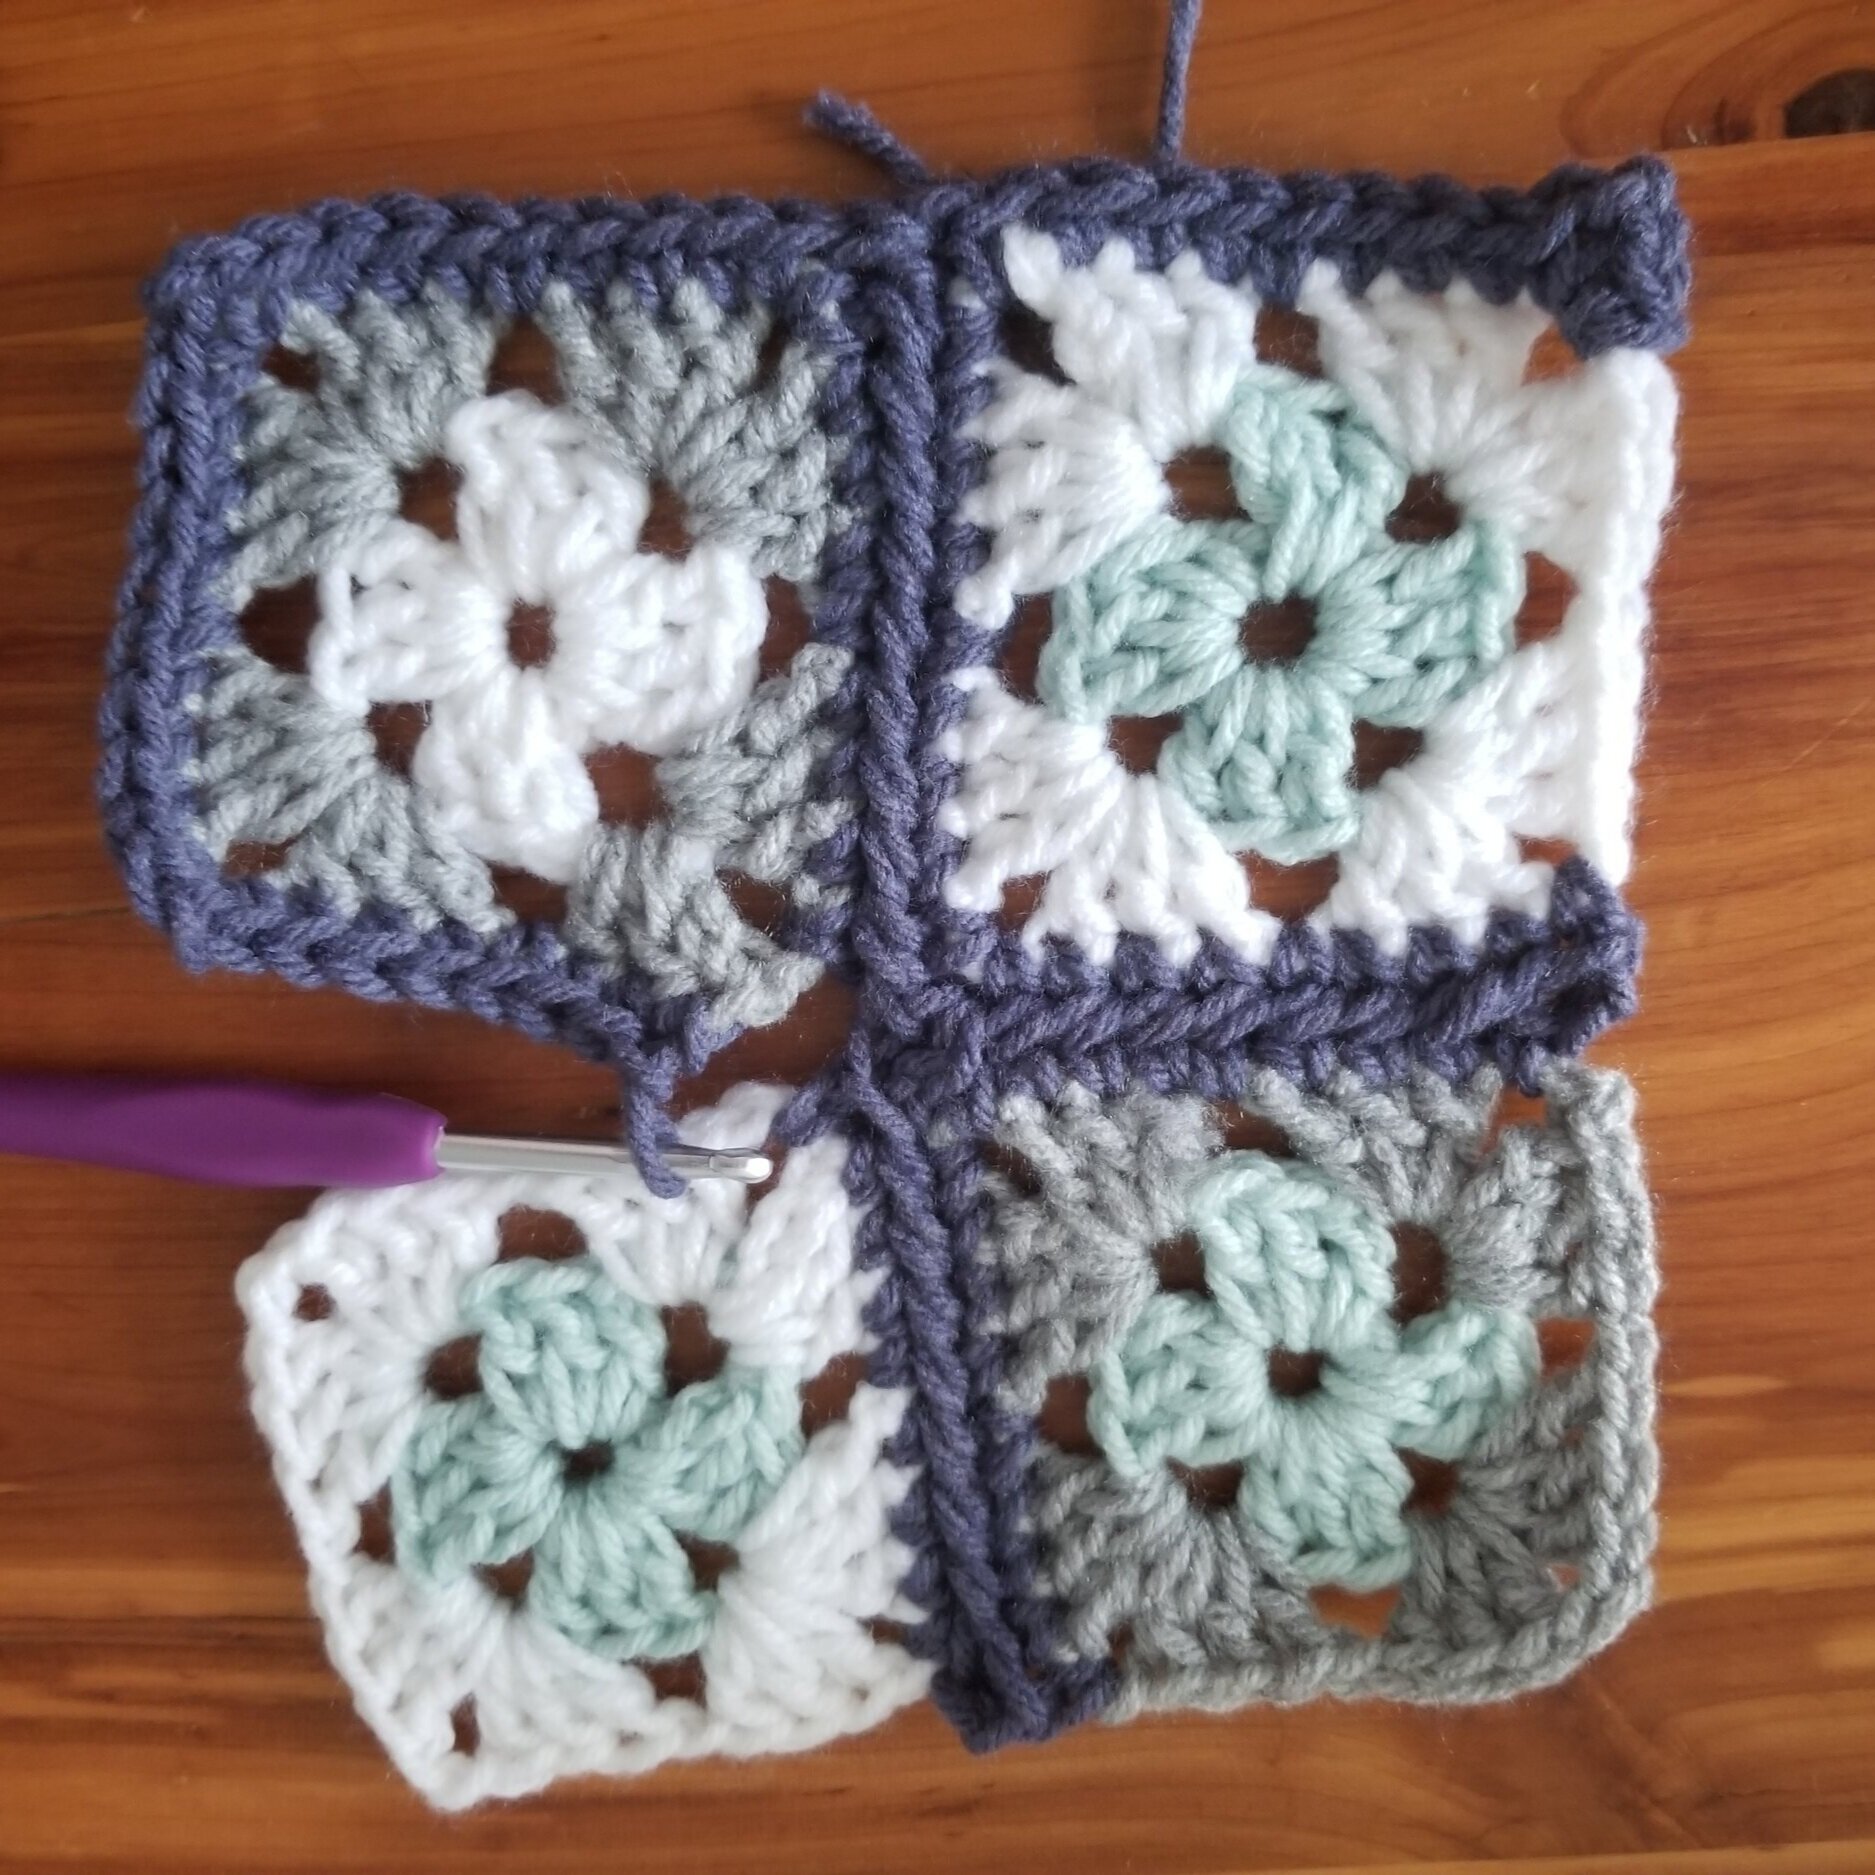
Step 12: Continue on using step 6 - step 11 until all squares are joined.

Finishing the final 2 sides.
Step 13: sc along the last side of square 10 until you come to the last corner of Square 10, sc in corner, ch 2, remove loop from hook, insert hook into corner loop between square 10 and square 7 and pull loop through. Ch1, sc in corner last corner of square 7.
Step 14: Continue along the bottom until you reach the corner of square 2, 1sc in corner, ch2, 1sc, then continue like Step 13 until you come to the starting corner of square 1, sl st in the first sc.
Hope this little tutorial helps you out! If you have any more questions, feel free to drop a comment!
Happy Crocheting!
IF YOU LIKED THIS PATTERN, PLEASE SUPPORT ME ON PATREON OR BUY ME A COFFEE!

BUY ME A COFFEE
Support me on Patreon
I love to see what you create!
Please share your creations with the community on social media by tagging @ravinsekaidesigns
I can’t wait to see the beautiful things you come up with!
Facebook: Ravin Sekai Designs
Ravelry: RavinSekai
Instagram: @ravinsekaidesigns
Pinterest: Ravin Sekai Designs
Patreon: Ravin Sekai Designs