Nameme Cardigan
For the free pattern for this garment please continue on this page. Please consider supporting me by purchasing the 100% ad free PDF download with full schematic for this pattern on my Ravelry or ETSY pages. Or consider joining my Patreon for member perks.
**2020/08/31 - ADDED GARMENT LAID FLAT MEASUREMENTS AND AMOUNT OF POSITIVE EASE FOR FINISHED GARMENT**
Hey all!
So here we are in 2020. Does it feel any different from 2019 yet? I guess it’s too early to tell, really.
Have you made any resolutions this year? I haven’t gotten around to doing that yet. I’m not usually one for resolutions in the new year. I’m constantly trying to better myself, and my ideas of a good goal to strive for changes pretty rapidly. One week I might be striving to lose some extra pounds, the next to design something new. I can’t usually make up my mind!
But, I guess the best thing any of us can hope for is to just keep trying no matter what! It doesn’t really matter what resolutions you make, as long as you’re always trying to be better, regardless if it’s better at some arbitrary goal you set at the beginning of the year, then we’re heading in the right direction. Rachel wisdom. Take it or leave it! haha!
A couple things I do hope for this year, not resolutions per se:
1. Learn French properly
2. Learn to grade a raglan
3. Try a temperature blanket (maybe)
Whatever you do, do it your best!
About This Cardigan
So, this weeks pattern is something I’ve been working on for a while. I’ve had it finished for a bit of time, and I’ve been giving my testers time to dig into it. But, now it’s ready for all of you!
This is the Nameme Cardigan. What does Nameme mean? Well, honestly, it’s nonsense! It’s just ‘name’ and ‘me’ put together! I actually title every pattern the ‘nameme scarf’ or the ‘nameme sweater’, etc, but this time I didn’t change the name before I sent it to my testers! So, this time the name just stuck! It’s hard naming things man!!
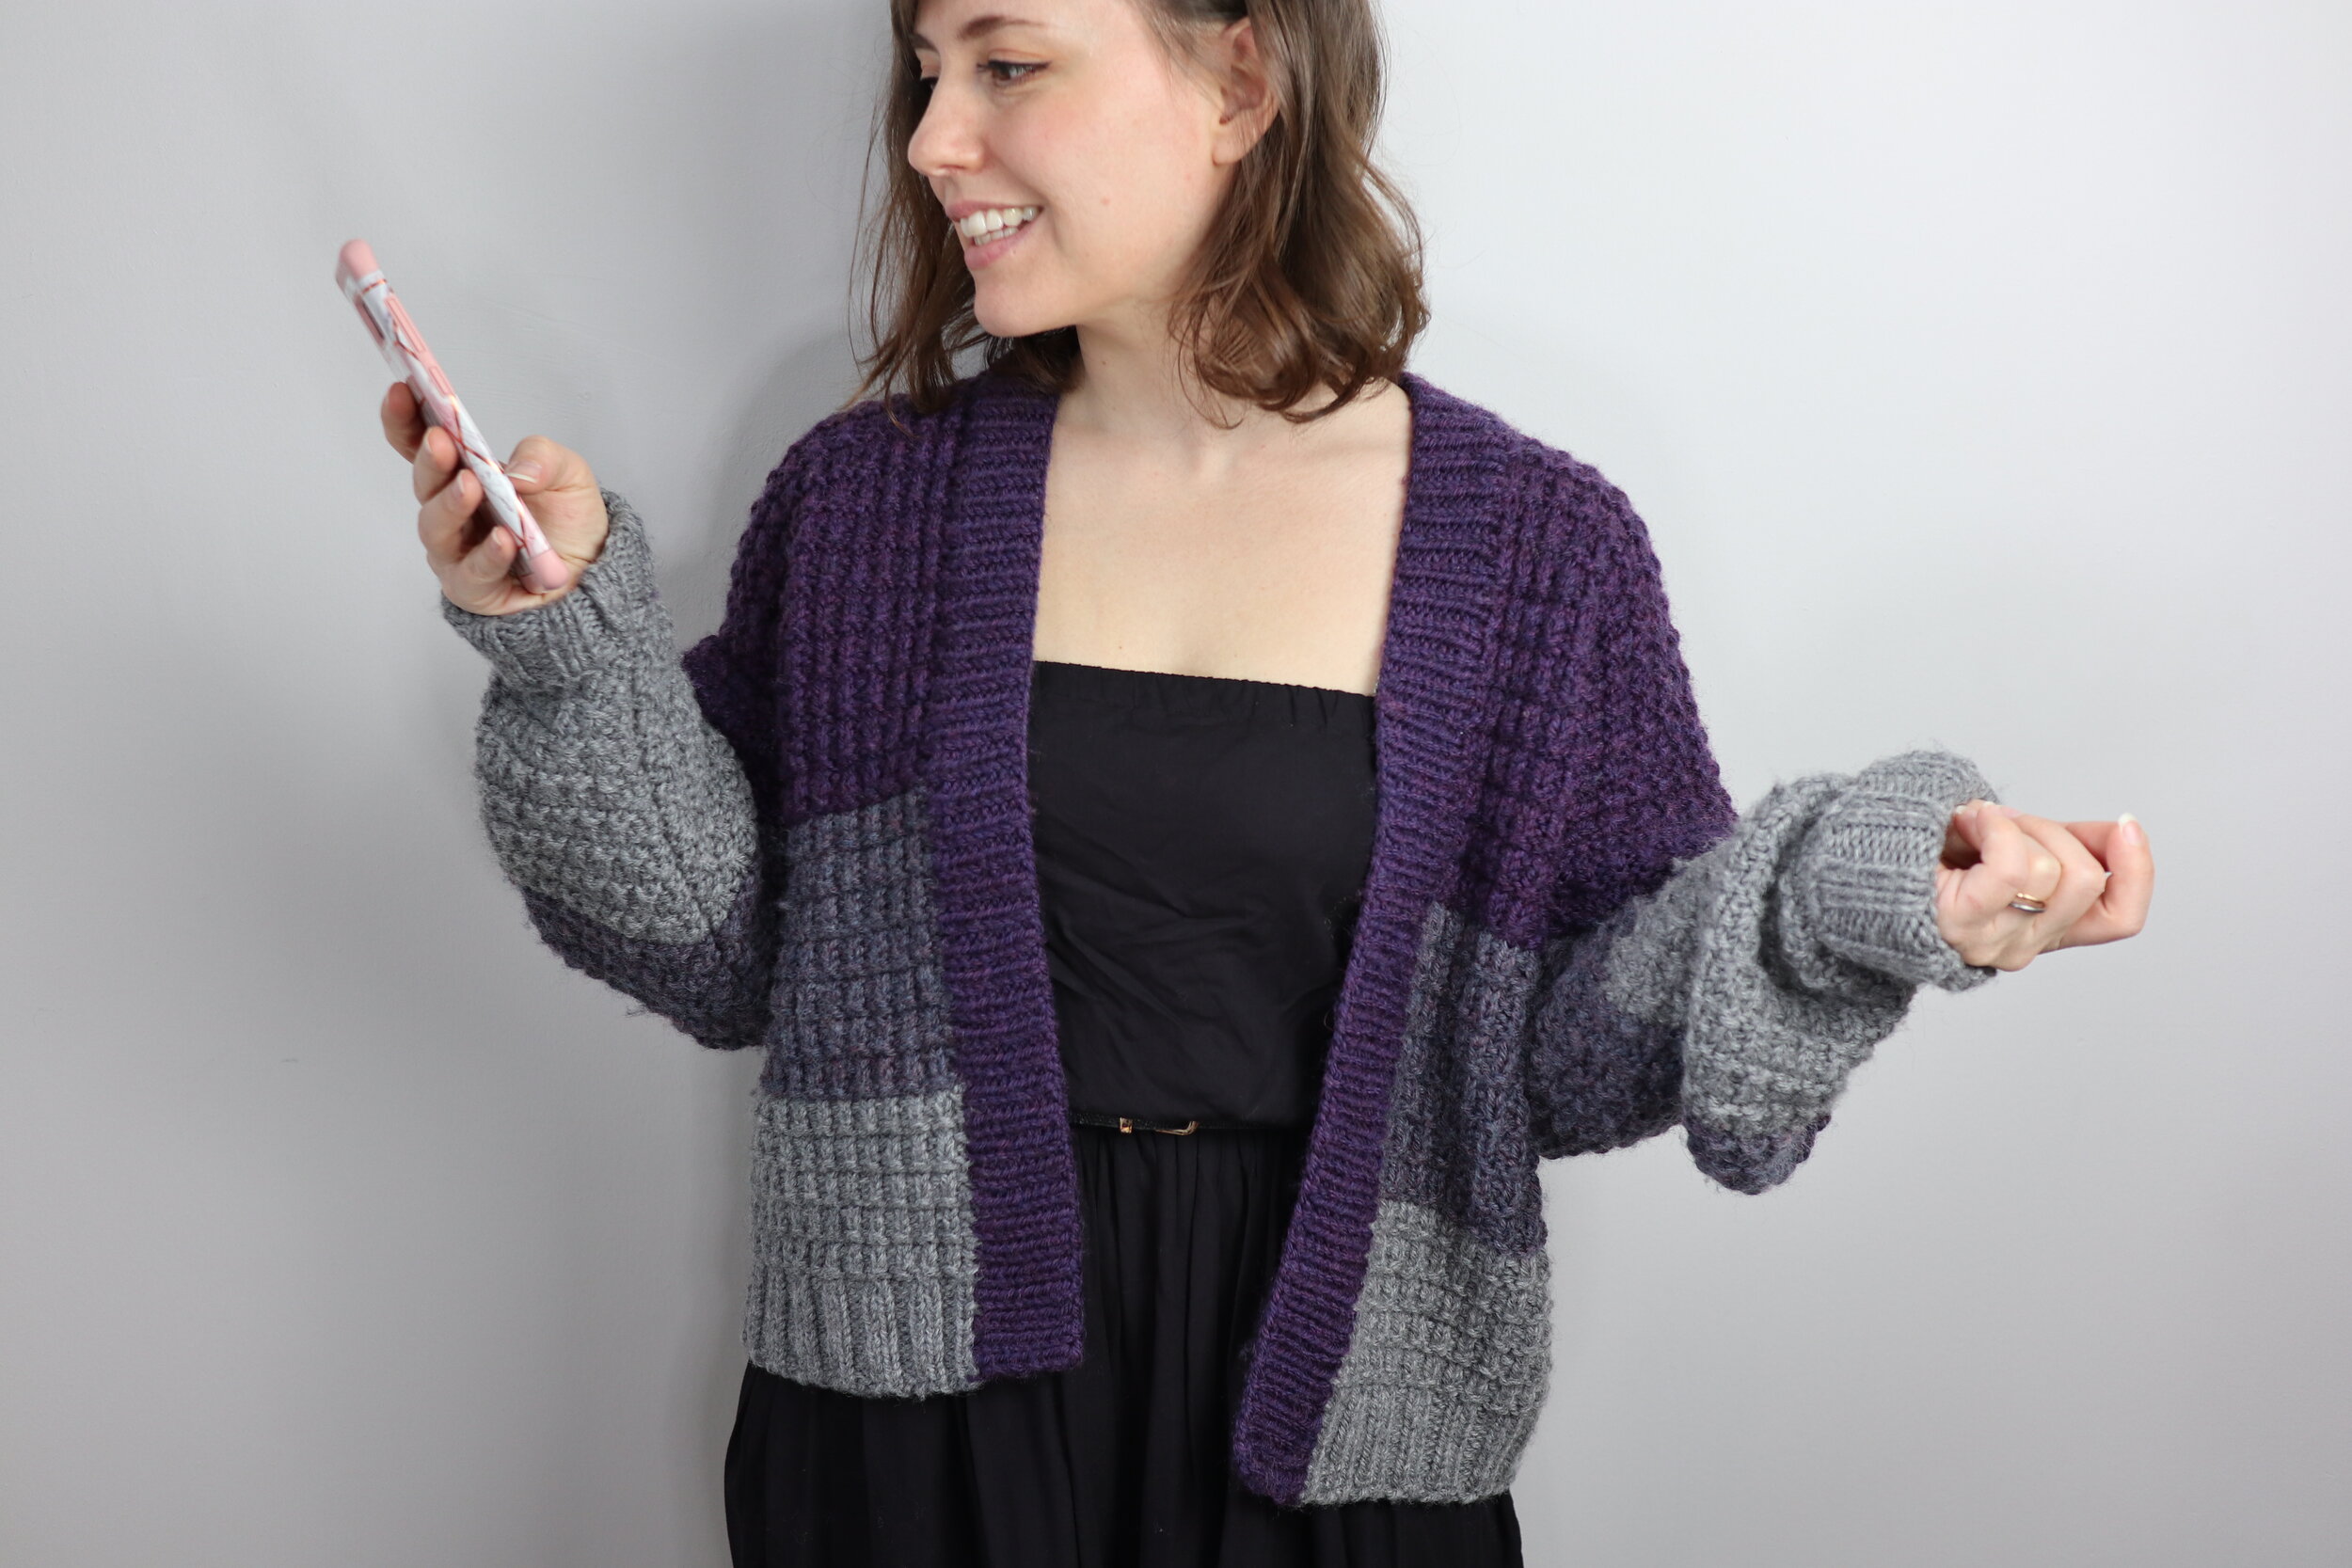
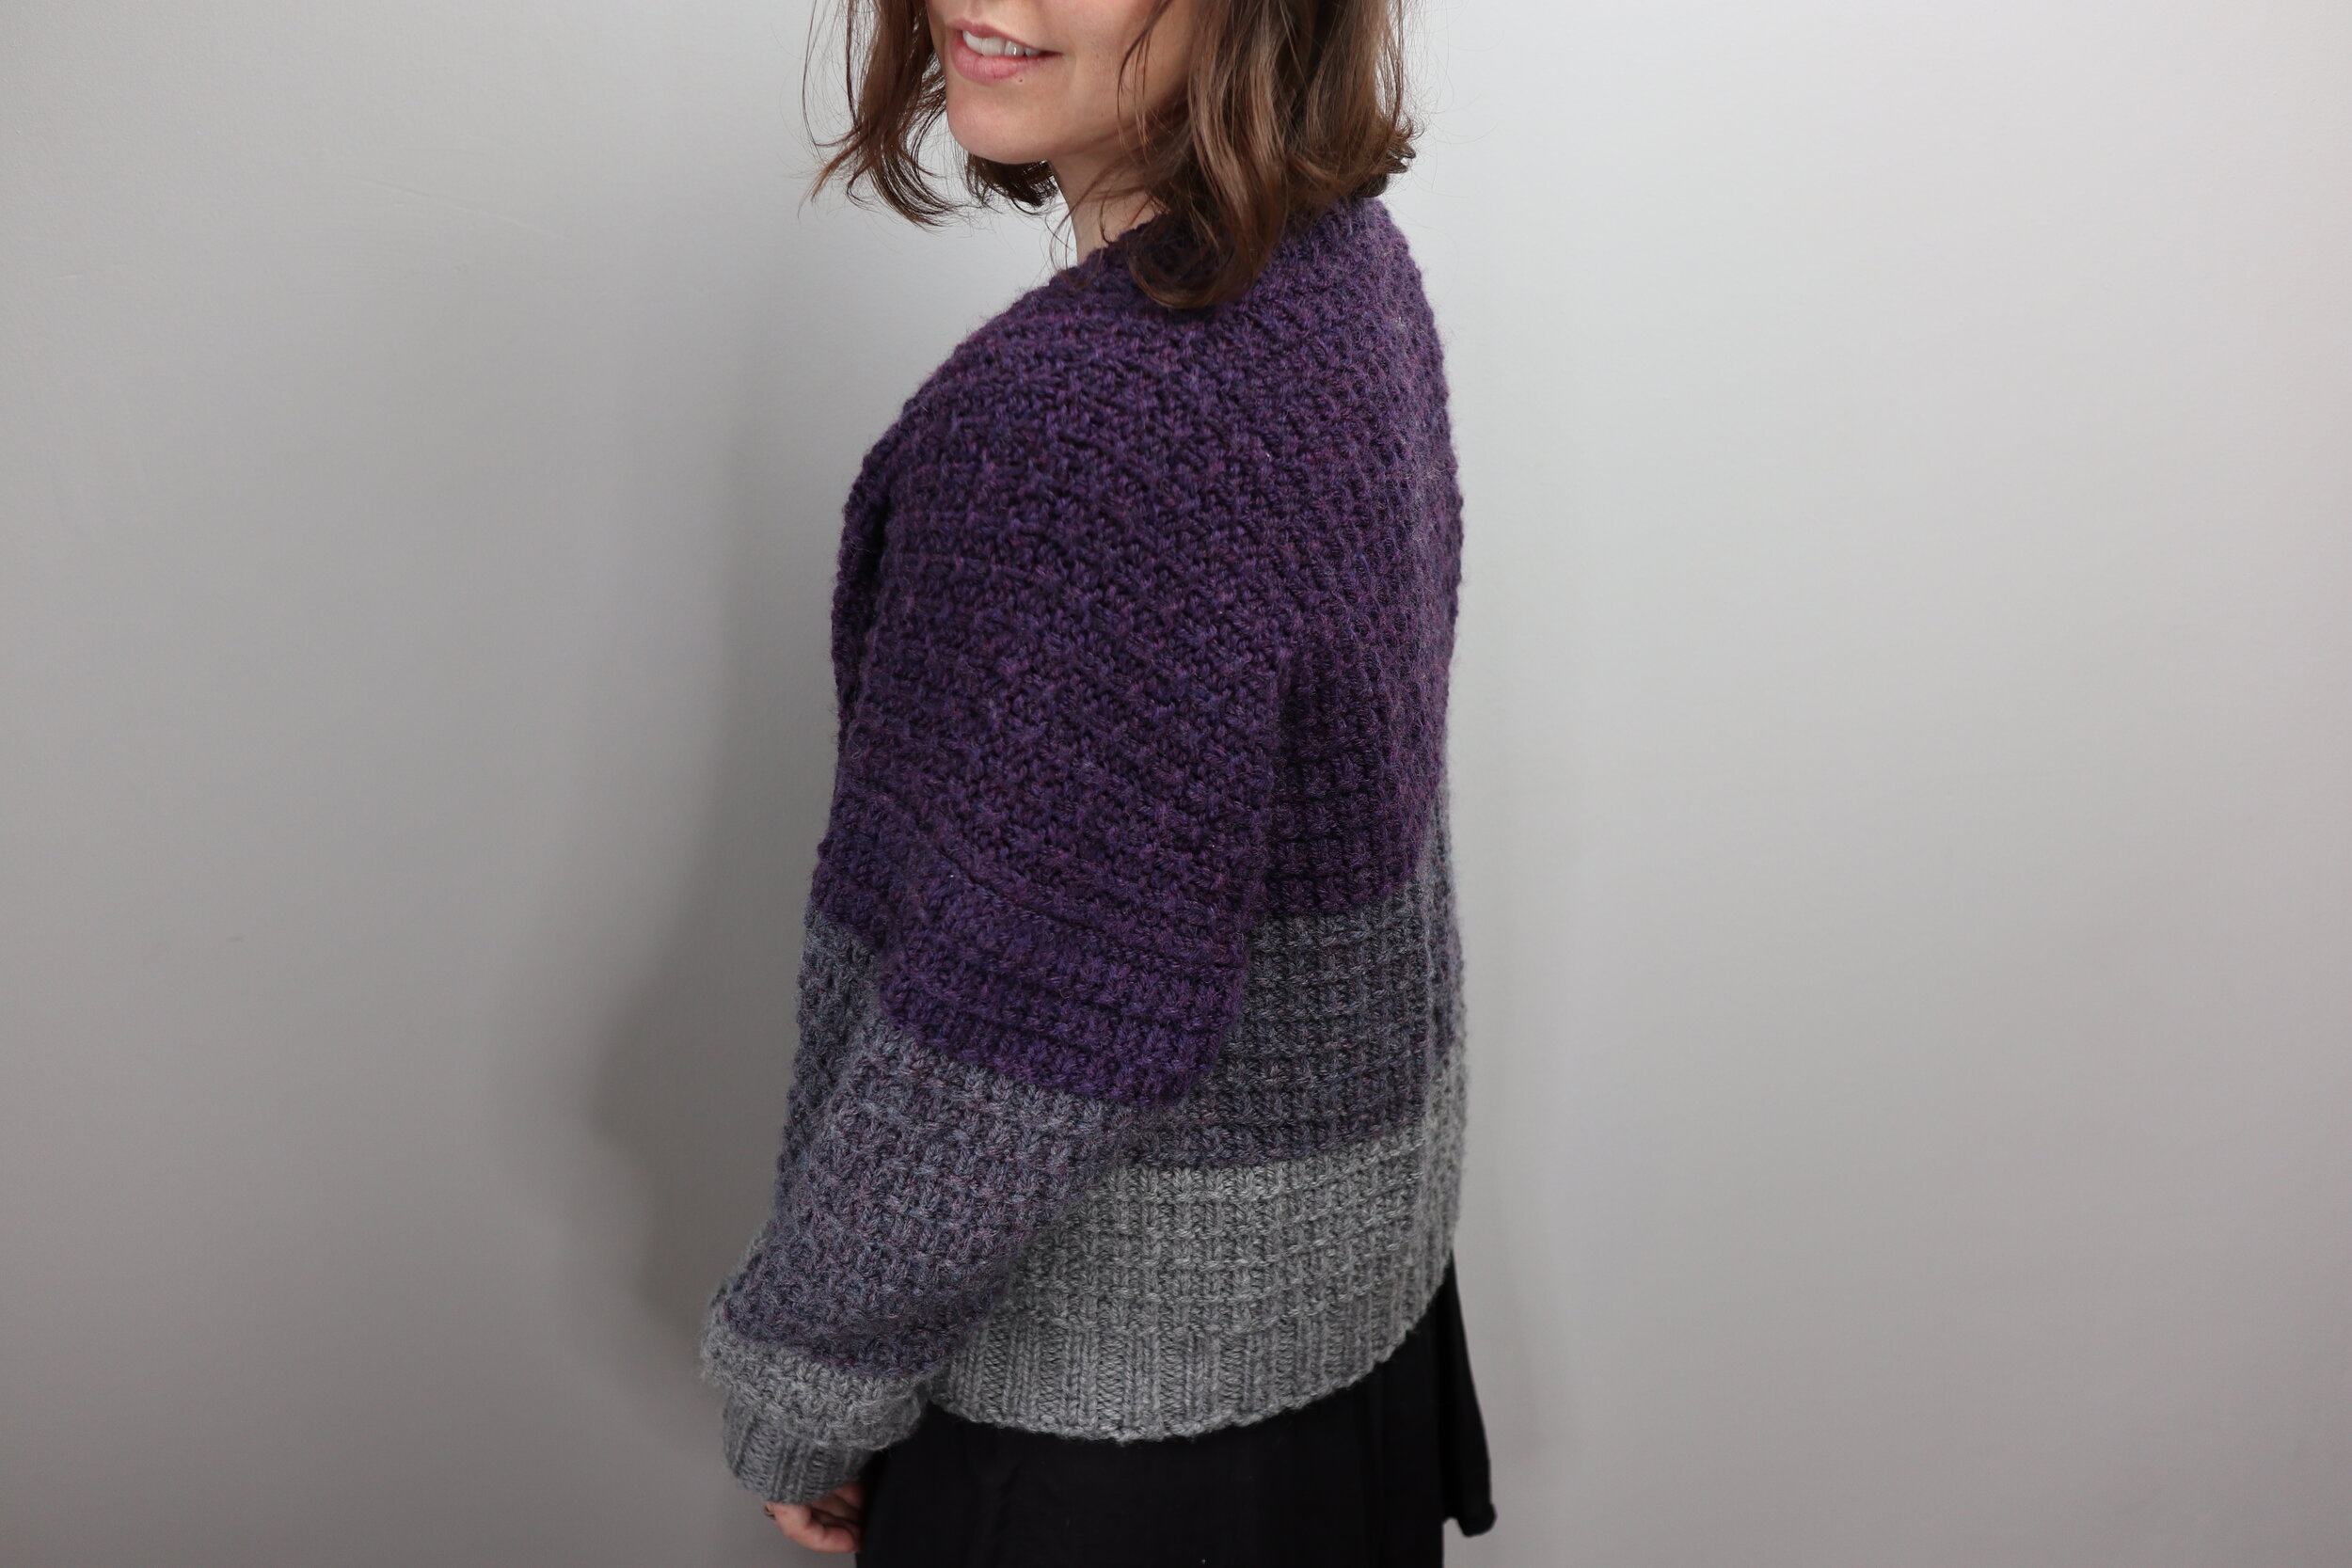
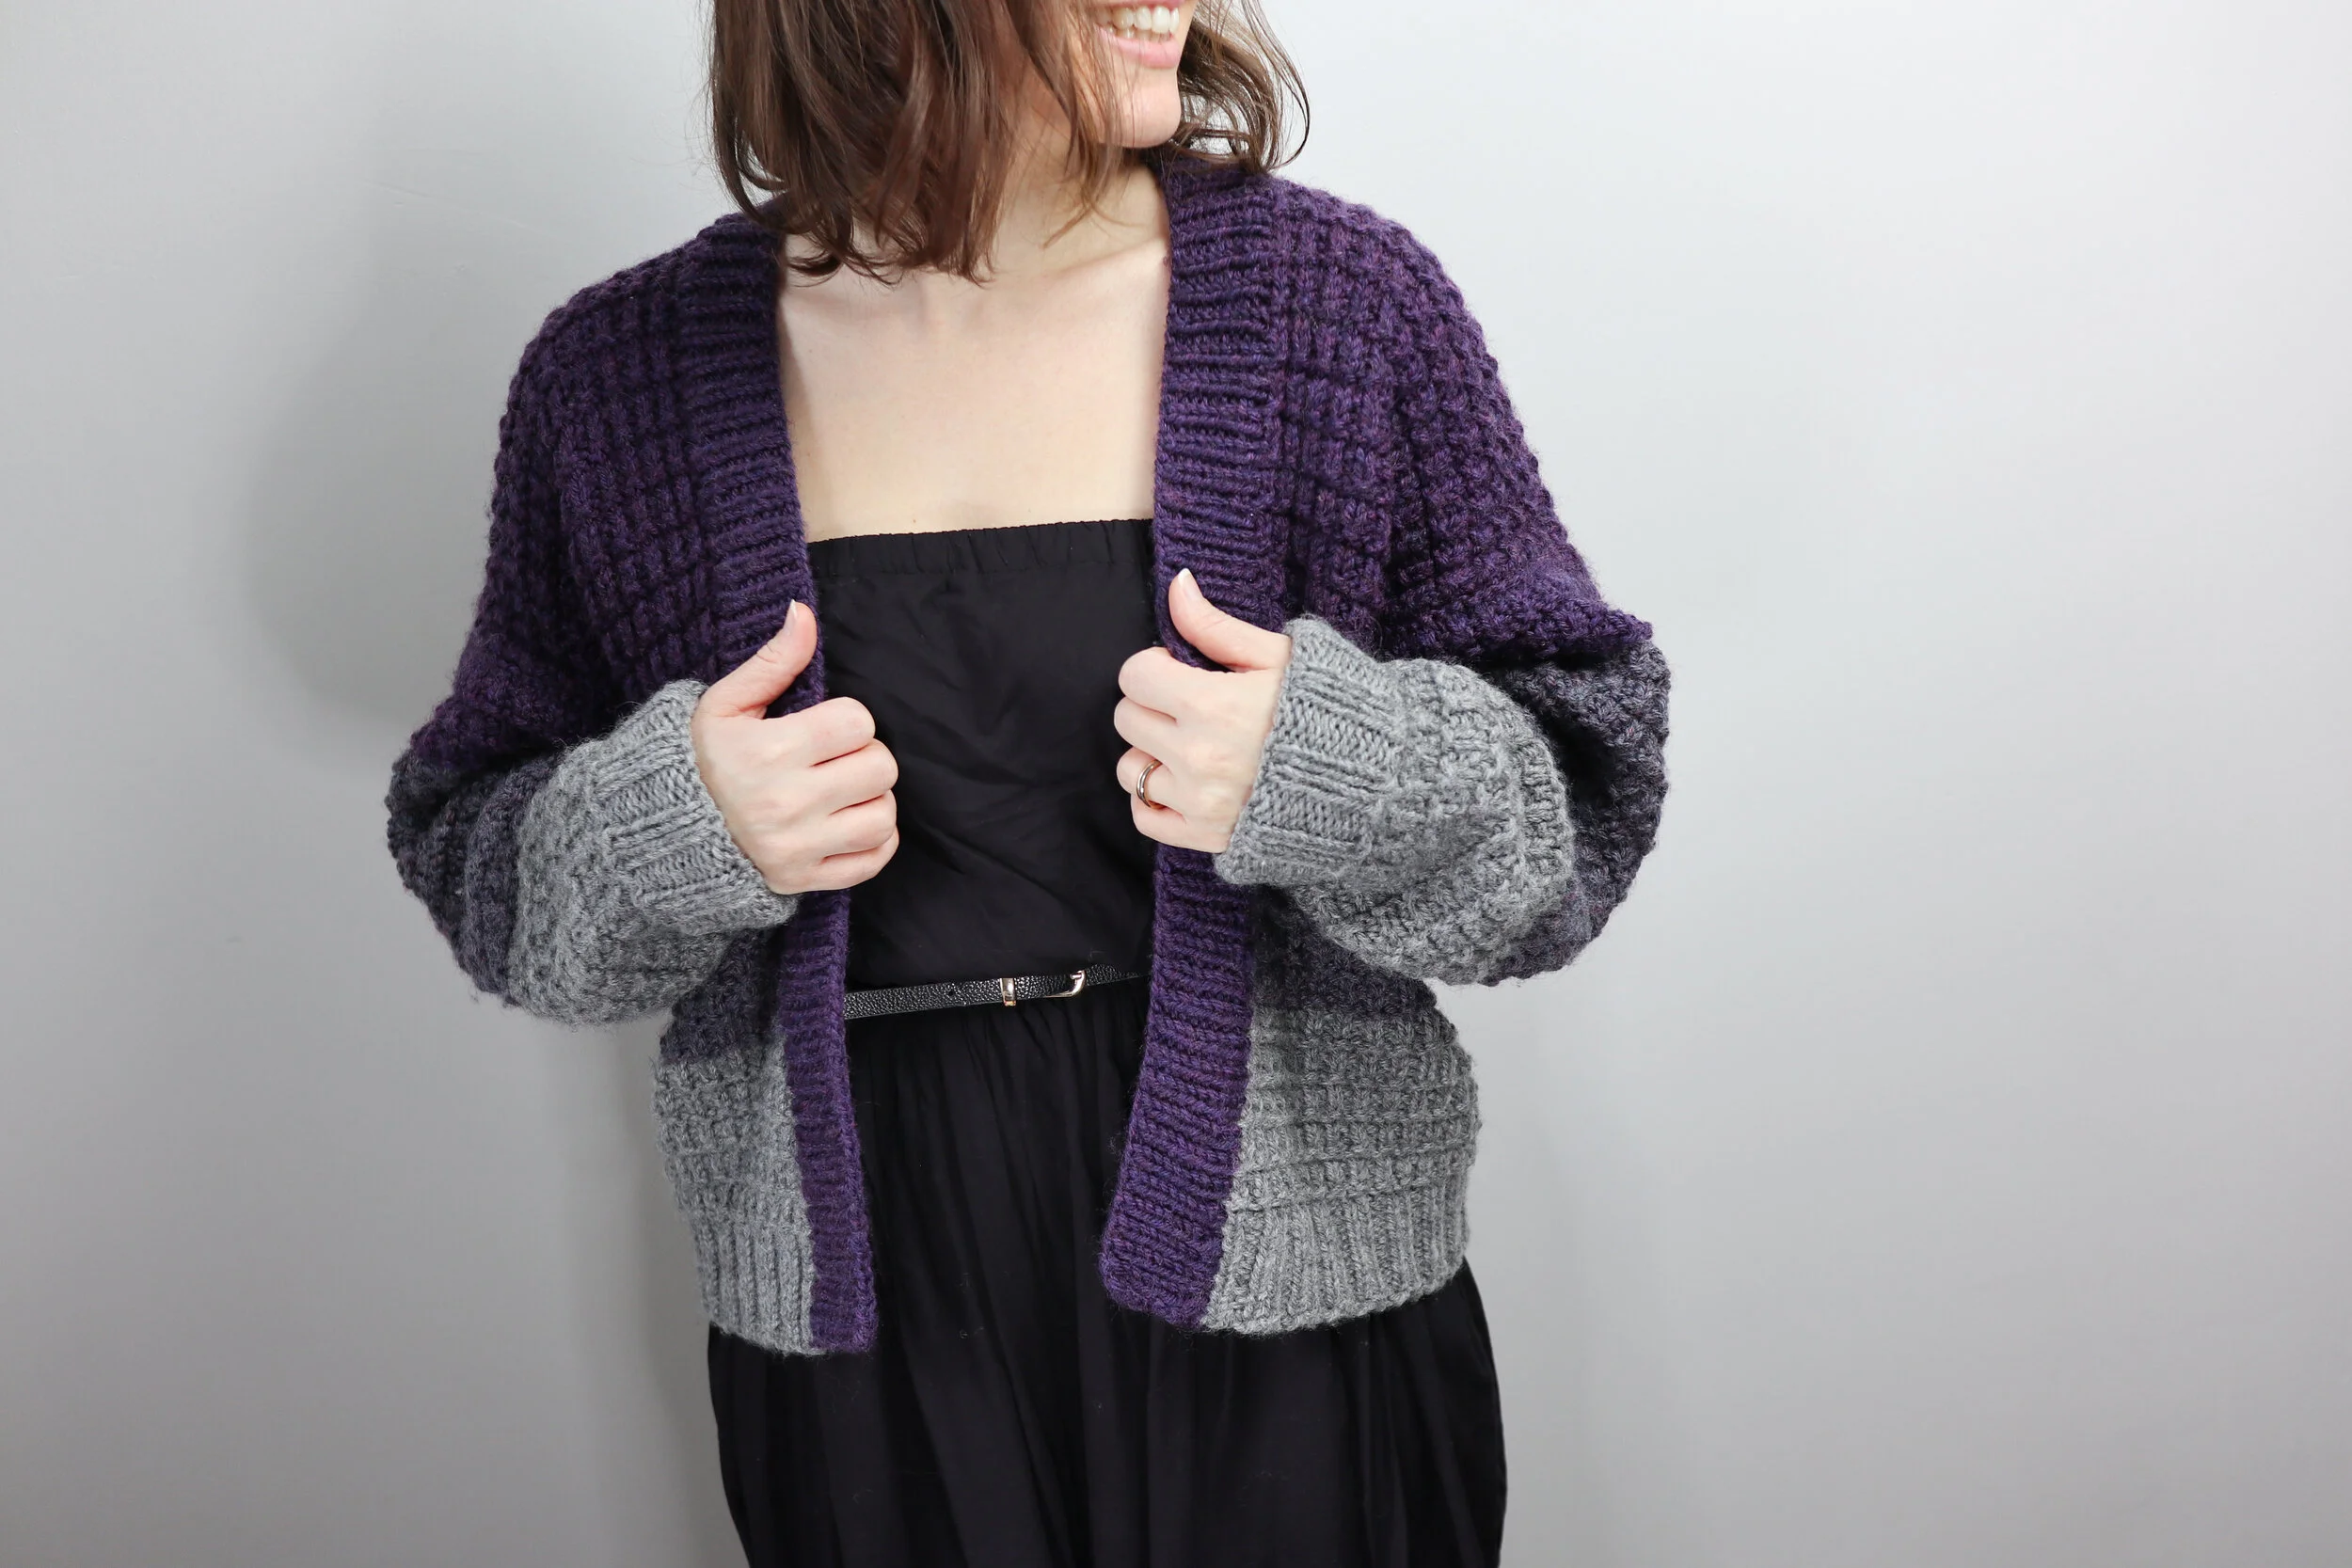
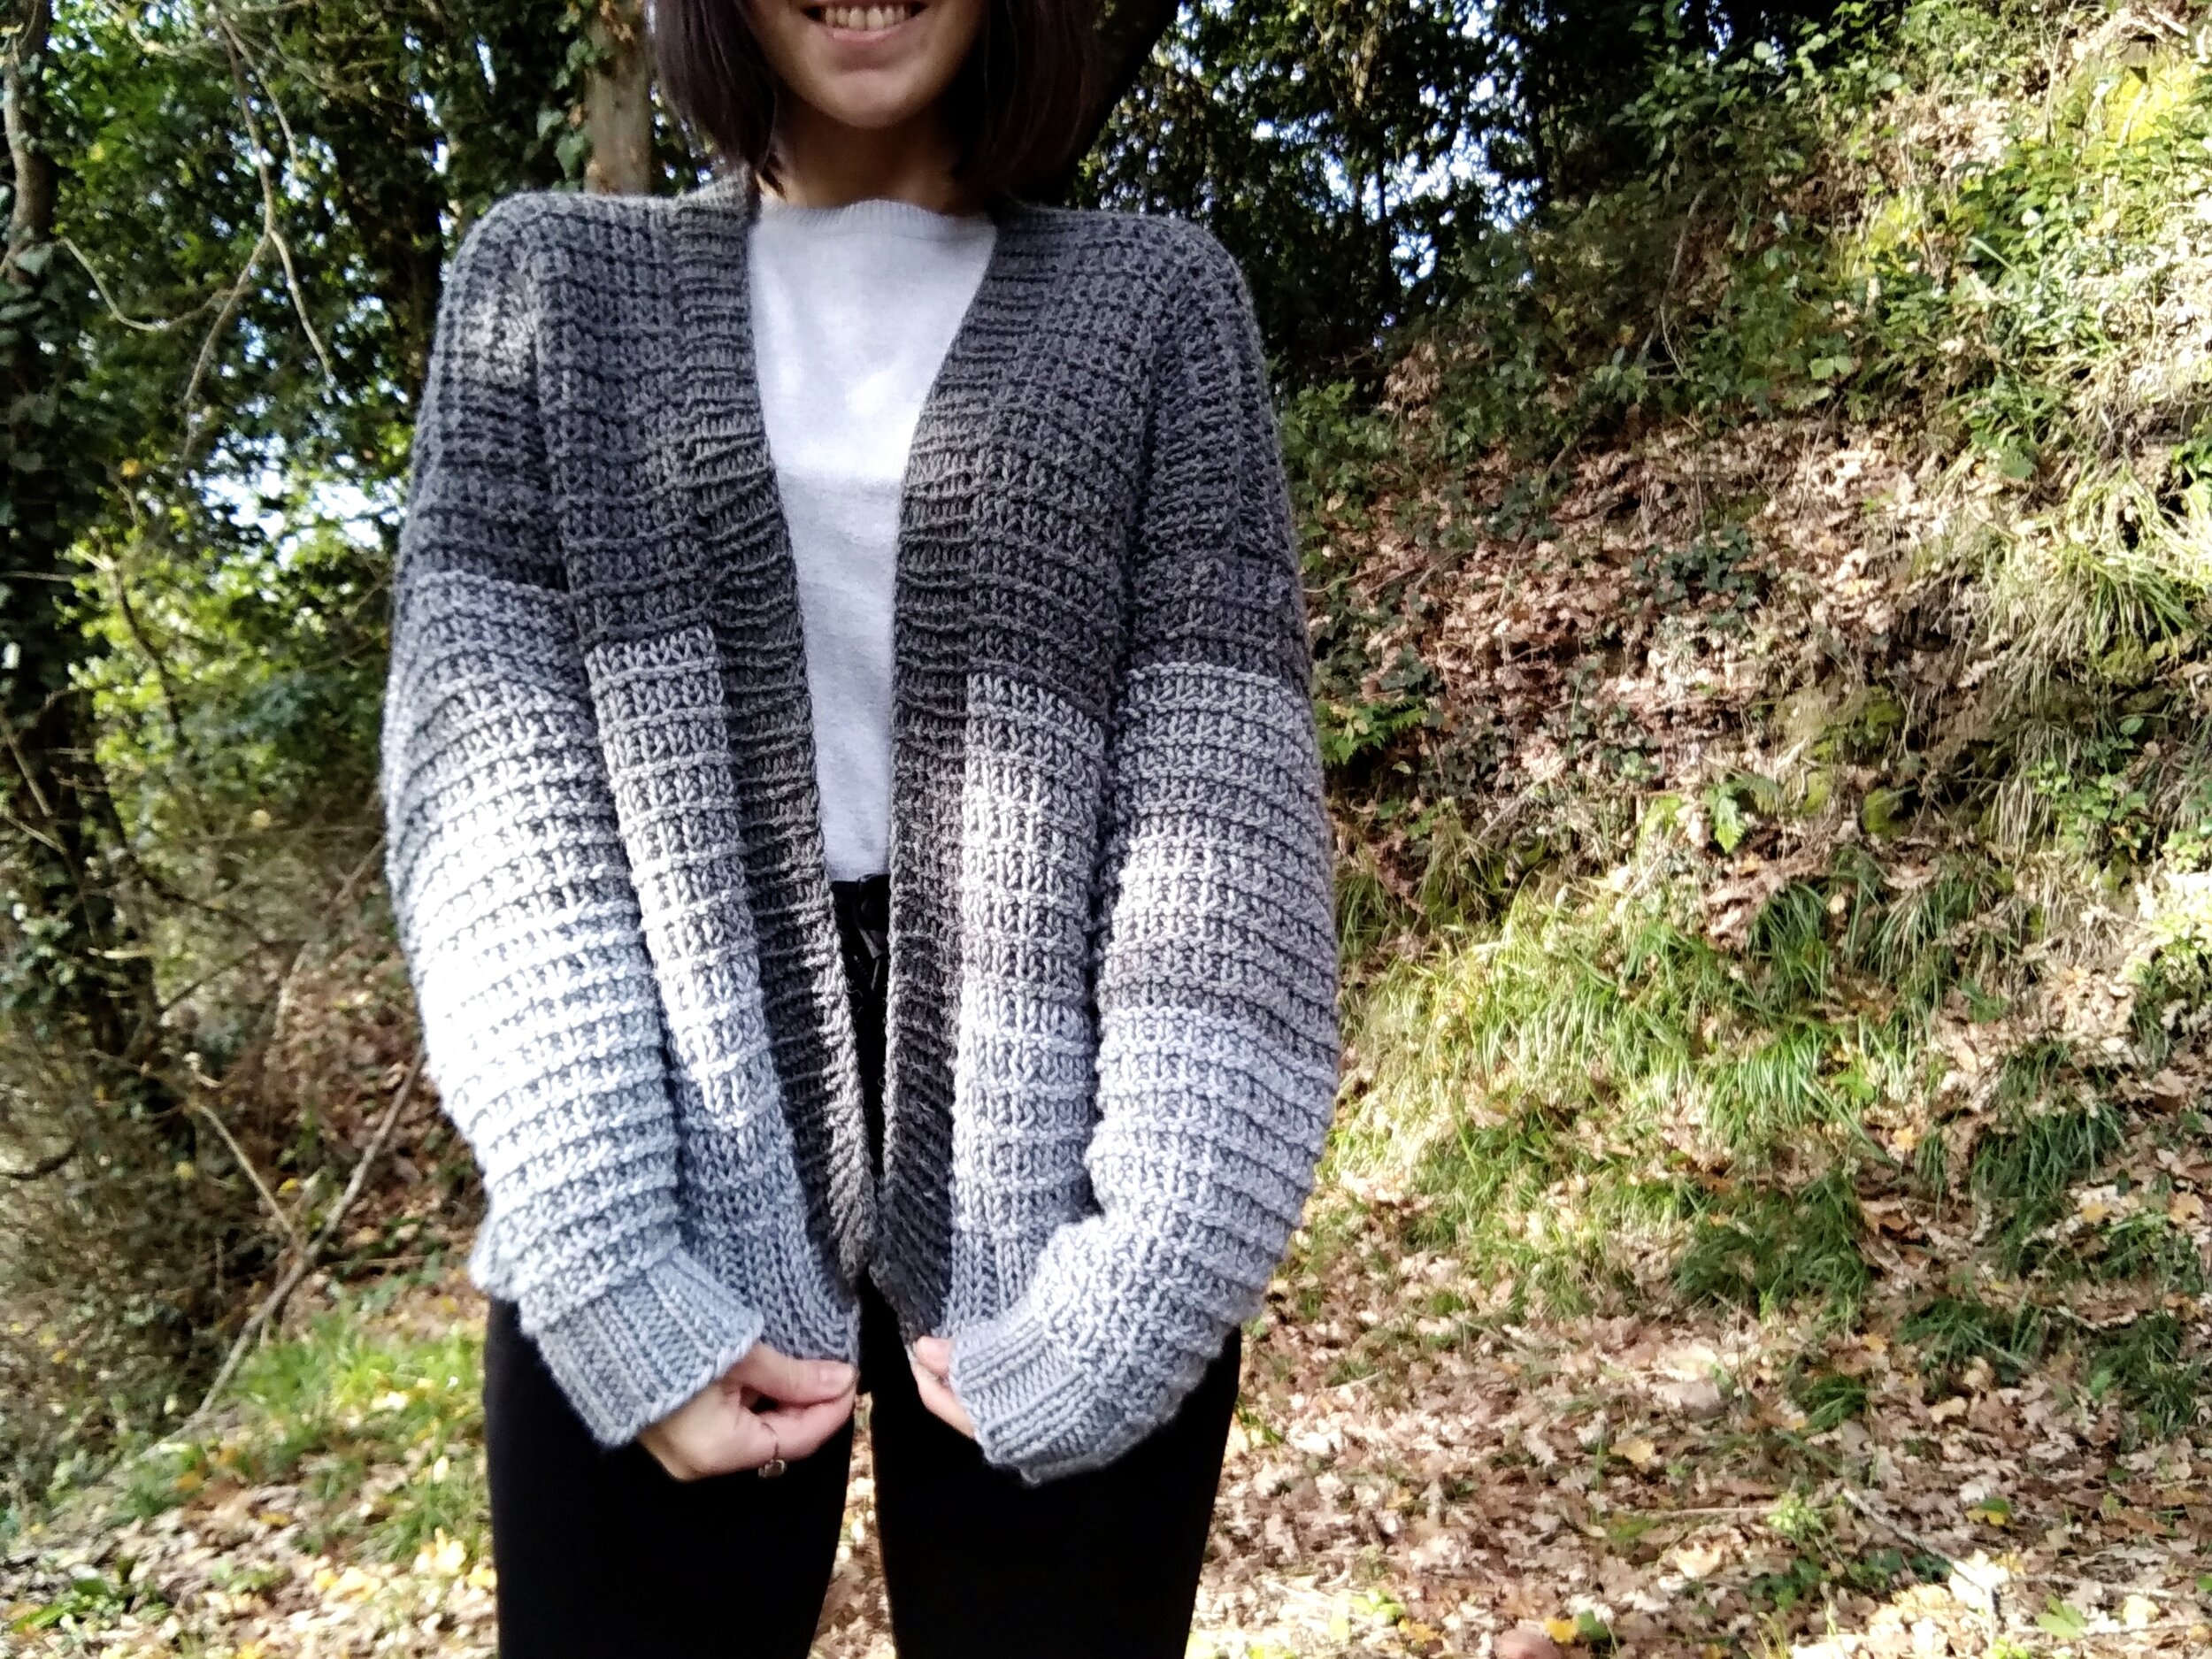
The cardigan is just like being wrapped up in the embodiment of coziness! Knit in a 100% wool bulky weight yarn, it just screams soft, squishy goodness! With simple color blocking and a beautiful textured stitch in the hurdle stitch, this cardigan works up quickly and is a stunning piece for any wardrobe.
The fit for this cardigan is decidedly oversized, meant for a 4-7” ease in the bust (very roomy!). But, also, it is designed to have a more boxy silhouette instead of being a long, oversized, boyfriend cardigan. I am 4’11” tall with a 35” bust, 27.5” waist, and 38” hips wearing the S size. (purple/grey).
Because of it’s oversized design, making a gauge swatch and blocking that gauge swatch before you start knitting is imperative! If you don’t block, and your yarn tends to grow in size after blocking, you wont have a lovely oversized fit anymore, but I gargantuan monstrosity! Also, if you’d like a more fitted look, try knitting a size down.
This cardigan has instructions for 8 sizes, S - 5XL Ideal Bust Measurements: S: 32”-35” M: 36”-39” L: 40”-43” XL: 44”-47” 2XL: 48”-51” 3XL: 52”-55” 4XL: 56”-59” 5XL: 60”-63”
Pattern is written for weight 5 bulky yarn. The purple sample picture is knit in Knit Picks Wool of the Andes Superwash Bulky yarn. Some alternative yarns that would work up well are Knit Picks Brava Bulky, Paintbox Yarns Chunky Pots, Stylecraft Special Chunky, or Berroco Ultra Wool Chunky. (I am not associated with any of these yarn companies). However, as long as your gauge matches, any bulky weight 5 yarn would work.
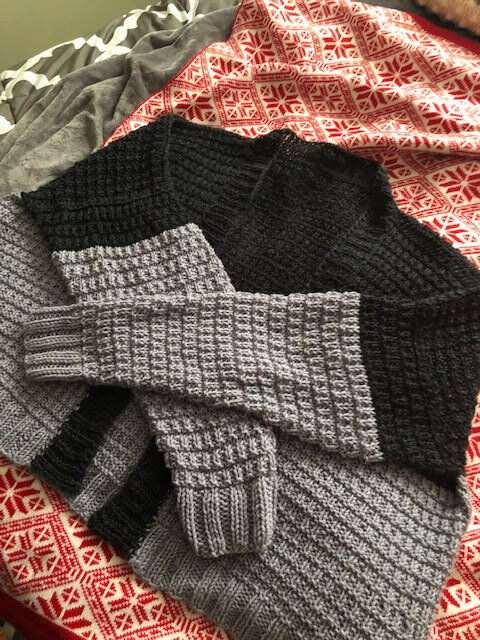
Also, Thank you to my AMAZING testers: Kat from crochetkat27 (black/grey, XL), and Alessandra from the_tiny_hook (3 tone gray, M)
I love to see what you create!
Please share your creations with the community on social media by tagging @ravinsekaidesigns and hashtag #namemecardigan
I can’t wait to see the beautiful things you come up with!
Facebook: Ravin Sekai Designs
Ravelry: RavinSekai
Instagram: @ravinsekaidesigns
Pinterest: Ravin Sekai Designs
Patreon: Ravin Sekai Designs

Save for Later!
Pin to Pinterest

What You Need:
Needle Size: 6.5mm circular needle, or size needed to obtain gauge
Yarn: Bulky weight 5 yarn. Sample knit in Knit Picks Wool of the Andes Superwash Bulky. 873(905, 975, 1050, 1110, 1175, 1275, 1340) yards, 7(7, 8, 8, 9, 9, 10, 10) skeins. (exact yardage for sample is in notes)
Gauge: 16st/24rows = 4” in Hurdle Stitch (gauge is after blocking)
Finished Garment Sizing:
Ideal Bust Measurements: S: 32”-35”, M: 36”-39”, L: 40”-43”, XL: 44”-47”, 2XL: 48”-51”, 3XL: 52”-55”, 4XL: 56”-59”, 5XL: 60”-63”
Back Length (top of collar to bottom): 21.75”(21.75”, 22.75”, 23.75”, 24.75”, 24.75”, 25.75”, 25.75”)
Garment Laid Flat: Bust: 20.5”(22.5”, 24.5”, 26.5”, 28.5”, 30.5”, 32.5”, 34.5”)
Cardigan should have 4.5”-7.5” positive ease.
Model: model is 4’11” tall, 35” bust 27.5” waist 38” hips, wearing size S
Abbreviations:
RS: right side
WS: wrong side
St: stitch/stitches
CO: cast on
K: knit
P: purl
Rep: repeat
BO: bind off
C1: color 1 (Marble)
C2: color 2 (Mineral Heather)
C3: color 3 (Indigo Heather)
Cont: continue

Notes:
I used 3 colors of yarn and will note when I changed colors in the pattern. I used 252 yards (2 skeins) C1, 252 yards (2 skeins) C2, and 369 yards (3 skeins) C3
The length of the sleeves takes into account the cuffs are meant to be folded up. The cuffs are 2” long, so if you don’t want folded cuffs, take that into account.
In the collar, I picked up and knitted 3 sts for every 4 rows up the sides, then 1 st for every st along the neckline. Picking up too many stitches will make the collar wrinkle and too few will pucker!!
Cardigan is oversized. I cannot stress enough the importance of making a gauge swatch and blocking it before knitting to ensure correct sizing!
The Pattern:
For the free pattern for this garment please continue on this page. Please consider supporting me by purchasing the 100% ad free PDF download with full schematic for this pattern on my Ravelry or ETSY pages. Or consider joining my Patreon for member perks.
CO 142 (158, 174, 190, 206, 222, 238, 254) with C1
Bottom Band:
Row 1 (RS): *k2, p2* until last 2st, k2.
Row 2 (WS): *p2, k2* until last 2 st, p2.
Row 3 - Row 12: rep Row 1 - Row 2 2x2 rib.
Start Hurdle St:
Row 13: k all st.
Row 14: k all st.
Row 15: *k1, p1* across
Row 16: *k1, p1* across
Row 17 - Row 32(32, 34, 36, 38, 38, 40, 40): Cont. Hurdle St. with C1
Switch to C2
Row 33(33, 35, 37, 39, 39, 41, 41) - Row 60(60, 62, 64, 70, 70, 74, 74): cont Hurdle st with C2
Switch to C3
Separating front from back:
Front Right:
Row 61(61, 63, 65, 71, 71, 75, 75): cont. Hurdle st with C3 across 30(34, 38, 42, 46, 50, 54, 58) stitches. Slip the remaining sts onto waste yarn. Turn.
Row 62(62, 64, 66, 72, 72, 76, 76) - Row 112(112, 118, 124, 130, 130, 136, 136): cont in hurdle st.
Row 113(113, 119, 125, 131, 131, 137, 137): BO

Back:
Row 61(61, 63, 65, 71, 71, 75, 75): slip 82(90, 98, 106, 114, 122, 130, 138) stitches back onto needles. cont. Hurdle st with C3 across 82( 90, 98, 106, 114, 122, 130,138) stitches. Slip the remaining sts onto waste yarn. Turn.
Row 62(62, 64, 66, 72, 72, 76, 76) - Row 120(120, 126, 132, 138, 138, 144, 144): cont in hurdle st.
Row 121(121, 127, 133, 139, 139, 145, 145): BO
Front Left:
Row 61(61, 63, 65, 71, 71, 75, 75): slip remaining sts onto needles. cont. Hurdle st with C3 across remaining 30(34, 38, 42, 46, 50, 54, 58) stitches. Turn.
Row 62(62, 64, 66, 72, 72, 76, 76) - Row 112(112, 118, 124, 130, 130, 136, 136): cont in hurdle st.
Row 113(113, 119, 125, 131, 131, 137, 137): BO
Seam shoulders

Sleeves:
CO 32(32, 34, 34, 36, 36, 38, 38)st
Row 1 - Row 12: *p2, k2*
Start Hurdle St:
Row 13: k all st.
Row 14: k all st.
Row 15: *k1, p1* across
Row 16 (inc): k1, k1fb, *k1, p1* to last 2 st, k1fb, k1. 34(34, 36, 36, 38, 38, 40, 40)st
Change to C2 at Row 52 and C3 at Row 92 to make like sample pictures.
Row 17 - Row 105(105, 105, 105, 108, 108, 108, 108): cont in pattern increasing 1 st on each side every 4th row 21(21, 12, 6, 12, 12, 9, 9) times total, including the increase from Row 16. Then, increasing 1 st on each side every 3rd row 3(3, 15, 23, 16, 16, 20, 20) more times. 80(80, 88, 92, 92, 92, 96, 96) st total.
S, M, L, XL only Row 106(106, 106, 106): knit
BO
Make 2 and Attach Sleeves to body

Collar:
Reattach yarn at bottom of right side with RS facing and pick up and knit sts evenly around collar. Refer to notes above.
Row 1(WS) - Row 9: *k1, p1* around collar. (about 2”)
BO on RS
Weave in ends
IF YOU LIKED THIS PATTERN, PLEASE SUPPORT ME ON PATREON OR BUY ME A COFFEE!

BUY ME A COFFEE
Support me on Patreon
I love to see what you create!
Please share your creations with the community on social media by tagging @ravinsekaidesigns and hashtag #namemecardigan
I can’t wait to see the beautiful things you come up with!
Facebook: Ravin Sekai Designs
Ravelry: RavinSekai
Instagram: @ravinsekaidesigns
Pinterest: Ravin Sekai Designs
Patreon: Ravin Sekai Designs