
Even Berry Pumpkins Pattern


What’s a blog hop? Click here to find out! Check below for the free download link!
Consider joining my Patreon for member perks. Thank you!

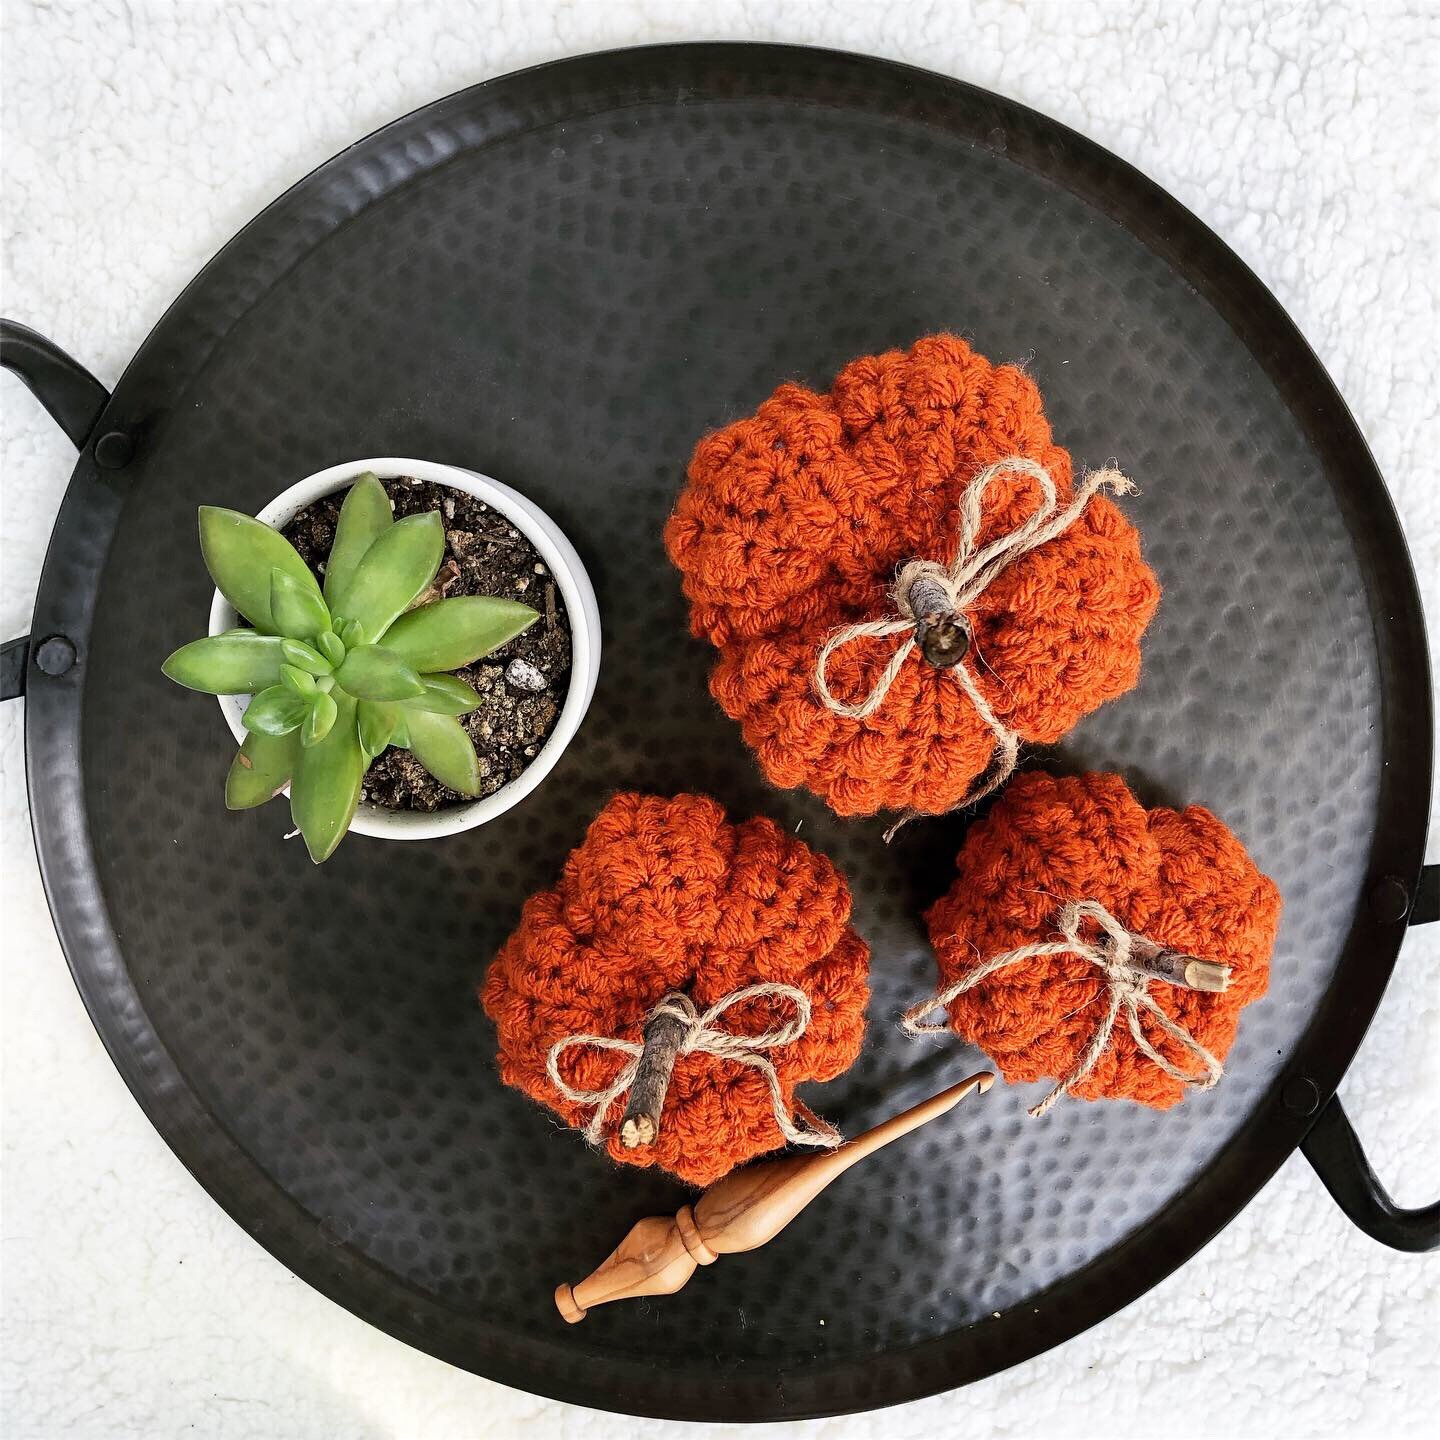
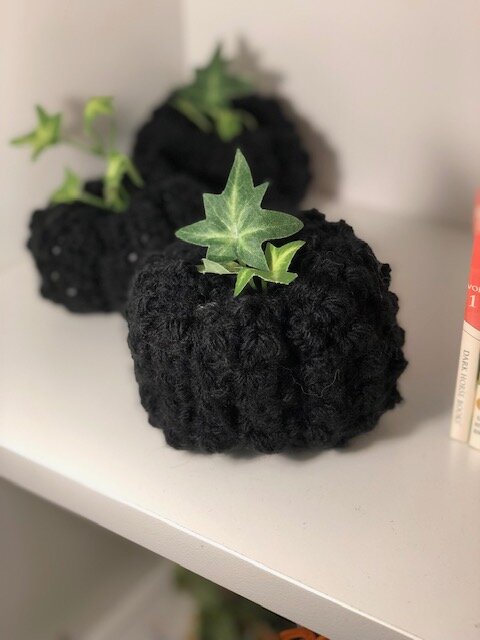
It’s Pumpkin Time!!
Like I said last post, fall is by far the best time of the year. One of the things I love about fall is all the adorable decor! And, just in time for fall, we’ve got these adorable pumpkins!
The pumpkin pattern for this week is quite easy to follow. Basically, all you need to do it make a rectangle approximately twice as long as it is wide, then do a little seaming and stuffing and BANG!! adorable pumpkins. They’re so easy and fun, you can whip up an entire house full of decorations in a couple of hours.
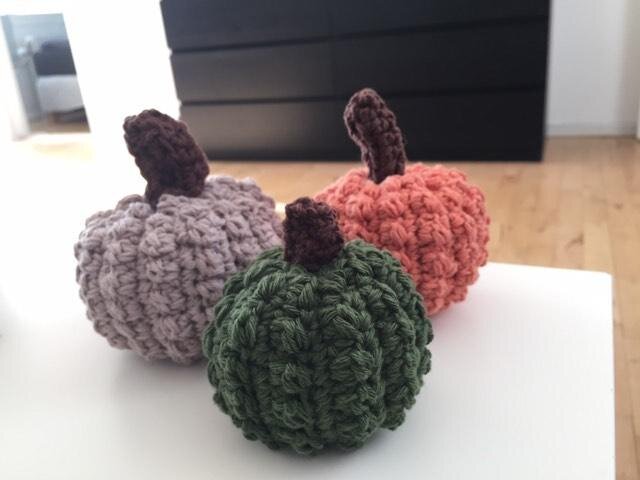
Pattern is written up for 3 different sizes; small(medium, large) so you can make oodles of them to put in many different places!
I used Caron One Pound to make these little guys, but they can be made in any medium weight 4 worsted/aran yarn or if you want larger chunkier versions, go ahead and crochet them up in that bulky chunky monkey yarn you’ve been saving.
Some substitute yarns for Caron One Pound would be Lion Brand Heartland, Wool-Ease or Vanna’s Choice, and Red Heart With Love or Soft.
Happy Crocheting!
I want to say a very big THANK YOU! to my testers for this pattern @crochetkat27, @theyarningbemis, @mettekindsbo, @raquelantoinette, @lizzybeecrafts, and @shigeru_hiko, you guys are absolutely awesome!

I love to see what you create!
Please share your creations with the community by tagging @ravinsekaidesigns and hashtag #evenberrypumpkins
I can’t wait to see the beautiful things you come up with!
Follow me on social media
Facebook: Ravin Sekai Designs
Ravelry: RavinSekai
Instagram: @ravinsekaidesigns
Pinterest: Ravin Sekai Designs
Patreon: Ravin Sekai Designs


What You Need:
Hook Size: 5mm hook
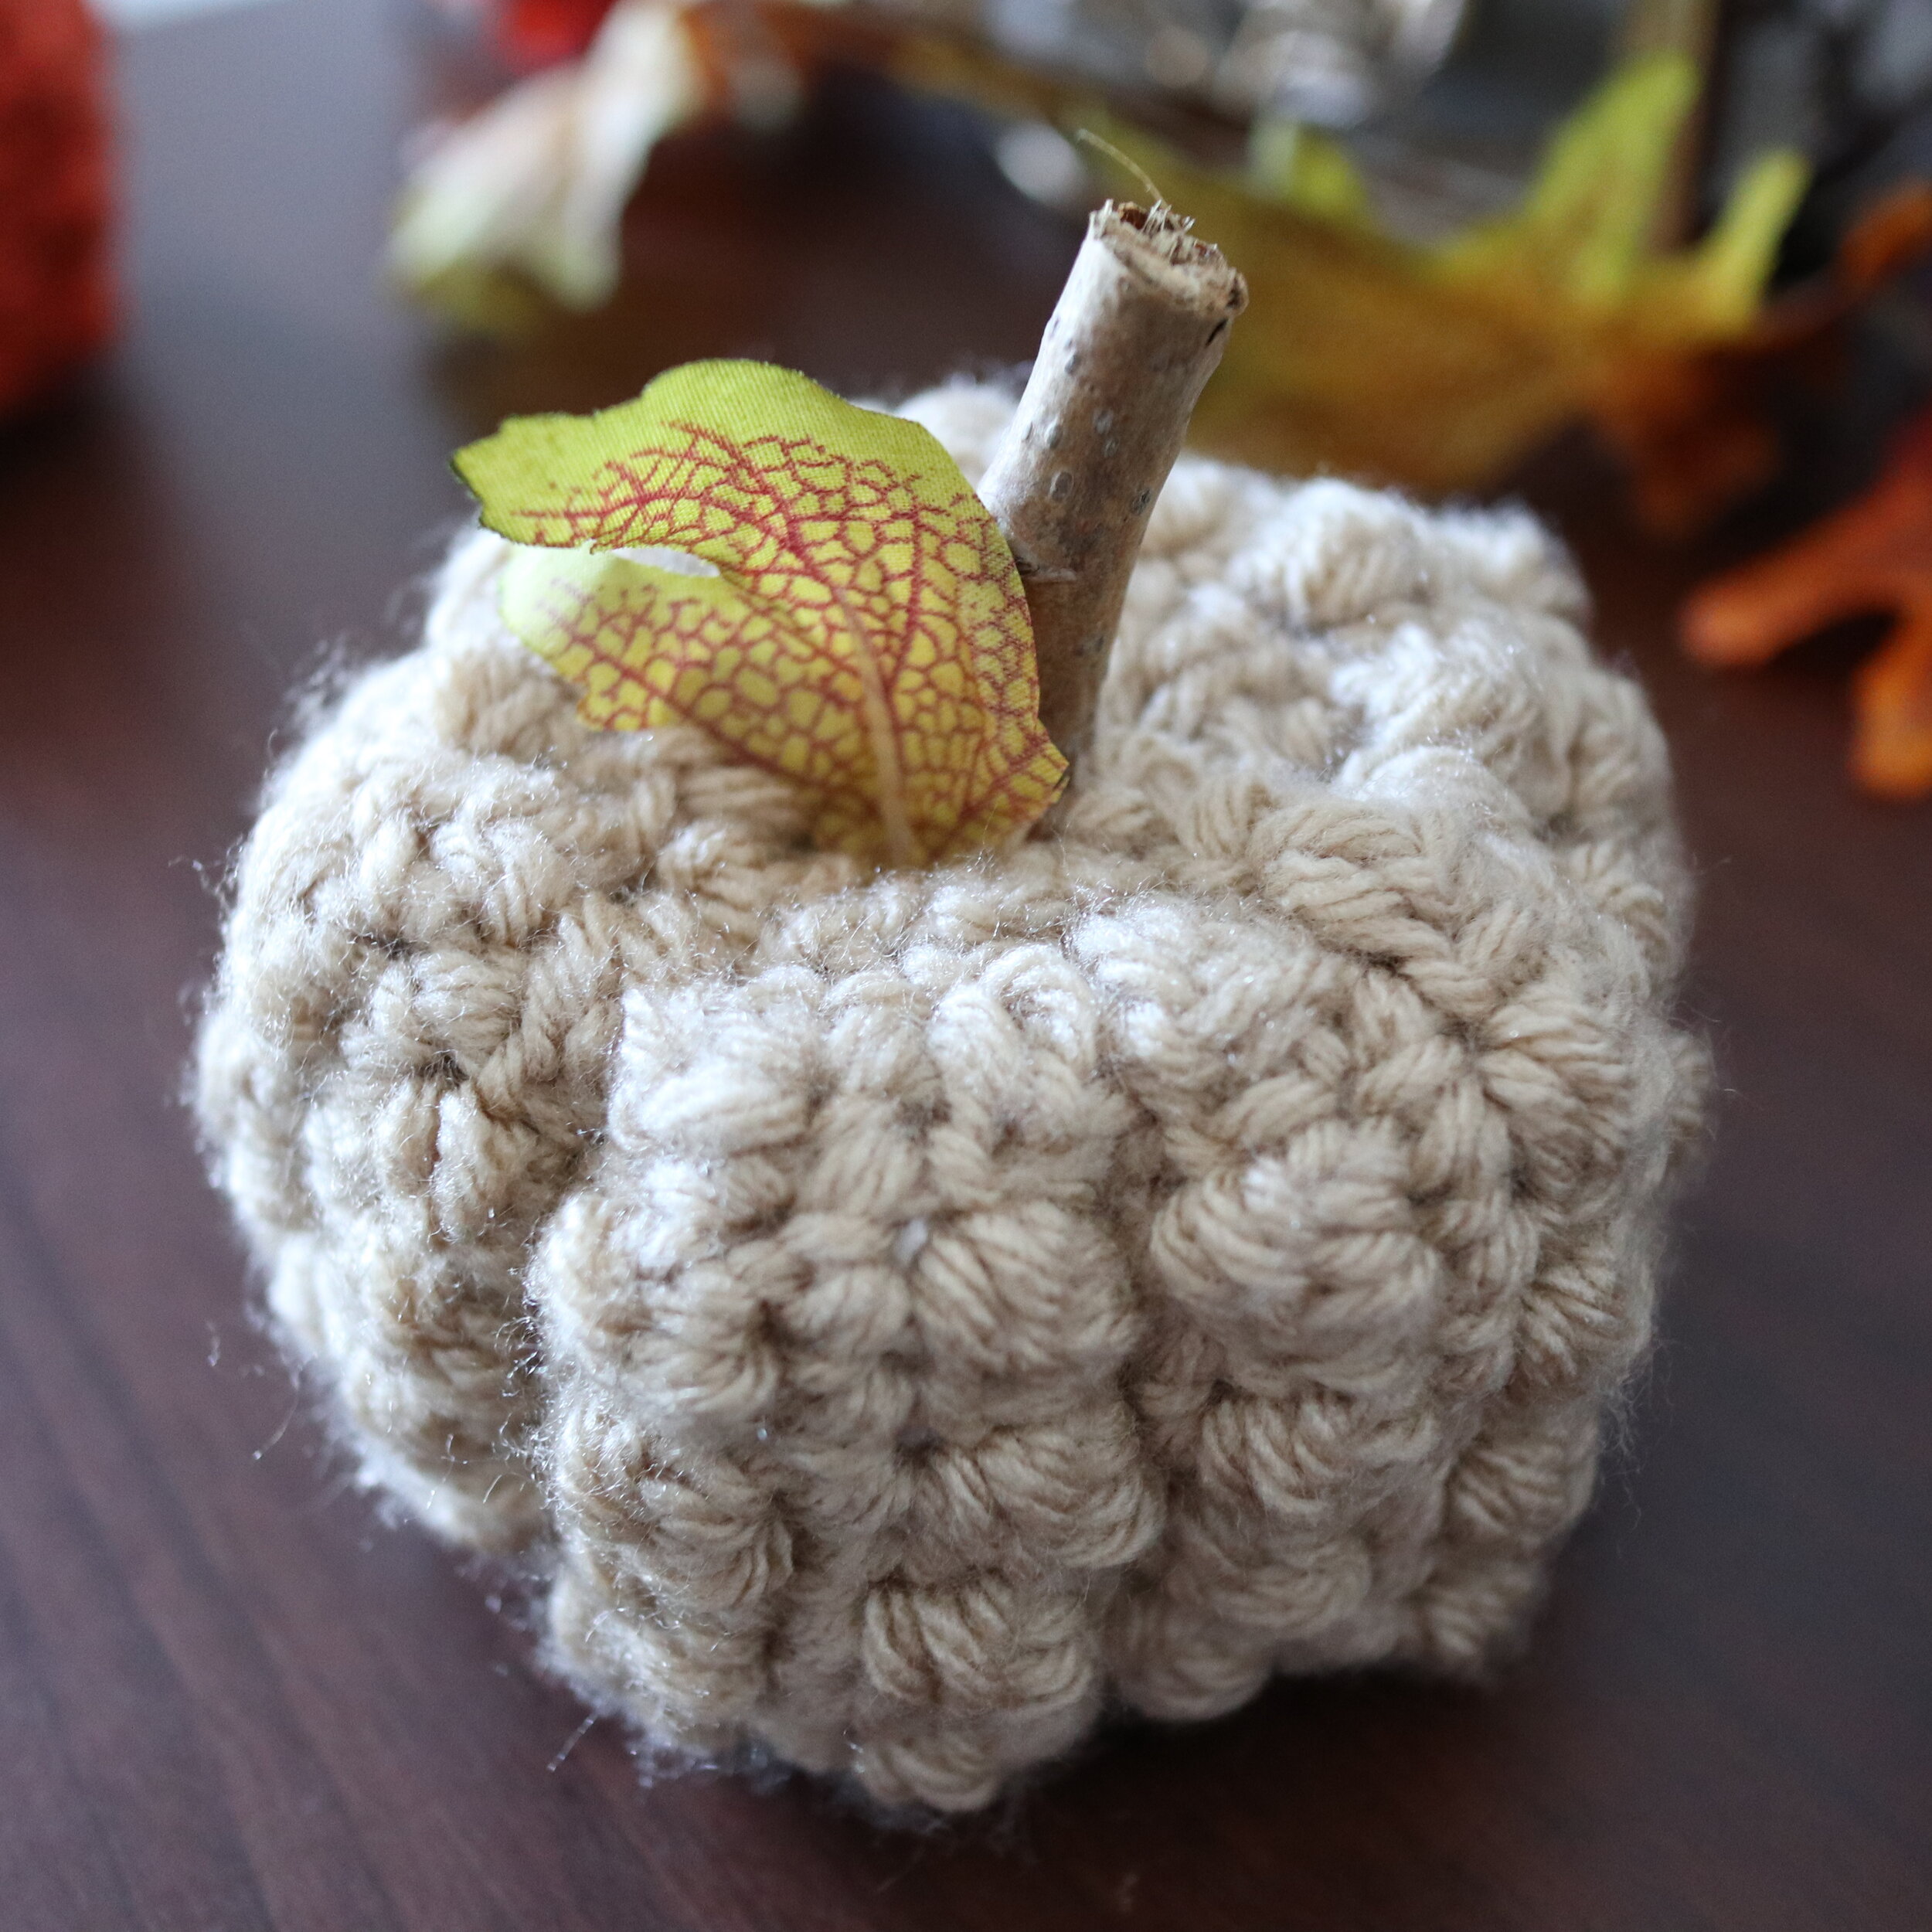
Yarn: Caron One Pound 100% acrylic Medium weight 4 yarn, 812 yards per skein. I used Colorways Pumpkin (small) Lace (medium) and Denim (large).
Gauge: 11.7st x 5.5 even berry repeats = 4” in Even Berry Stitch. Gauge is not super important for this project, but if you want to make a specific size pumpkin, make sure you make a gauge swatch.
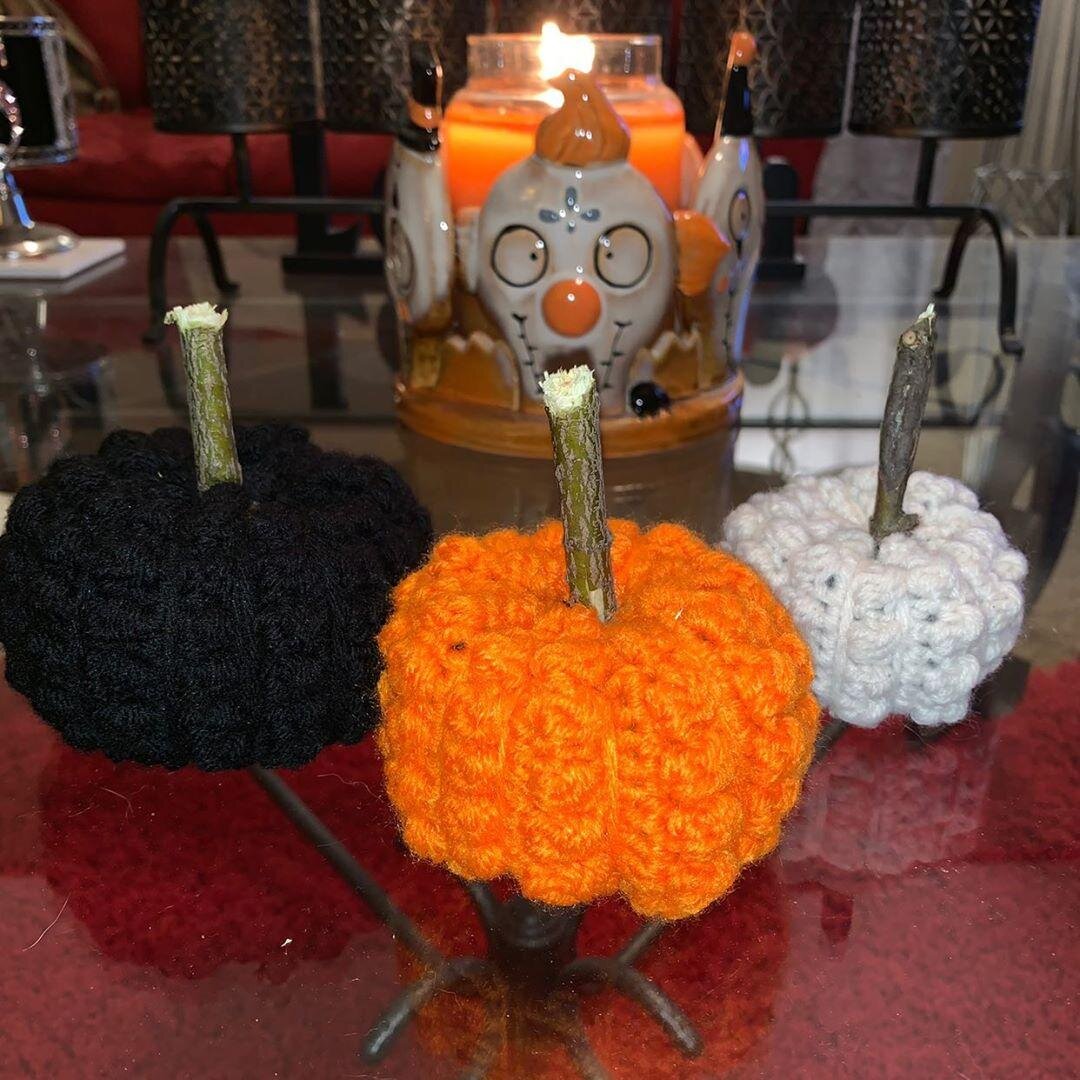
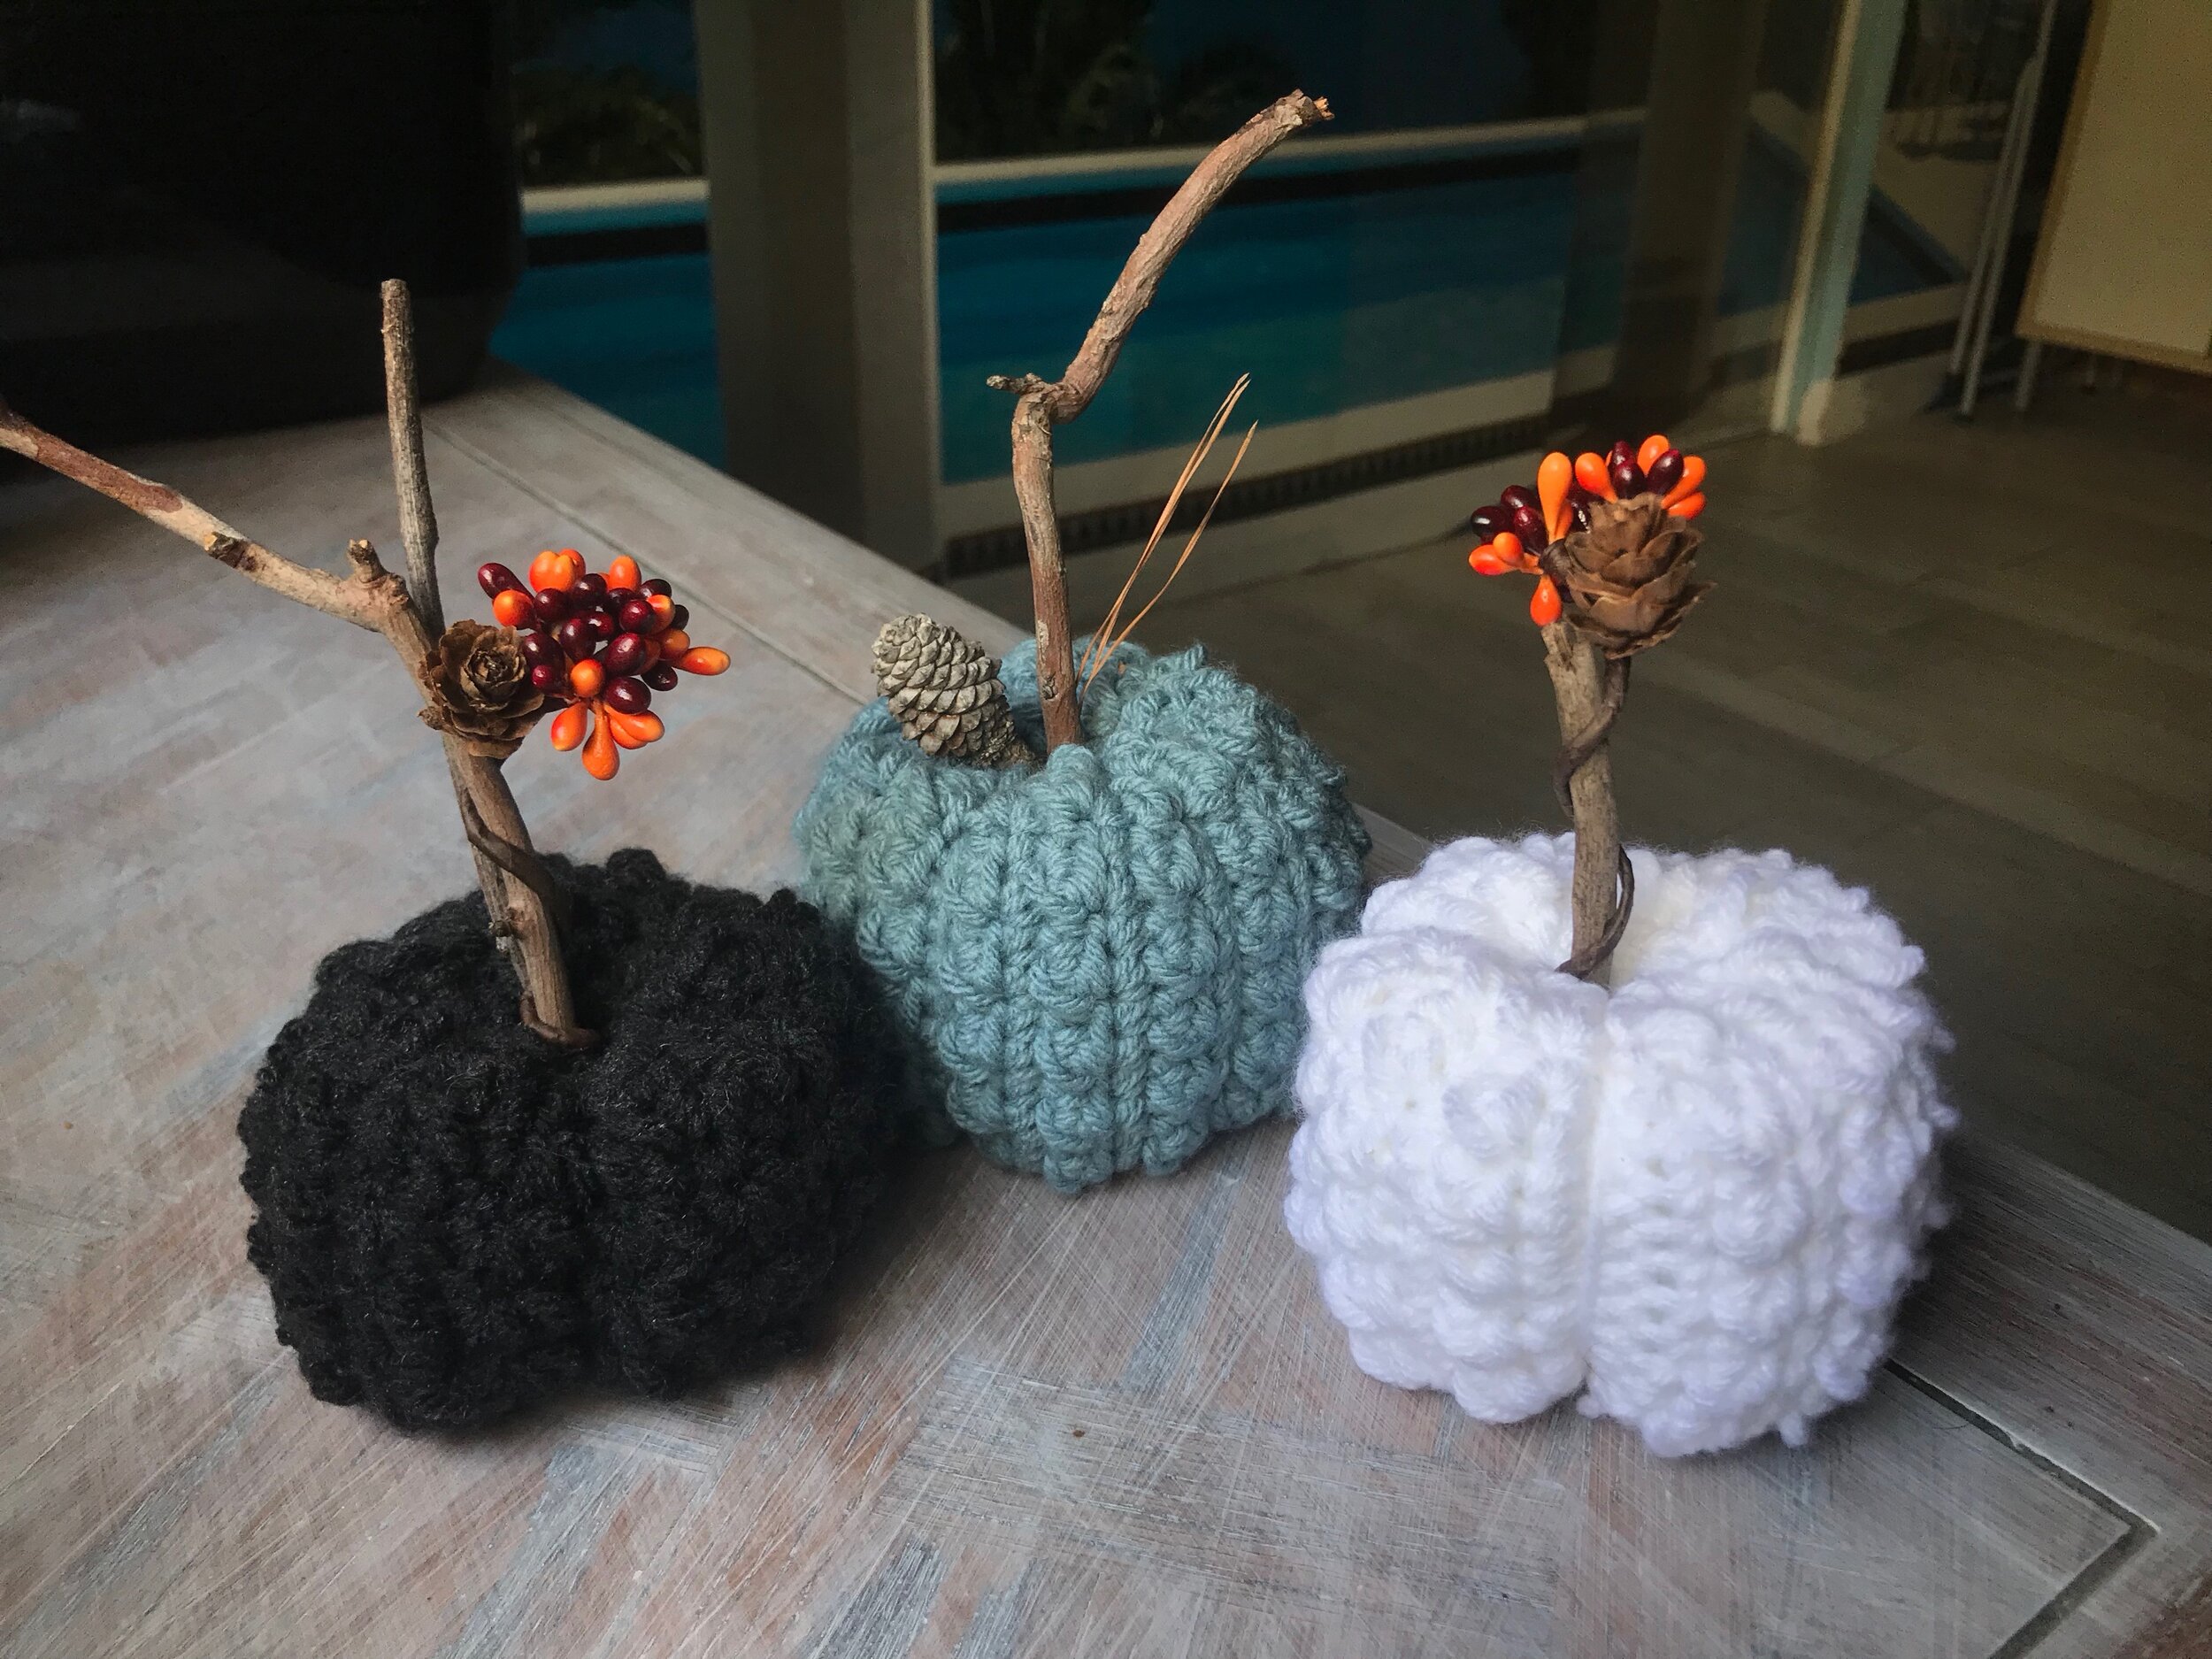
Other Material: Darning needle, 1 stick (can be from your yard, a cinnamon stick, or something decorative), leaves or other items for dressing.
Finished Pumpkin Size(approx): small: 2.25” tall x 4” wide, medium: 2.75” x 4.5”, large: 3” x 5” written small(medium, large) in pattern.
Skills Needed/Abbreviations:
Pattern is written in US abbreviations
Ch: chain
St/sts: stitch/stitches
Sc: single crochet
Berry st: yo and insert hook into next st, yo and draw through a loop, yo and draw through first loop on hook, yo and insert hook into same st, yo and draw through a loop, yo and draw through all 5 loops on hook
Yo: yarn over
Rep: repeat
Sl st: slip stitch
FO: Fasten off

SAVE IT FOR LATER
Pin it to Pinterest!
The Pattern:
Consider joining my Patreon for member perks. Thank you!


Base:
Ch 16 (18, 20)
Row 1: sc into 3rd ch from hook (counts as 2 sc), 13(15,17)sc into each ch to end, turn. 15(17,19)st about 5.2(5.9, 6.5) inches
Row 2: ch1 (counts as first sc), skip first st, * berry st into next st, sc into next sc* rep * * with last sc into starting ch1 below, turn. 15(17,19)st (it is a bit hard to see this sc, so it might be good to place a sm in it so you can see it)
Row 3: ch1 (count as first sc), skip first st, sc to end, turn. 15(17,19)st
Row 4: ch1 (count as first sc), skip first st *berry st into next sc, sc into next sc* rep* * to end, turn. 15(17,19)st
Row 5 - Row 24(28, 32): Rep Row 3 - Row 4 10(12,14) more times, 12(14,16) times total. Approx: 9(10.5, 12) inches
FO
Construction and Shaping:
1.Place shorter ends together with berry stitch facing inwards, ch1, sl st up ends together and flip seam to the inside. (Berry st facing out)
2. With a darning needle, weave tail through top every 2 rows. Pull hole closed and sew tight.
3. Weave yarn up through bottom of pumpkin, then stuff pumpkin (I use yarn ends from other projects to stuff when I make things for myself, you can use fiberfill too!)
4. Pulling yarn tight, weave yarn through every two rows along top of pumpkins to close top, leave a hole big enough for your pumpkin stem.
5. To make a more pumpkin like shape, wrap the yarn down between the rows of berry sts, then through the bottom, back up through the top hole, and pull yarn tightly. Rep 4 - 5 times evenly around the pumpkin. Each pumpkin bump doesn’t need to be completely even (real pumpkins aren’t, am I right?). I did 4 times for my large size pumpkin and 5 for both medium and small.
Push your stem (stick, cinnamon stick, etc) through the hole and add any decorations you might want
Weave in any ends you might have, and you’re done!
IF YOU LIKED THIS PATTERN, PLEASE SUPPORT ME ON PATREON OR BUY ME A COFFEE!

BUY ME A COFFEE
Support me on Patreon
I love to see what you create!
Please share your creations with the community by tagging @ravinsekaidesigns and hashtag #evenberrypumpkins
I can’t wait to see the beautiful things you come up with!
Follow me on social media
Facebook: Ravin Sekai Designs
Ravelry: RavinSekai
Instagram: @ravinsekaidesigns
Pinterest: Ravin Sekai Designs
Patreon: Ravin Sekai Designs