
Ashley Winter Hat
For the free pattern of this garment please continue on this page. Please consider supporting me by purchasing the 100% ad-free PDF with full charts for this pattern on my Ravelry or ETSY pages. Or consider joining my Patreon for member perks.
Hey all! How is everyone doing out there? Here in Montreal, there’s snow on the ground and probably more on the way. I guess we’re going to have a white Christmas after all! (Which, I guess that isn’t so weird for these parts).
Here at the Hill Home, we’ve got the tree up, presents somewhere out in mail land with dubious due dates, and Christmas dinner ready for cooking! Yeah, I know, there’s still 15 days between now and Christmas, but I AM READY!
Though, I still haven’t finished all my gifts for the season… anyway, enough about us here.
ABOUT THIS Hat:
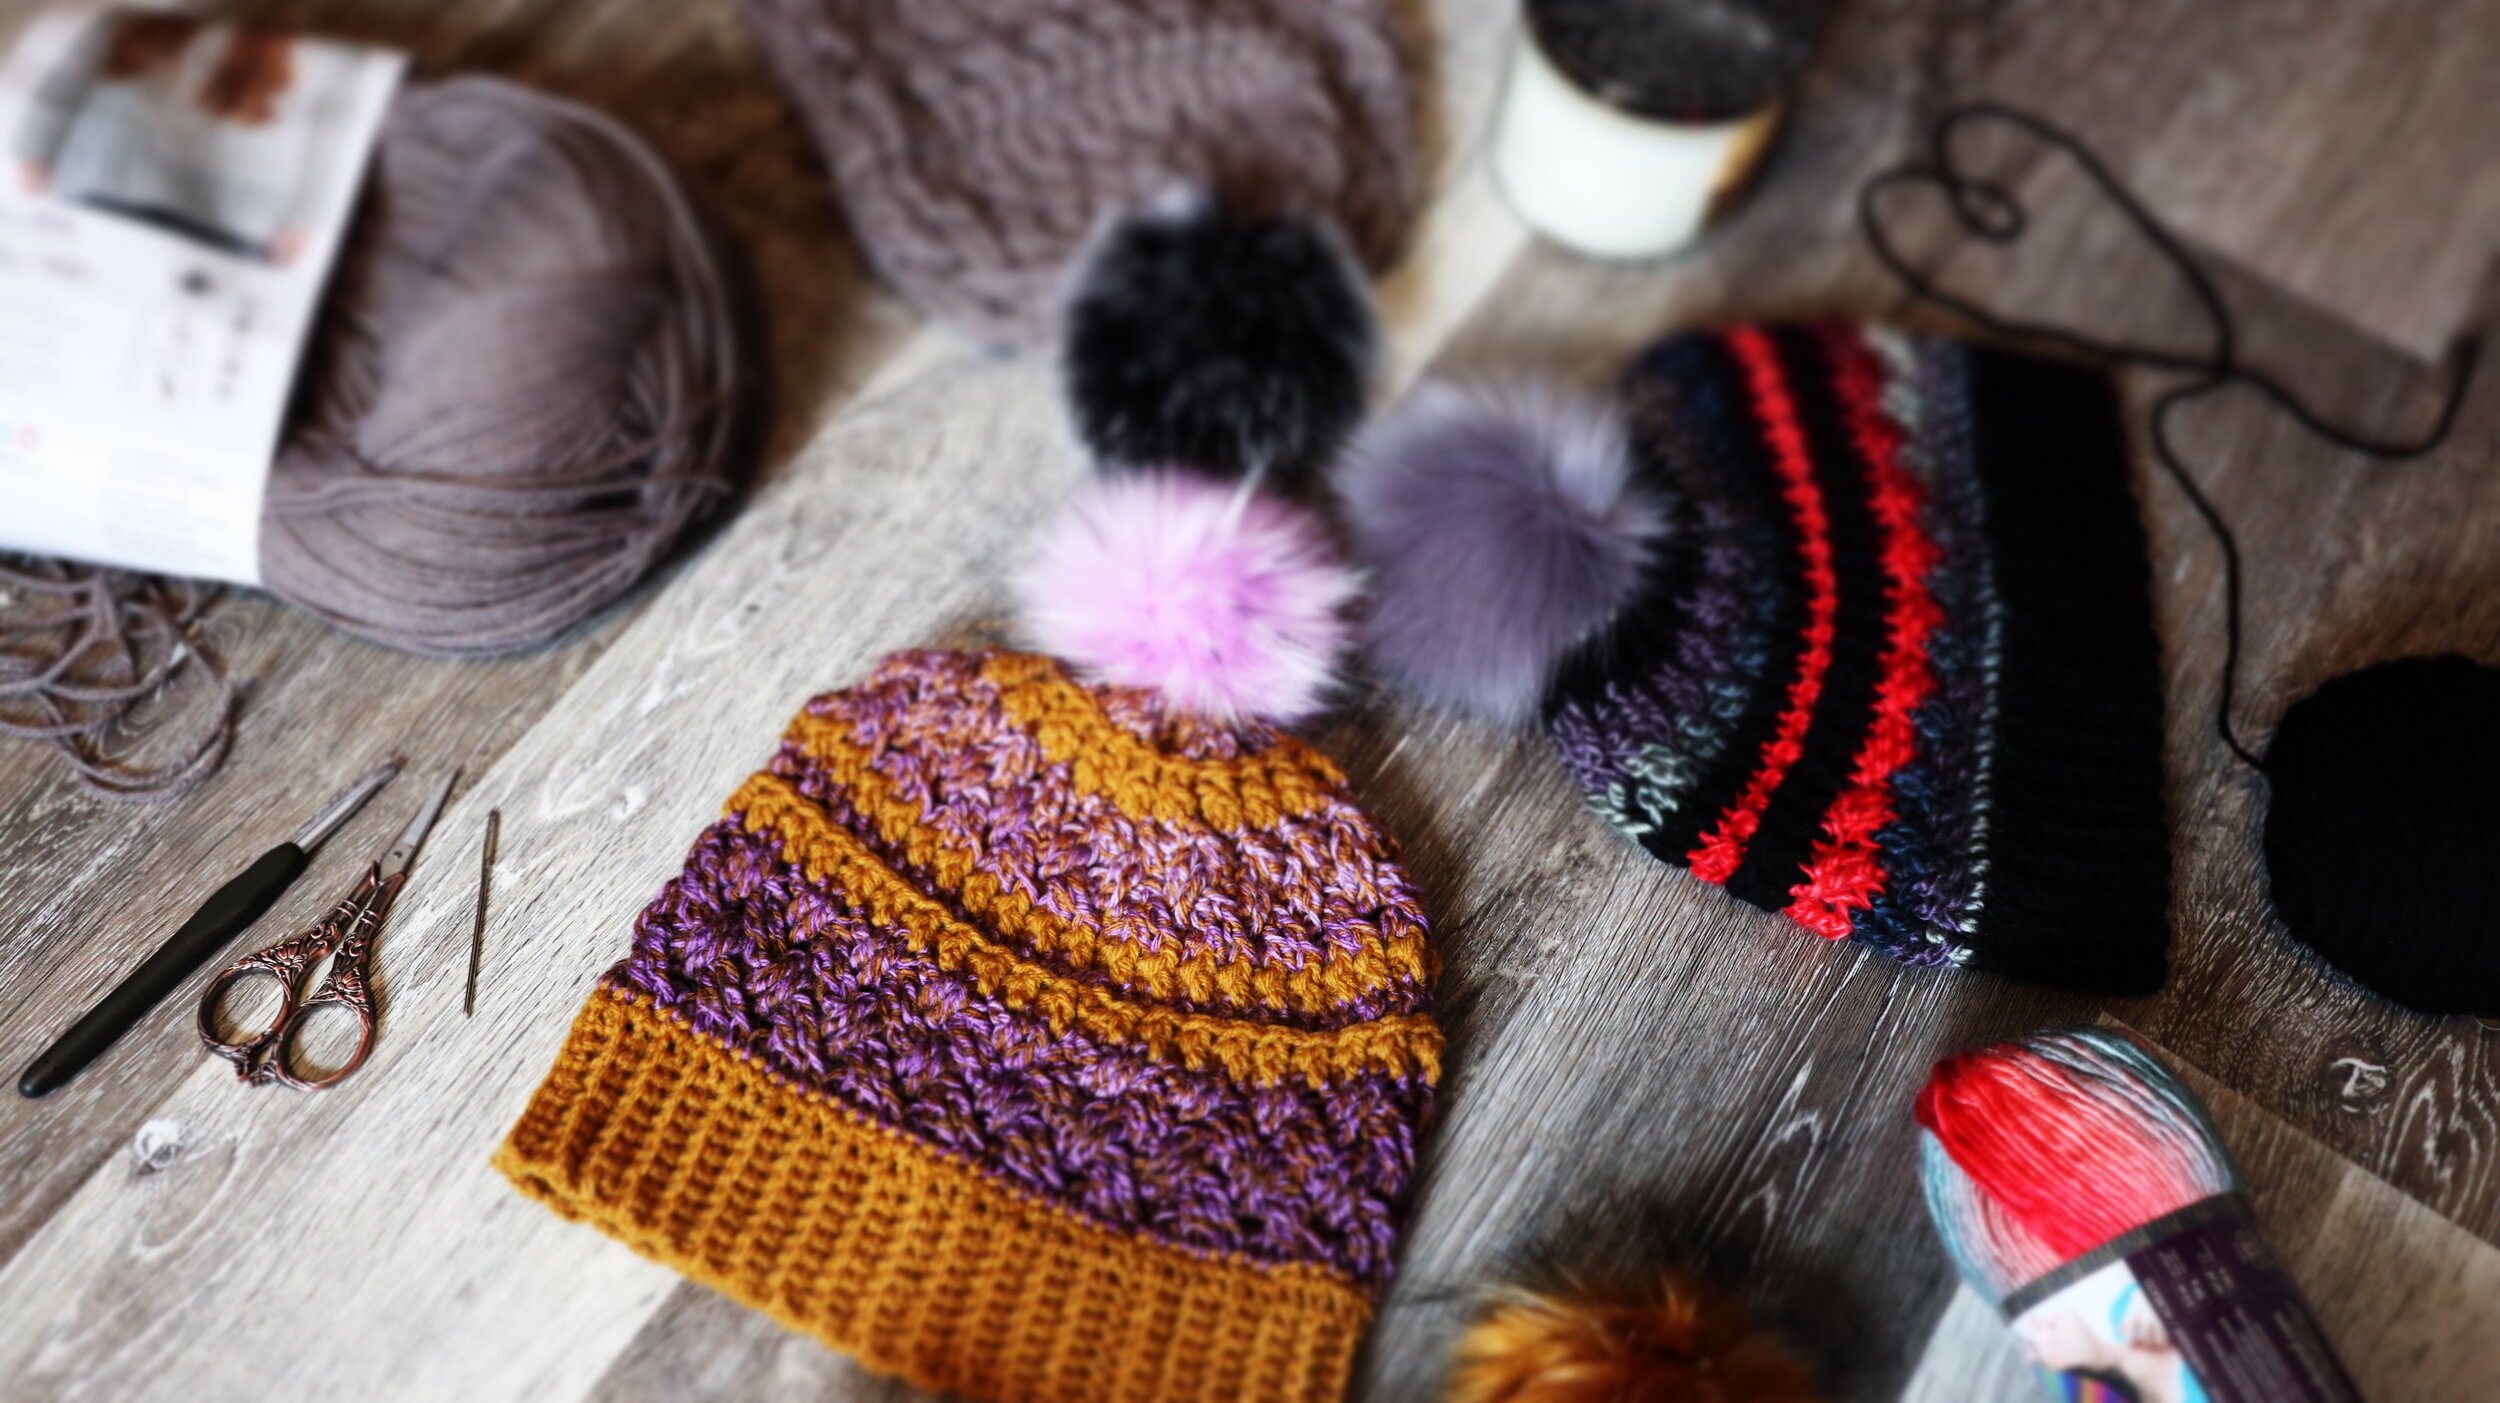
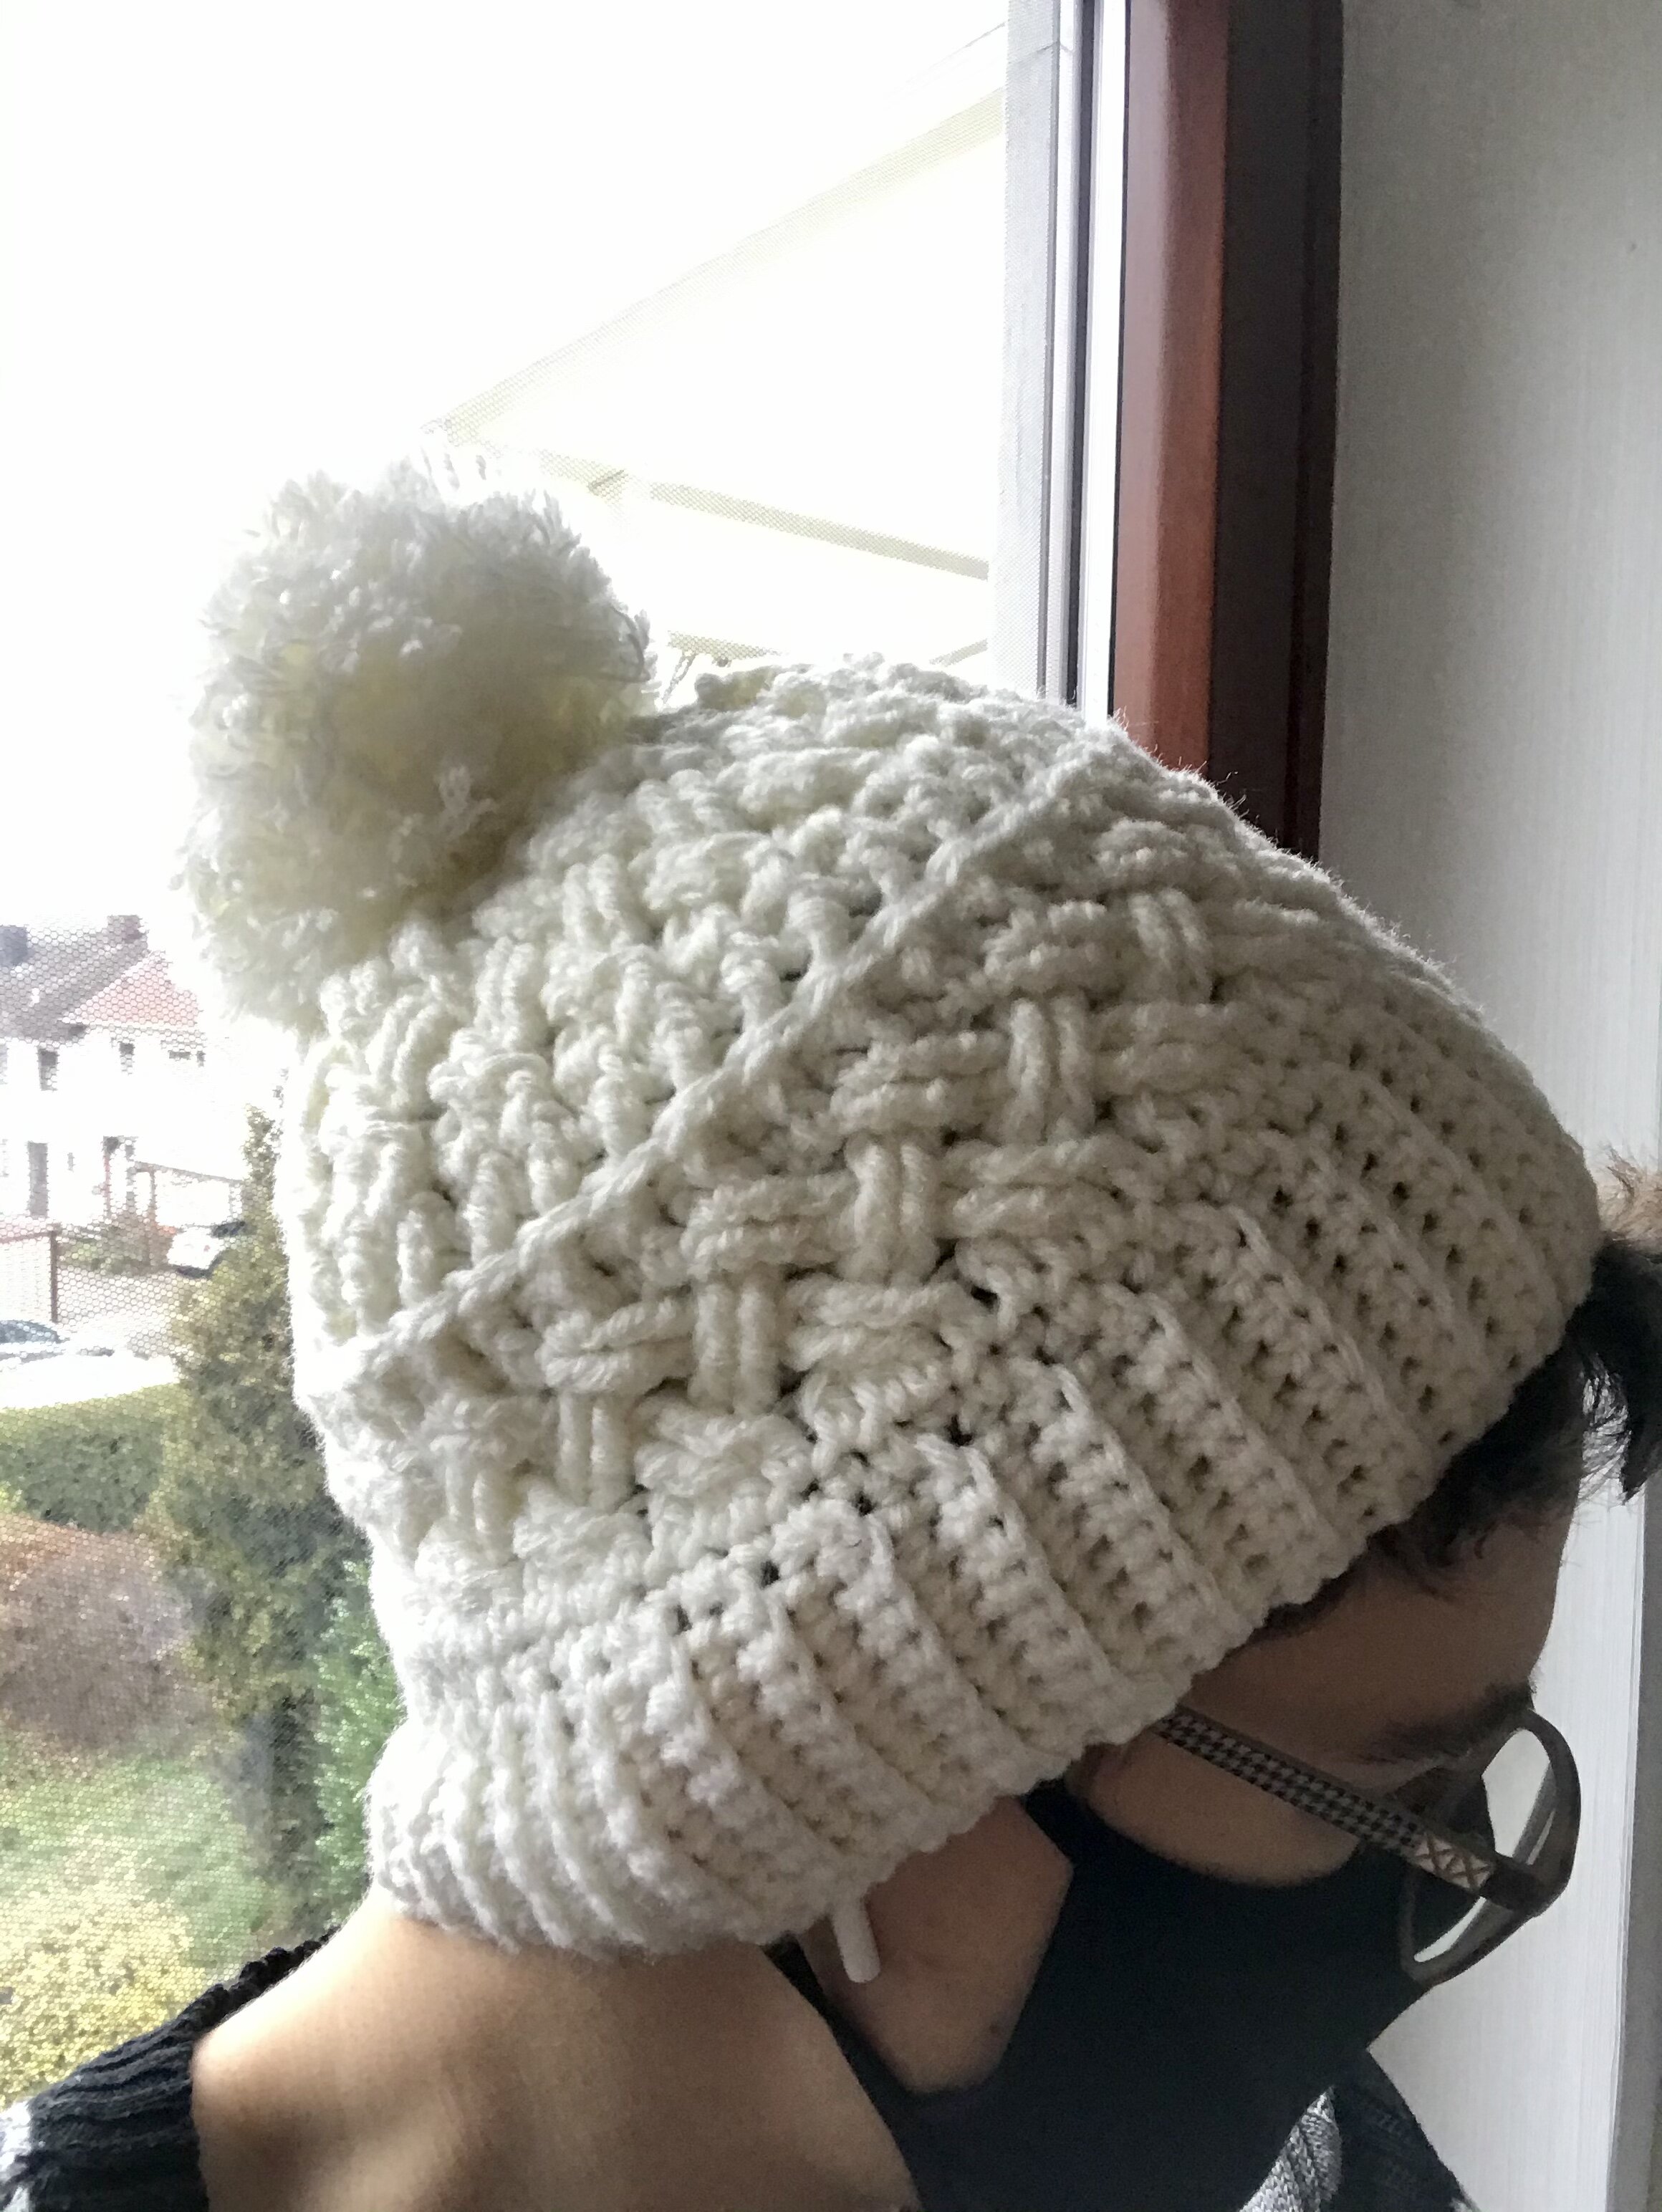
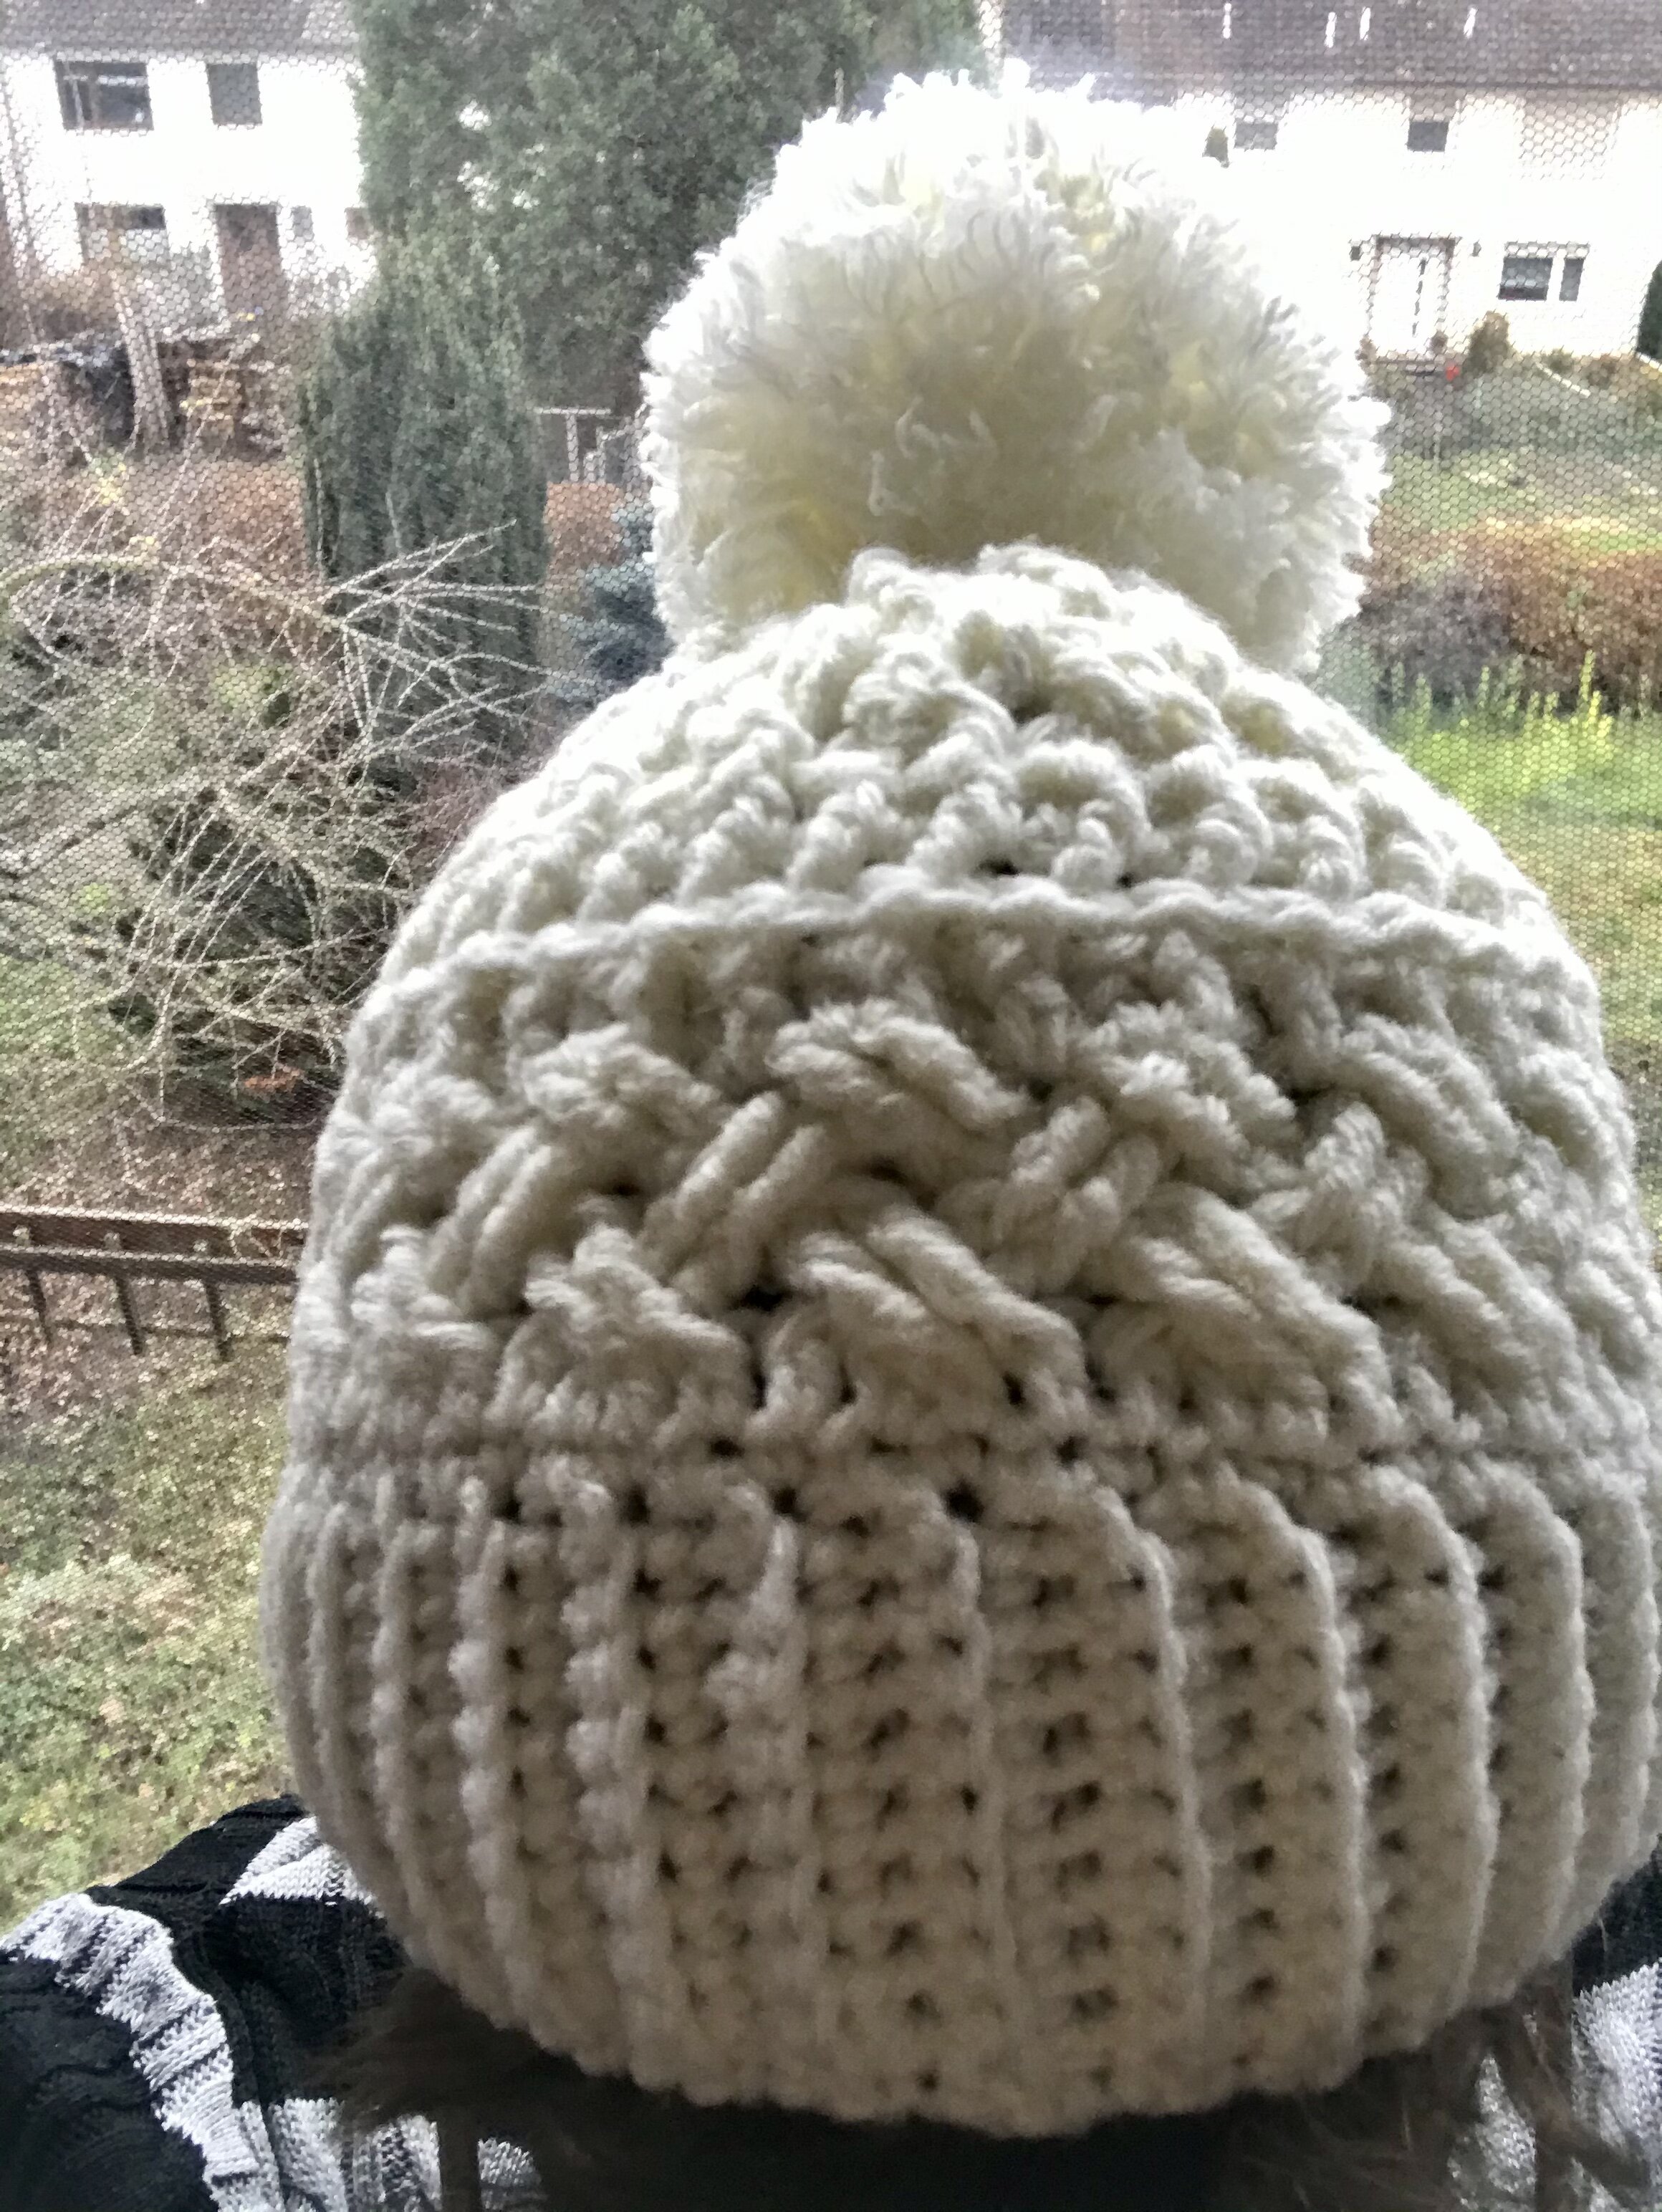
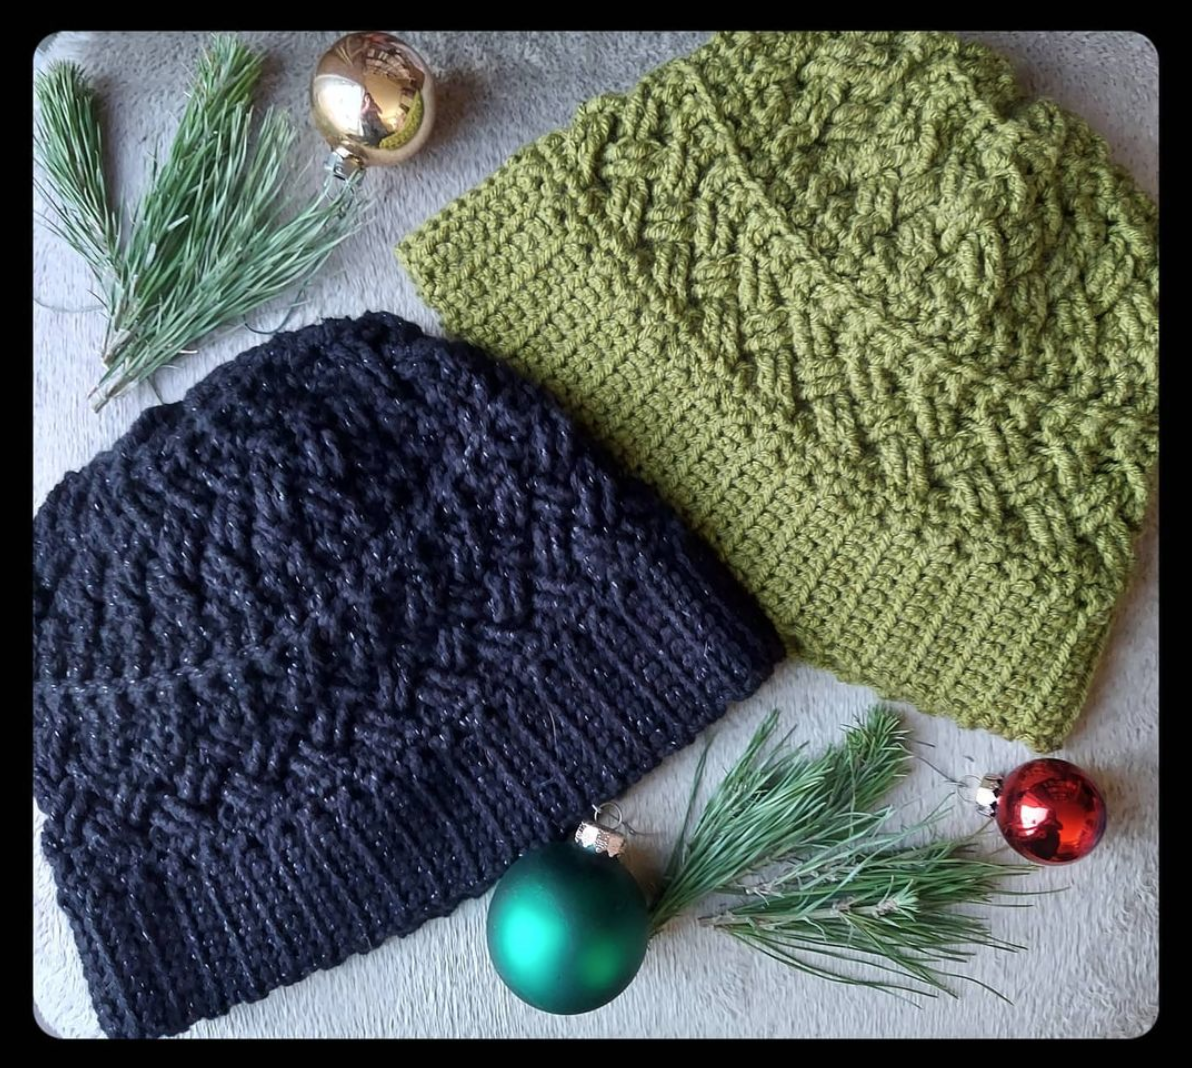
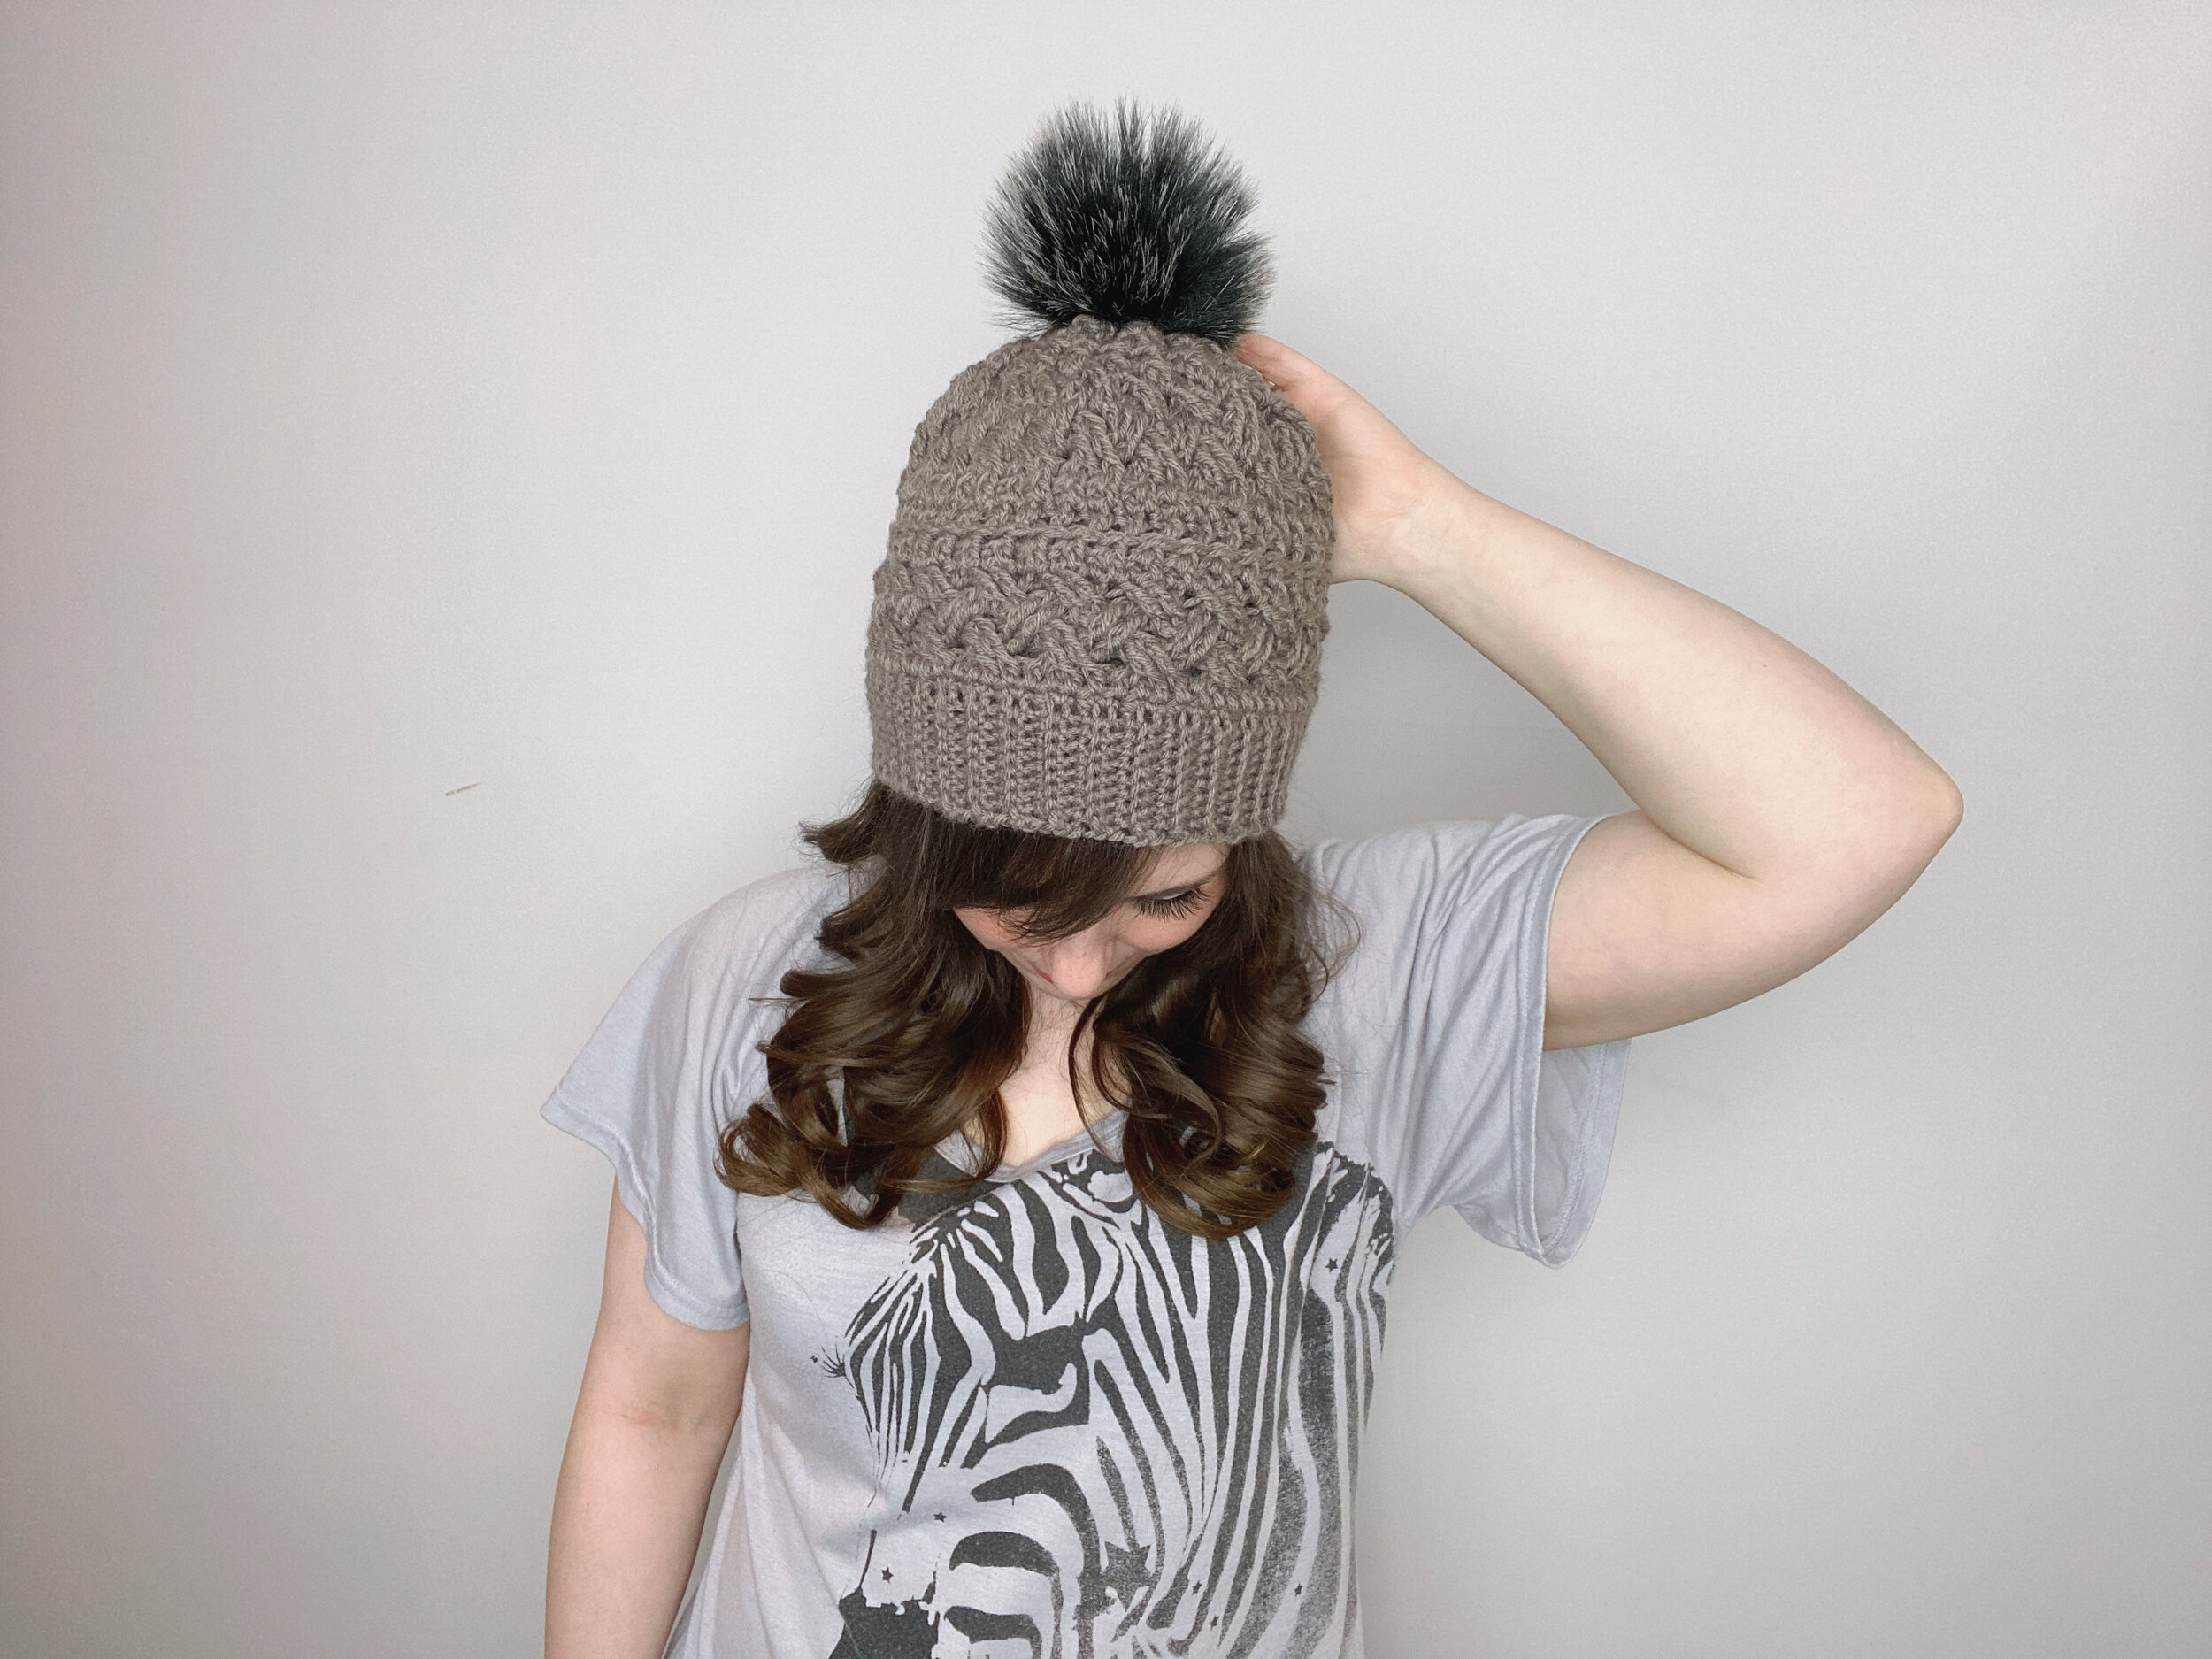
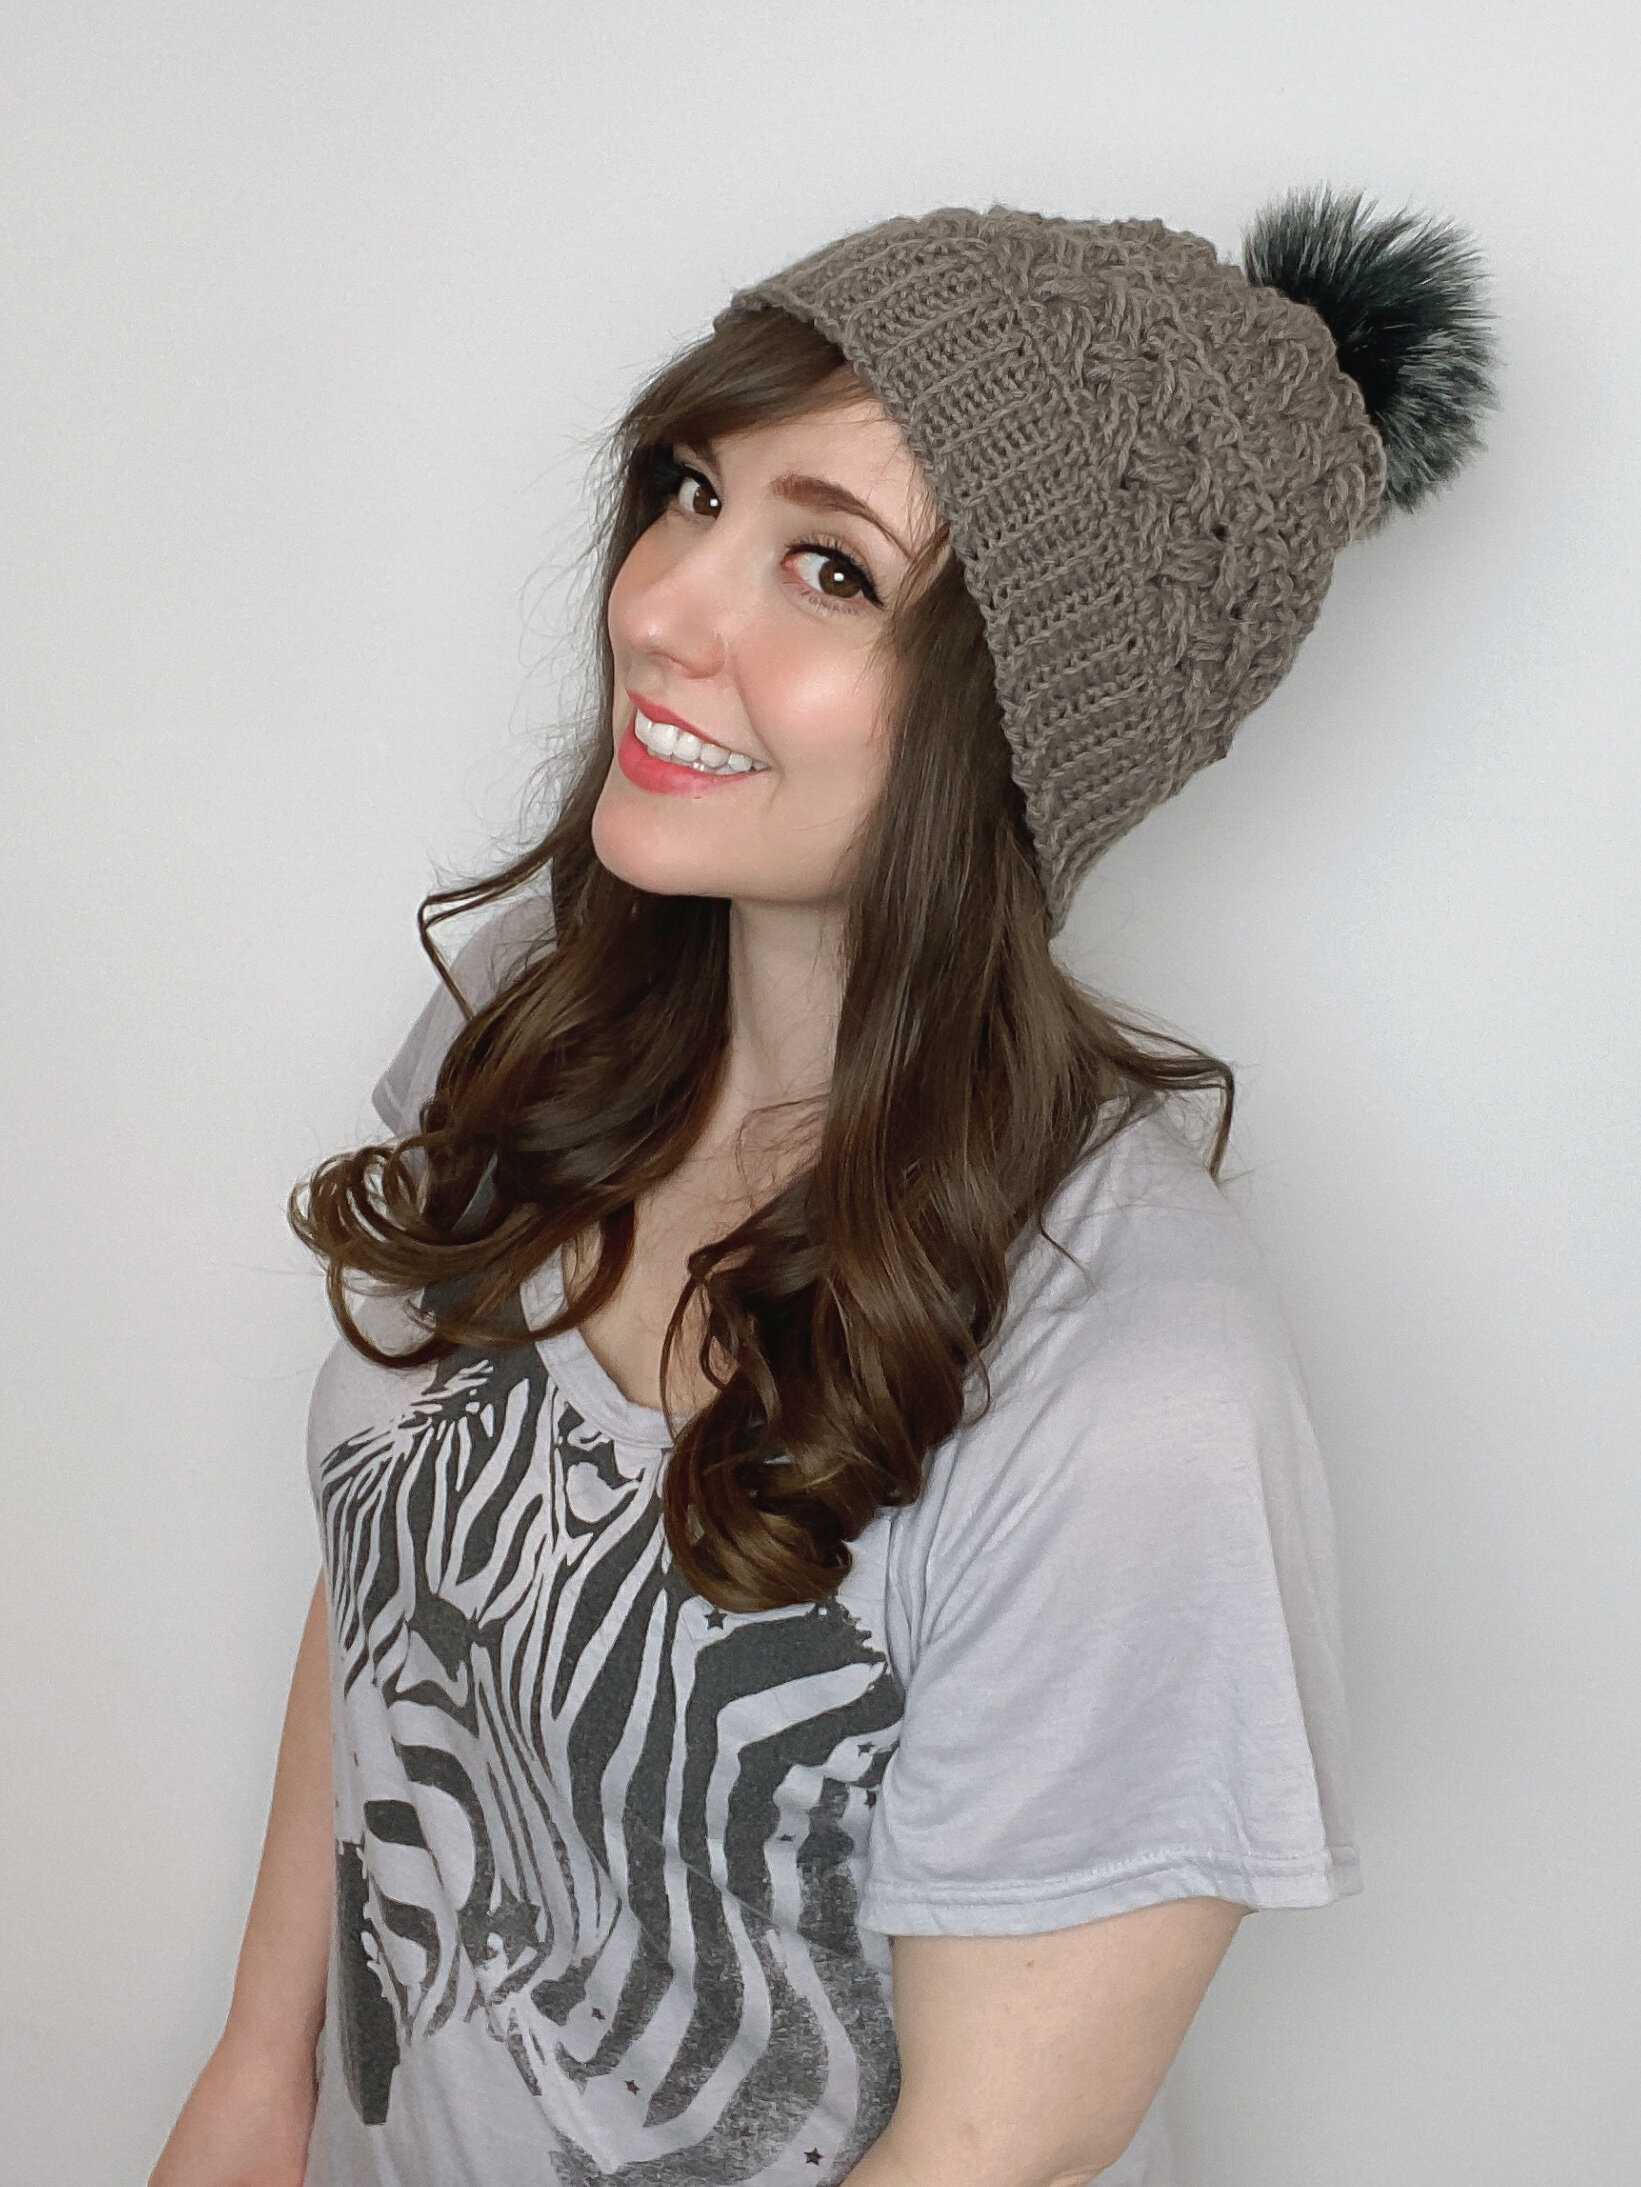
This is the Ashley Winter Hat. If you remember last month, we introduced you to the Ashley Pocket Shawl, and it was a big hit! But, then I had a ton of requests for a set. So, the Ashley Winter Hat was born! It is the perfect companion for your pocket shawl, and the set it a great gift idea if you still have a few things you need to get finished for those special people in your life.
The hat, like the shawl, uses the Celtic Weave Stitch and the “crosses” portion of the Zeros and Crosses Stitch. Both of these stitches are on the intermediate side, so if you’re more of a beginning crocheter, there’s a video in the notes section that should be able to help you out!
There are directions for 3 adult sizes; small, medium, and large. But, the hat is extremely customizable. You only have to crochet the rows for the brim in multiples of 4 until it fits comfortably around you head, then follow the directions that are set out in the pattern. You can even use the directions to make children’s sizes.
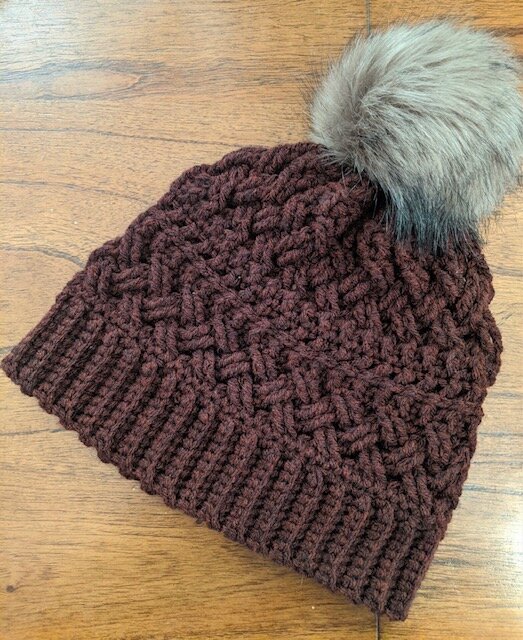
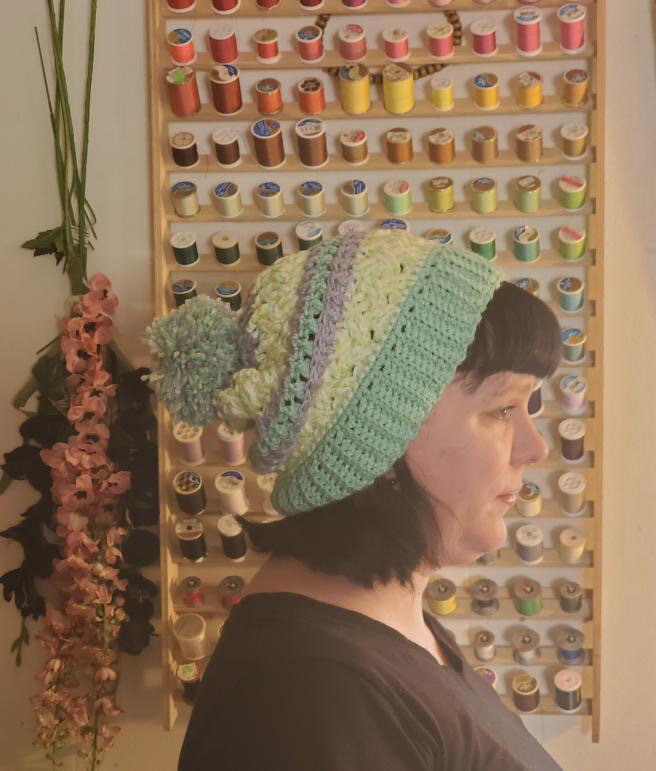
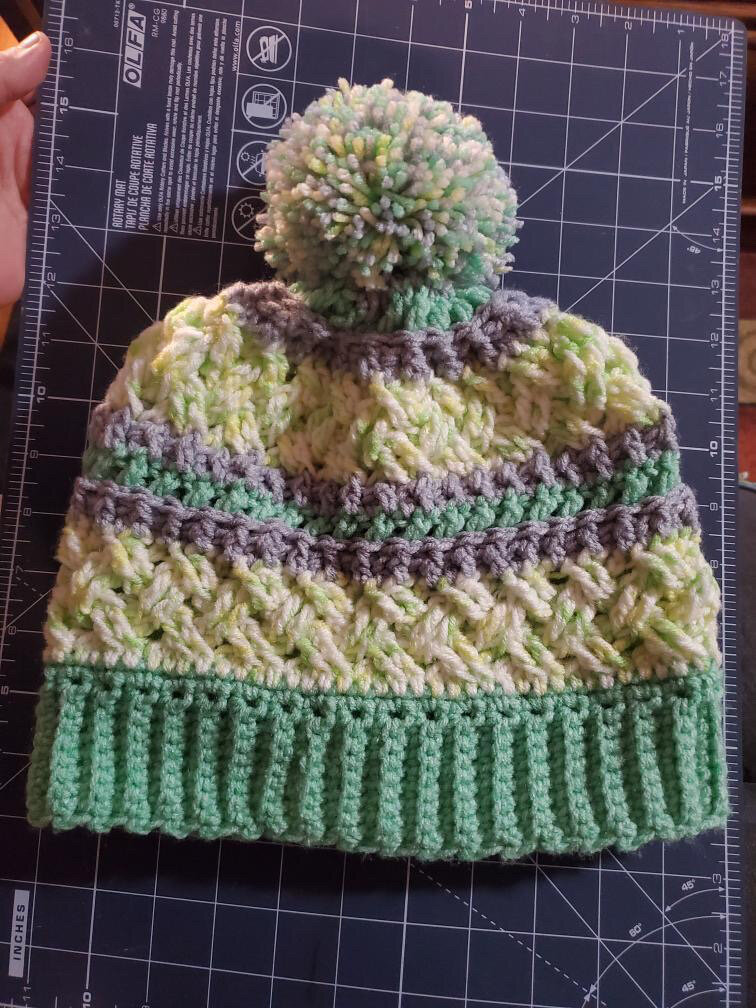
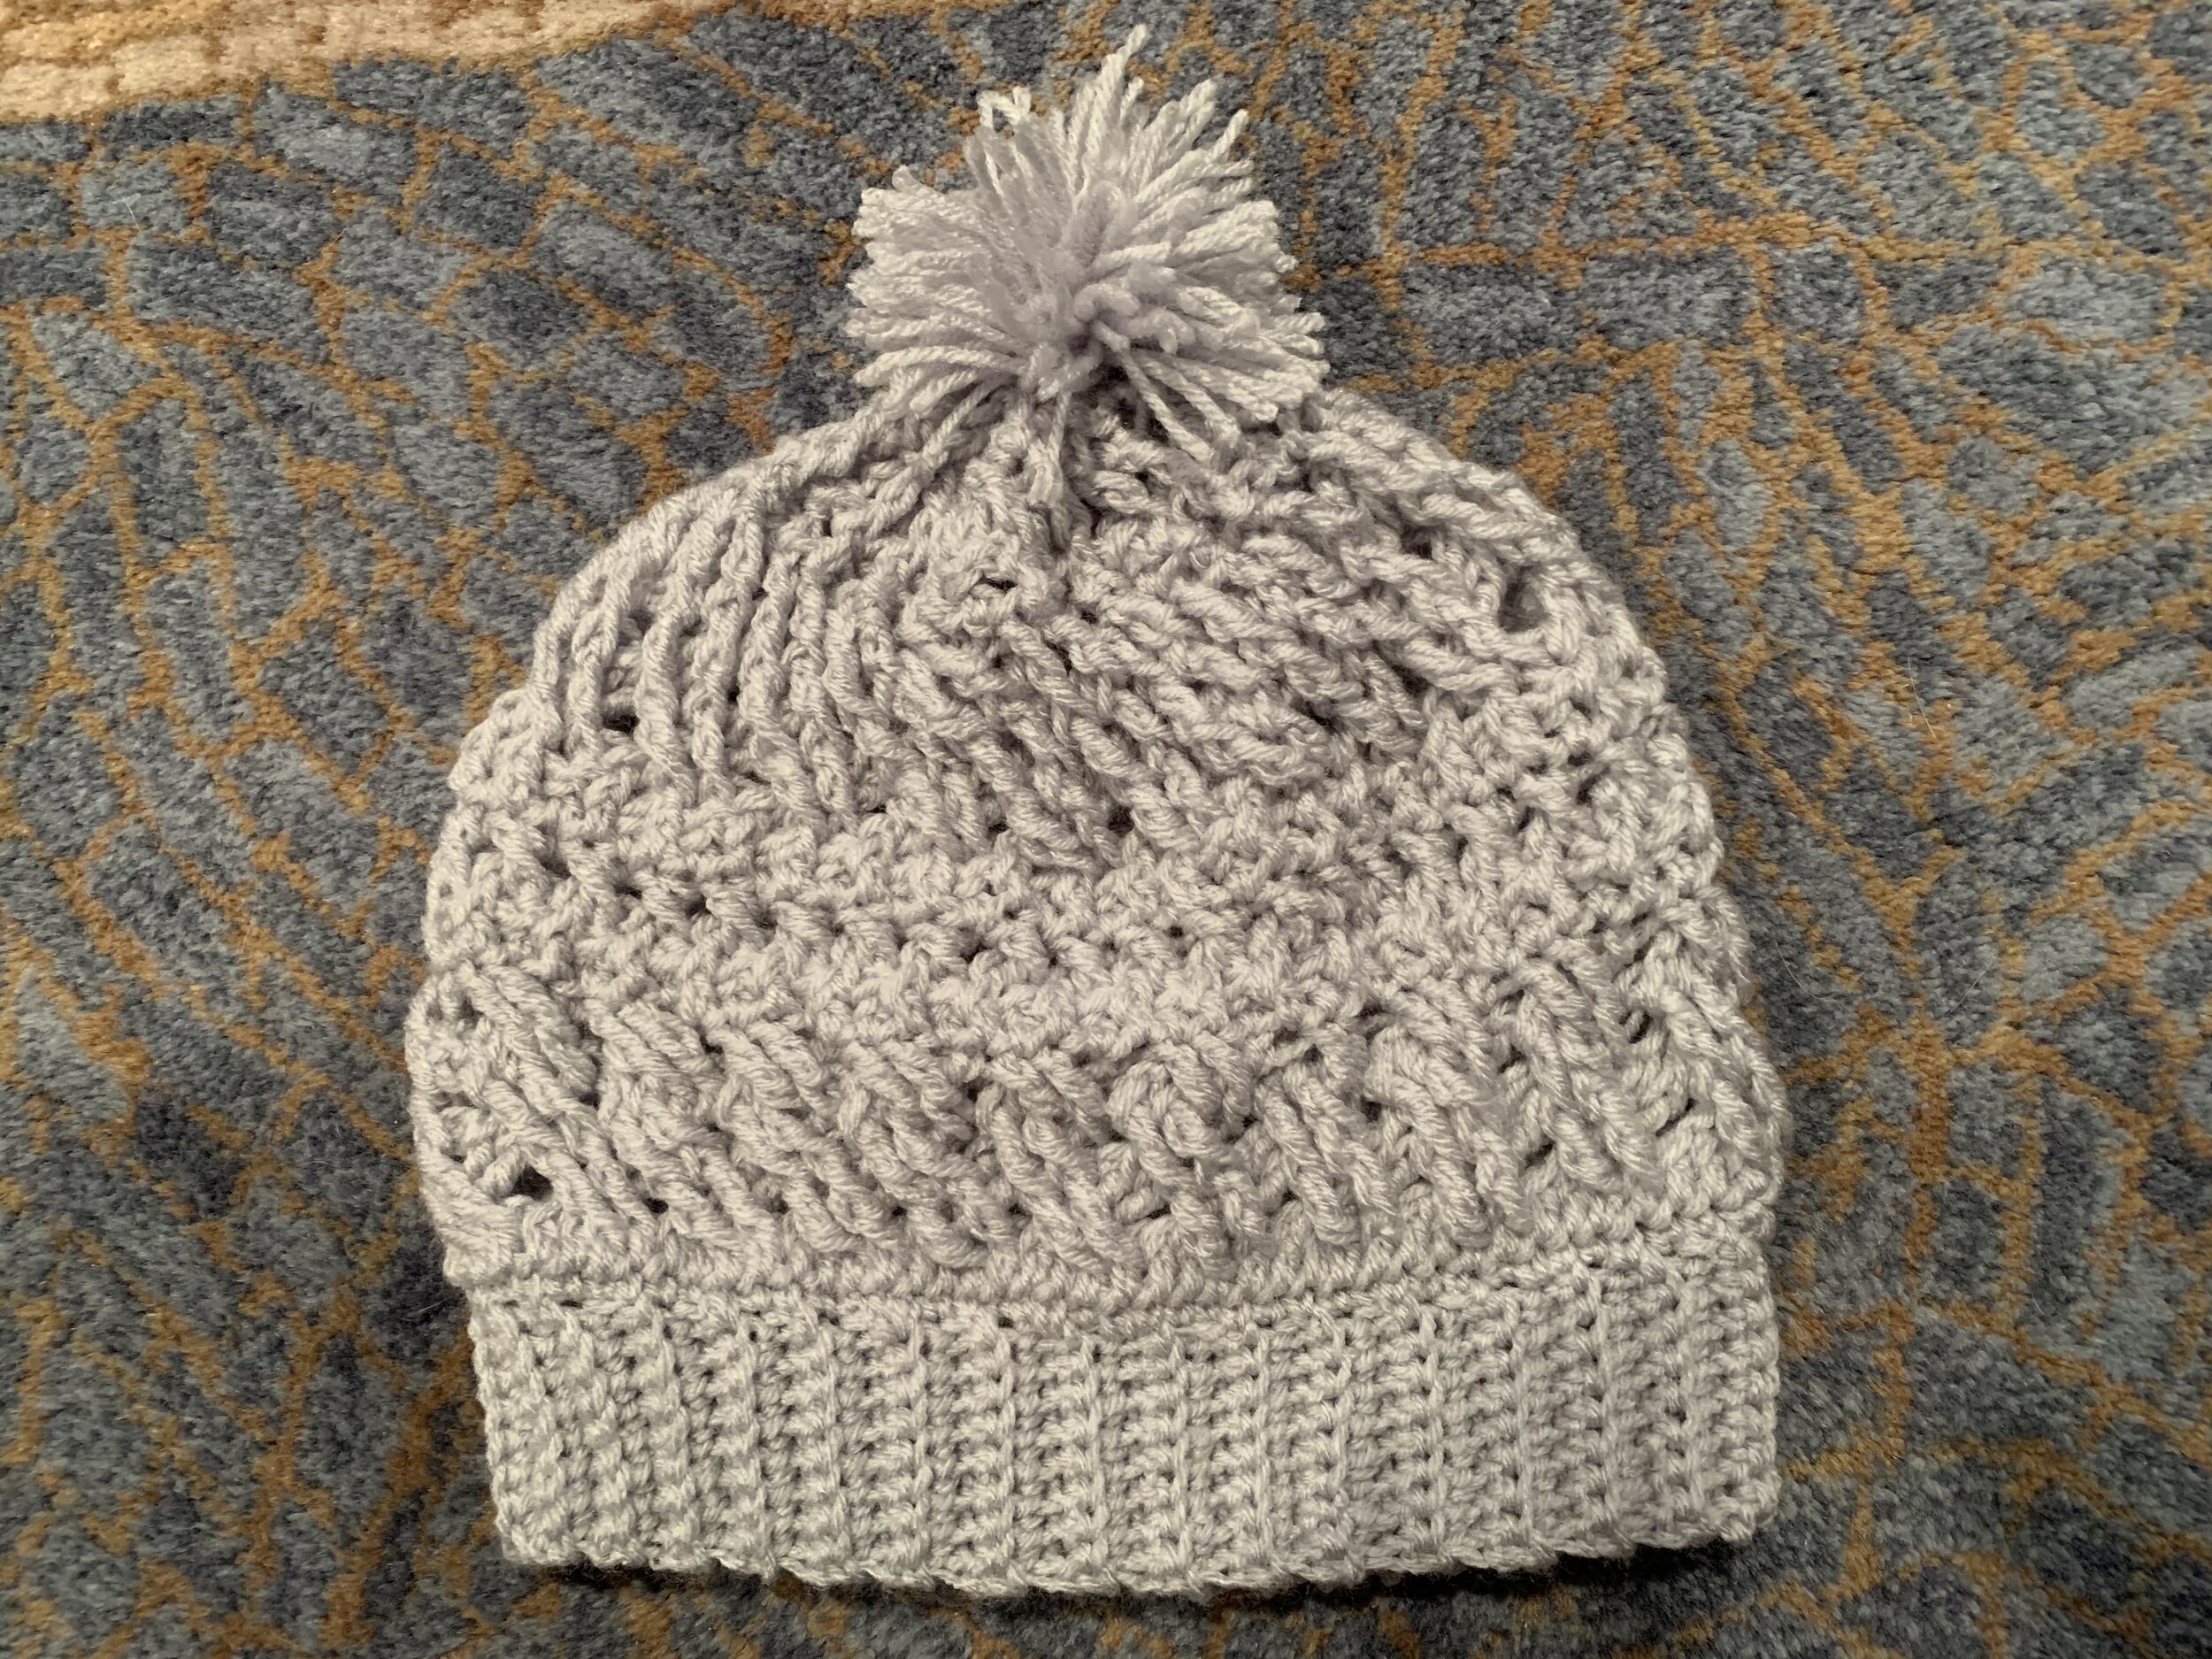
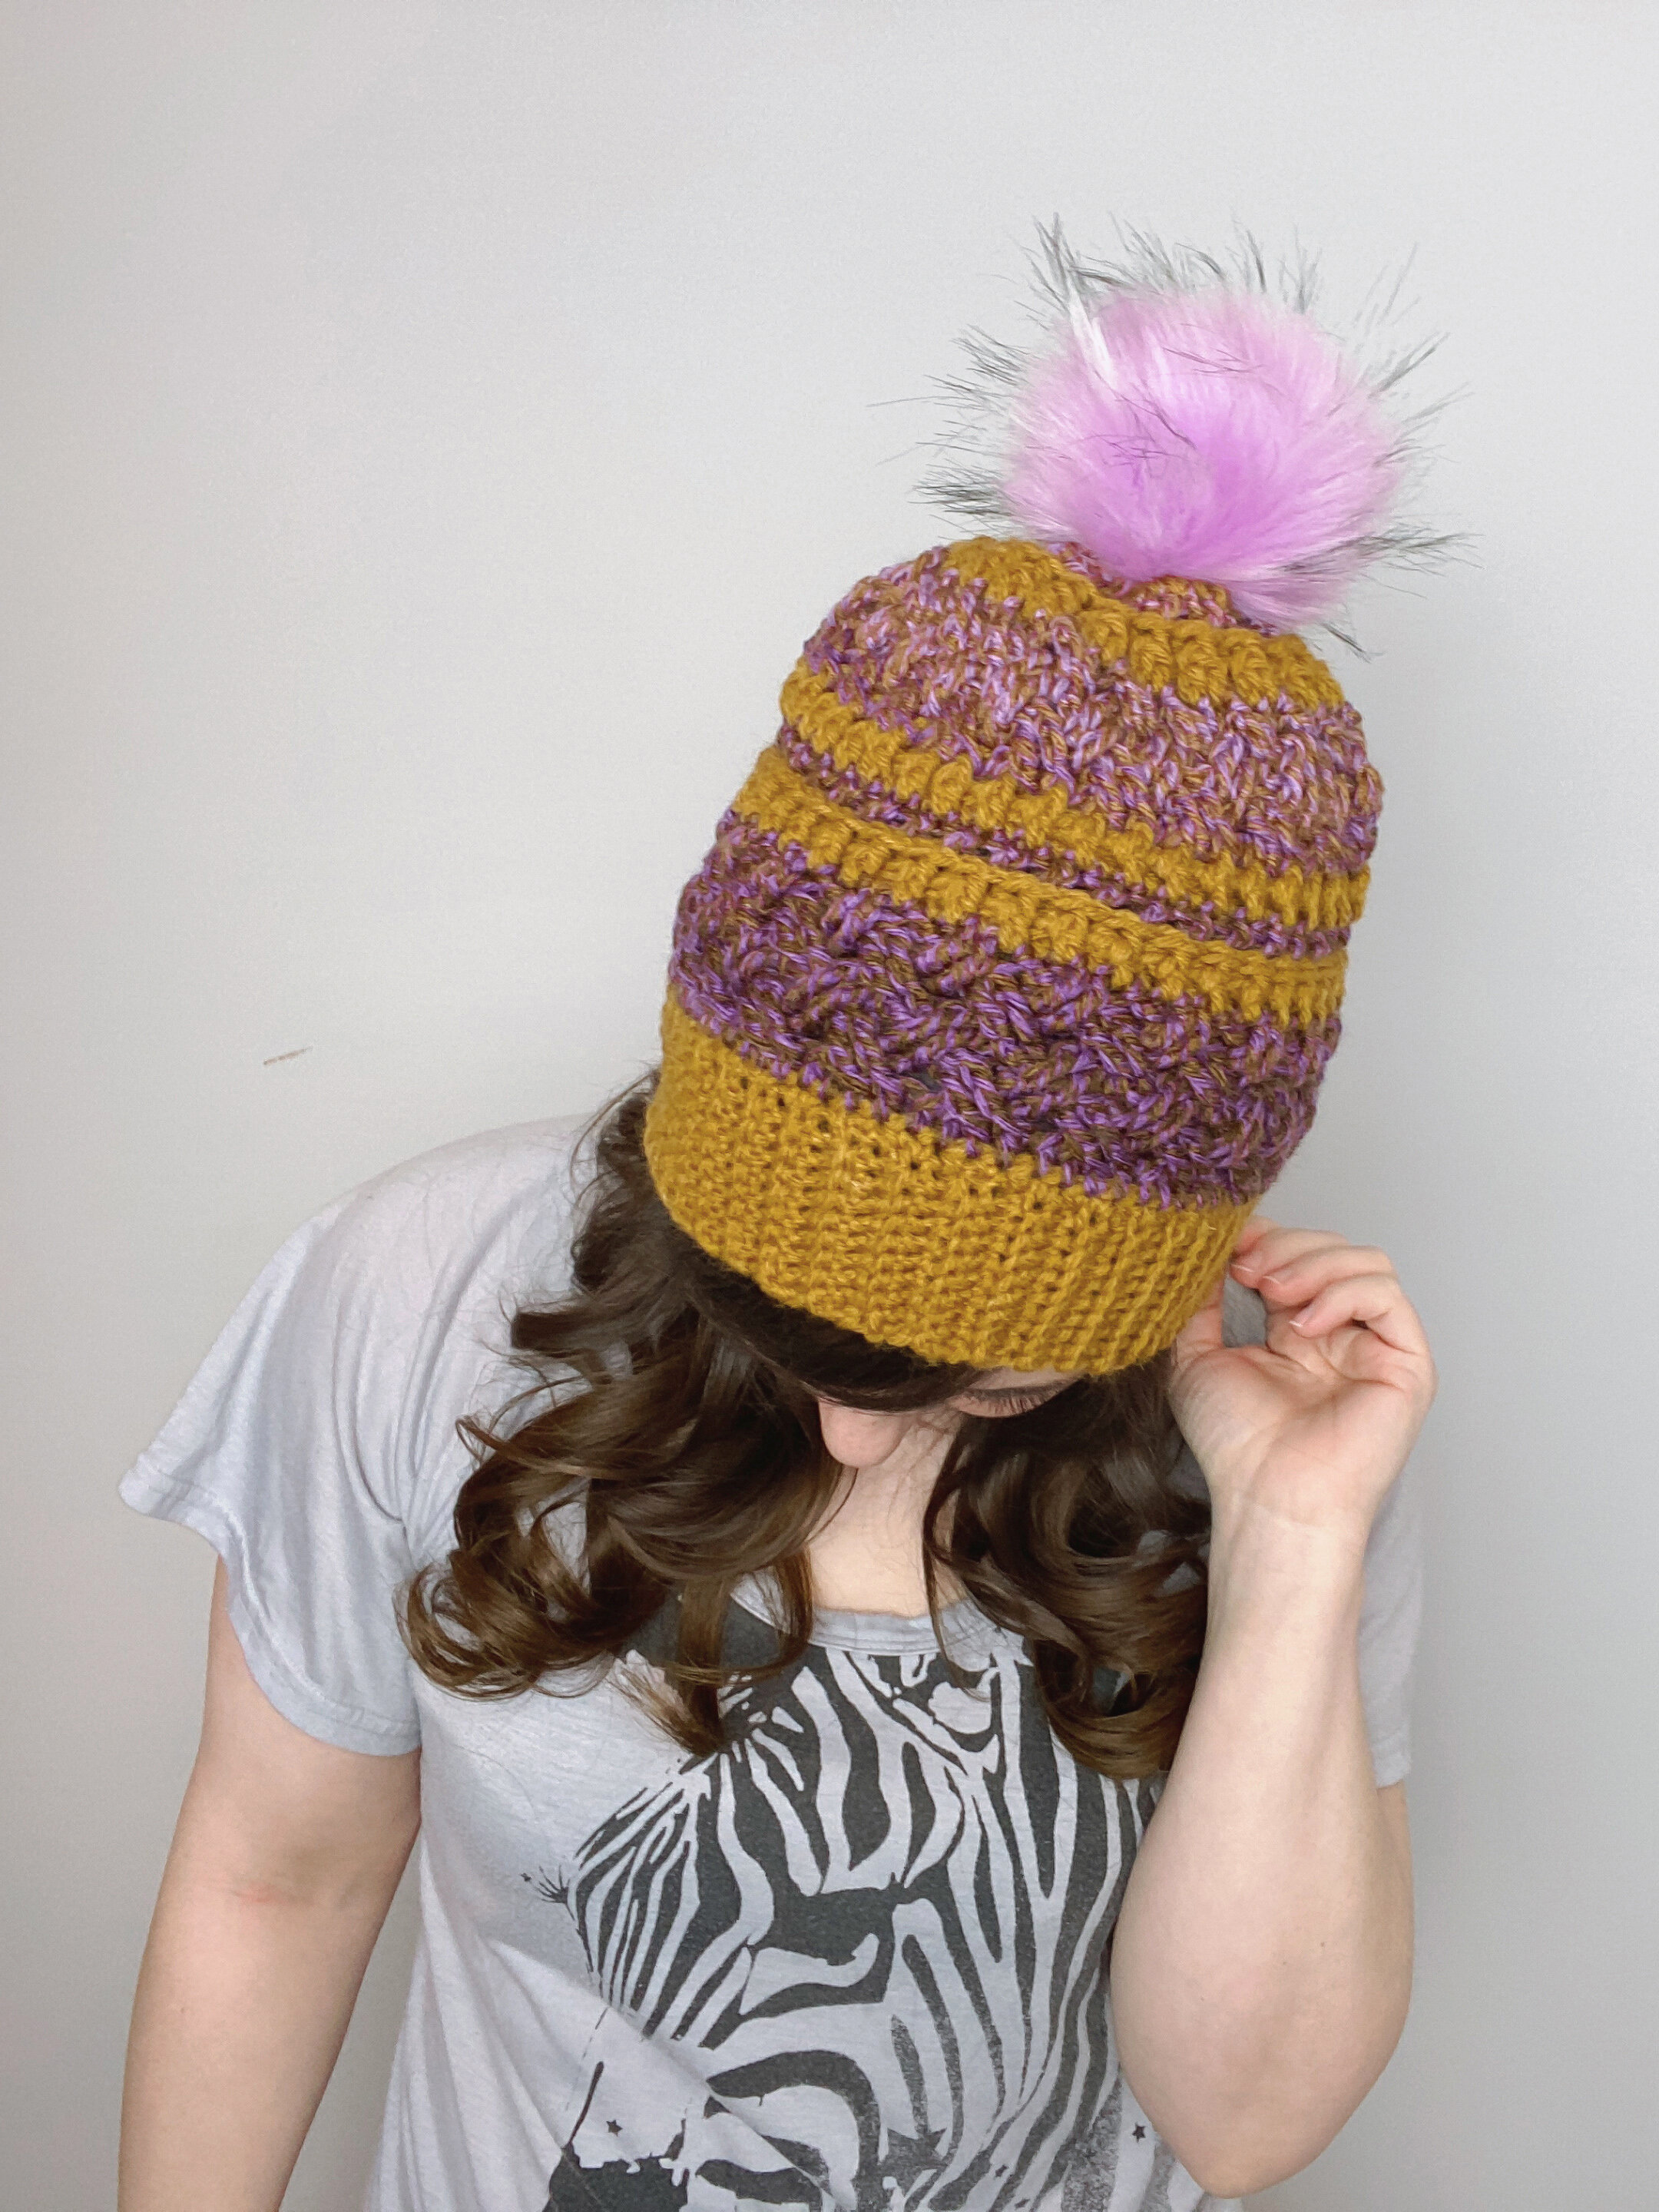
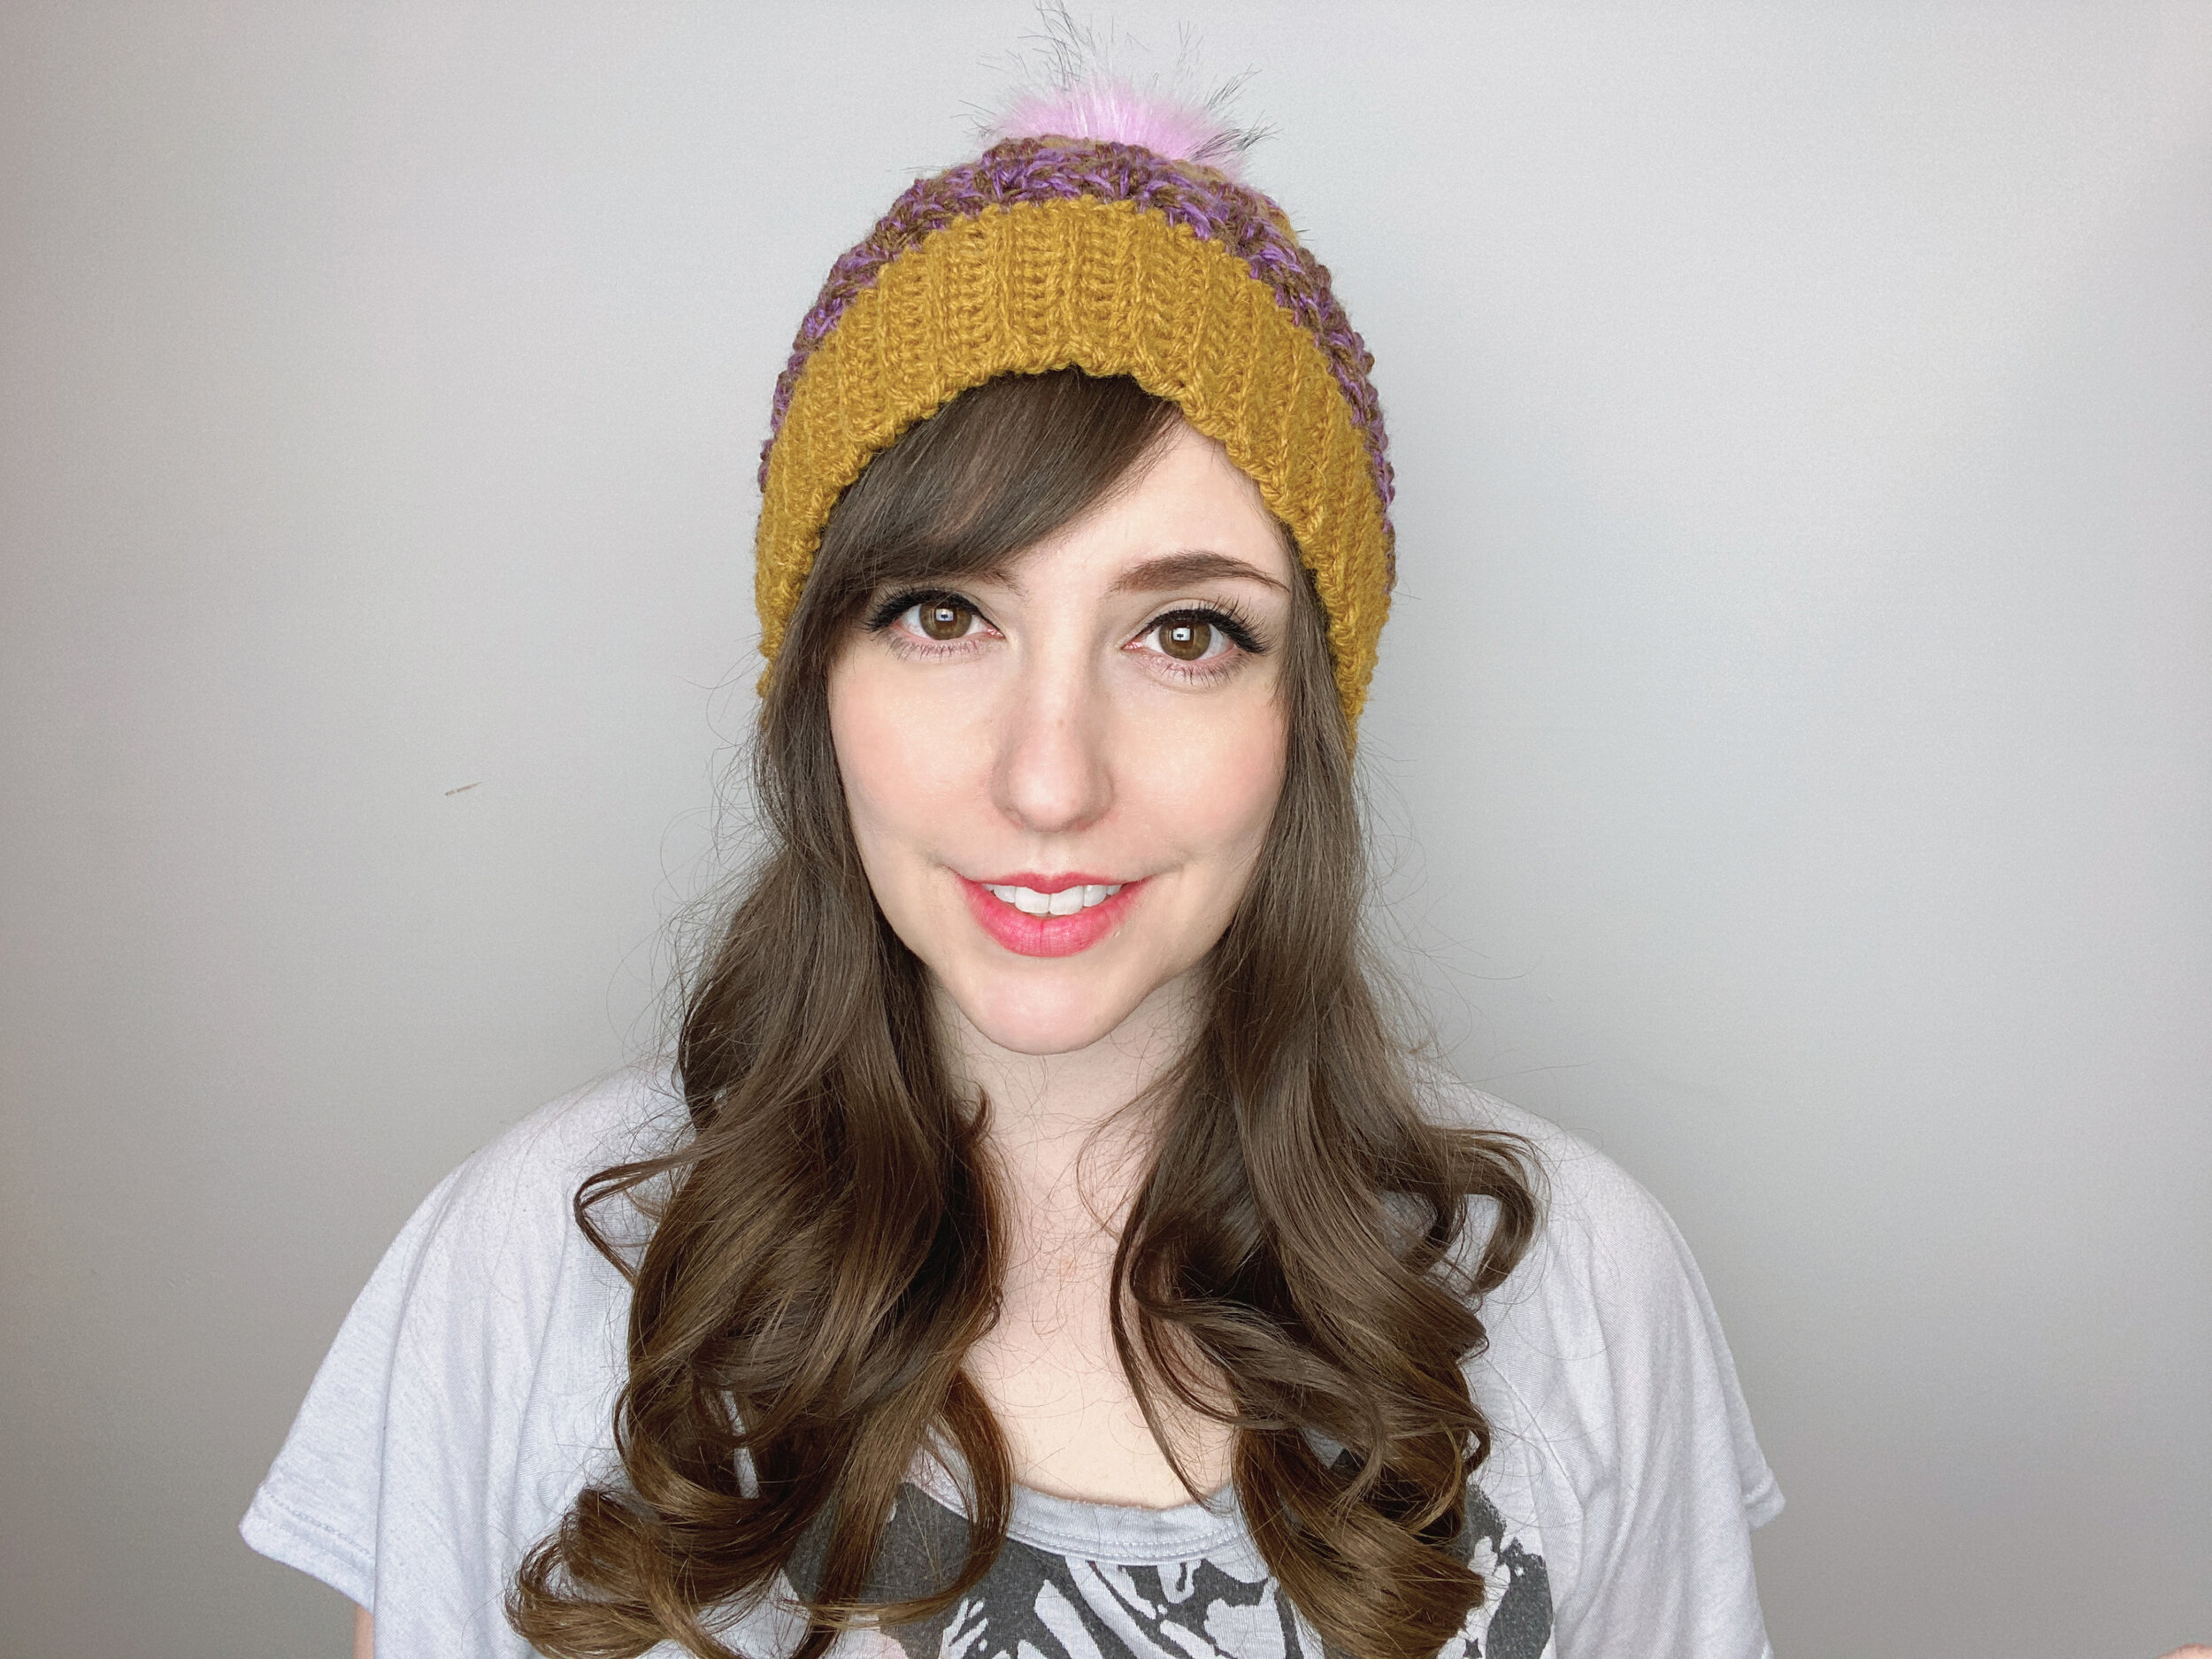
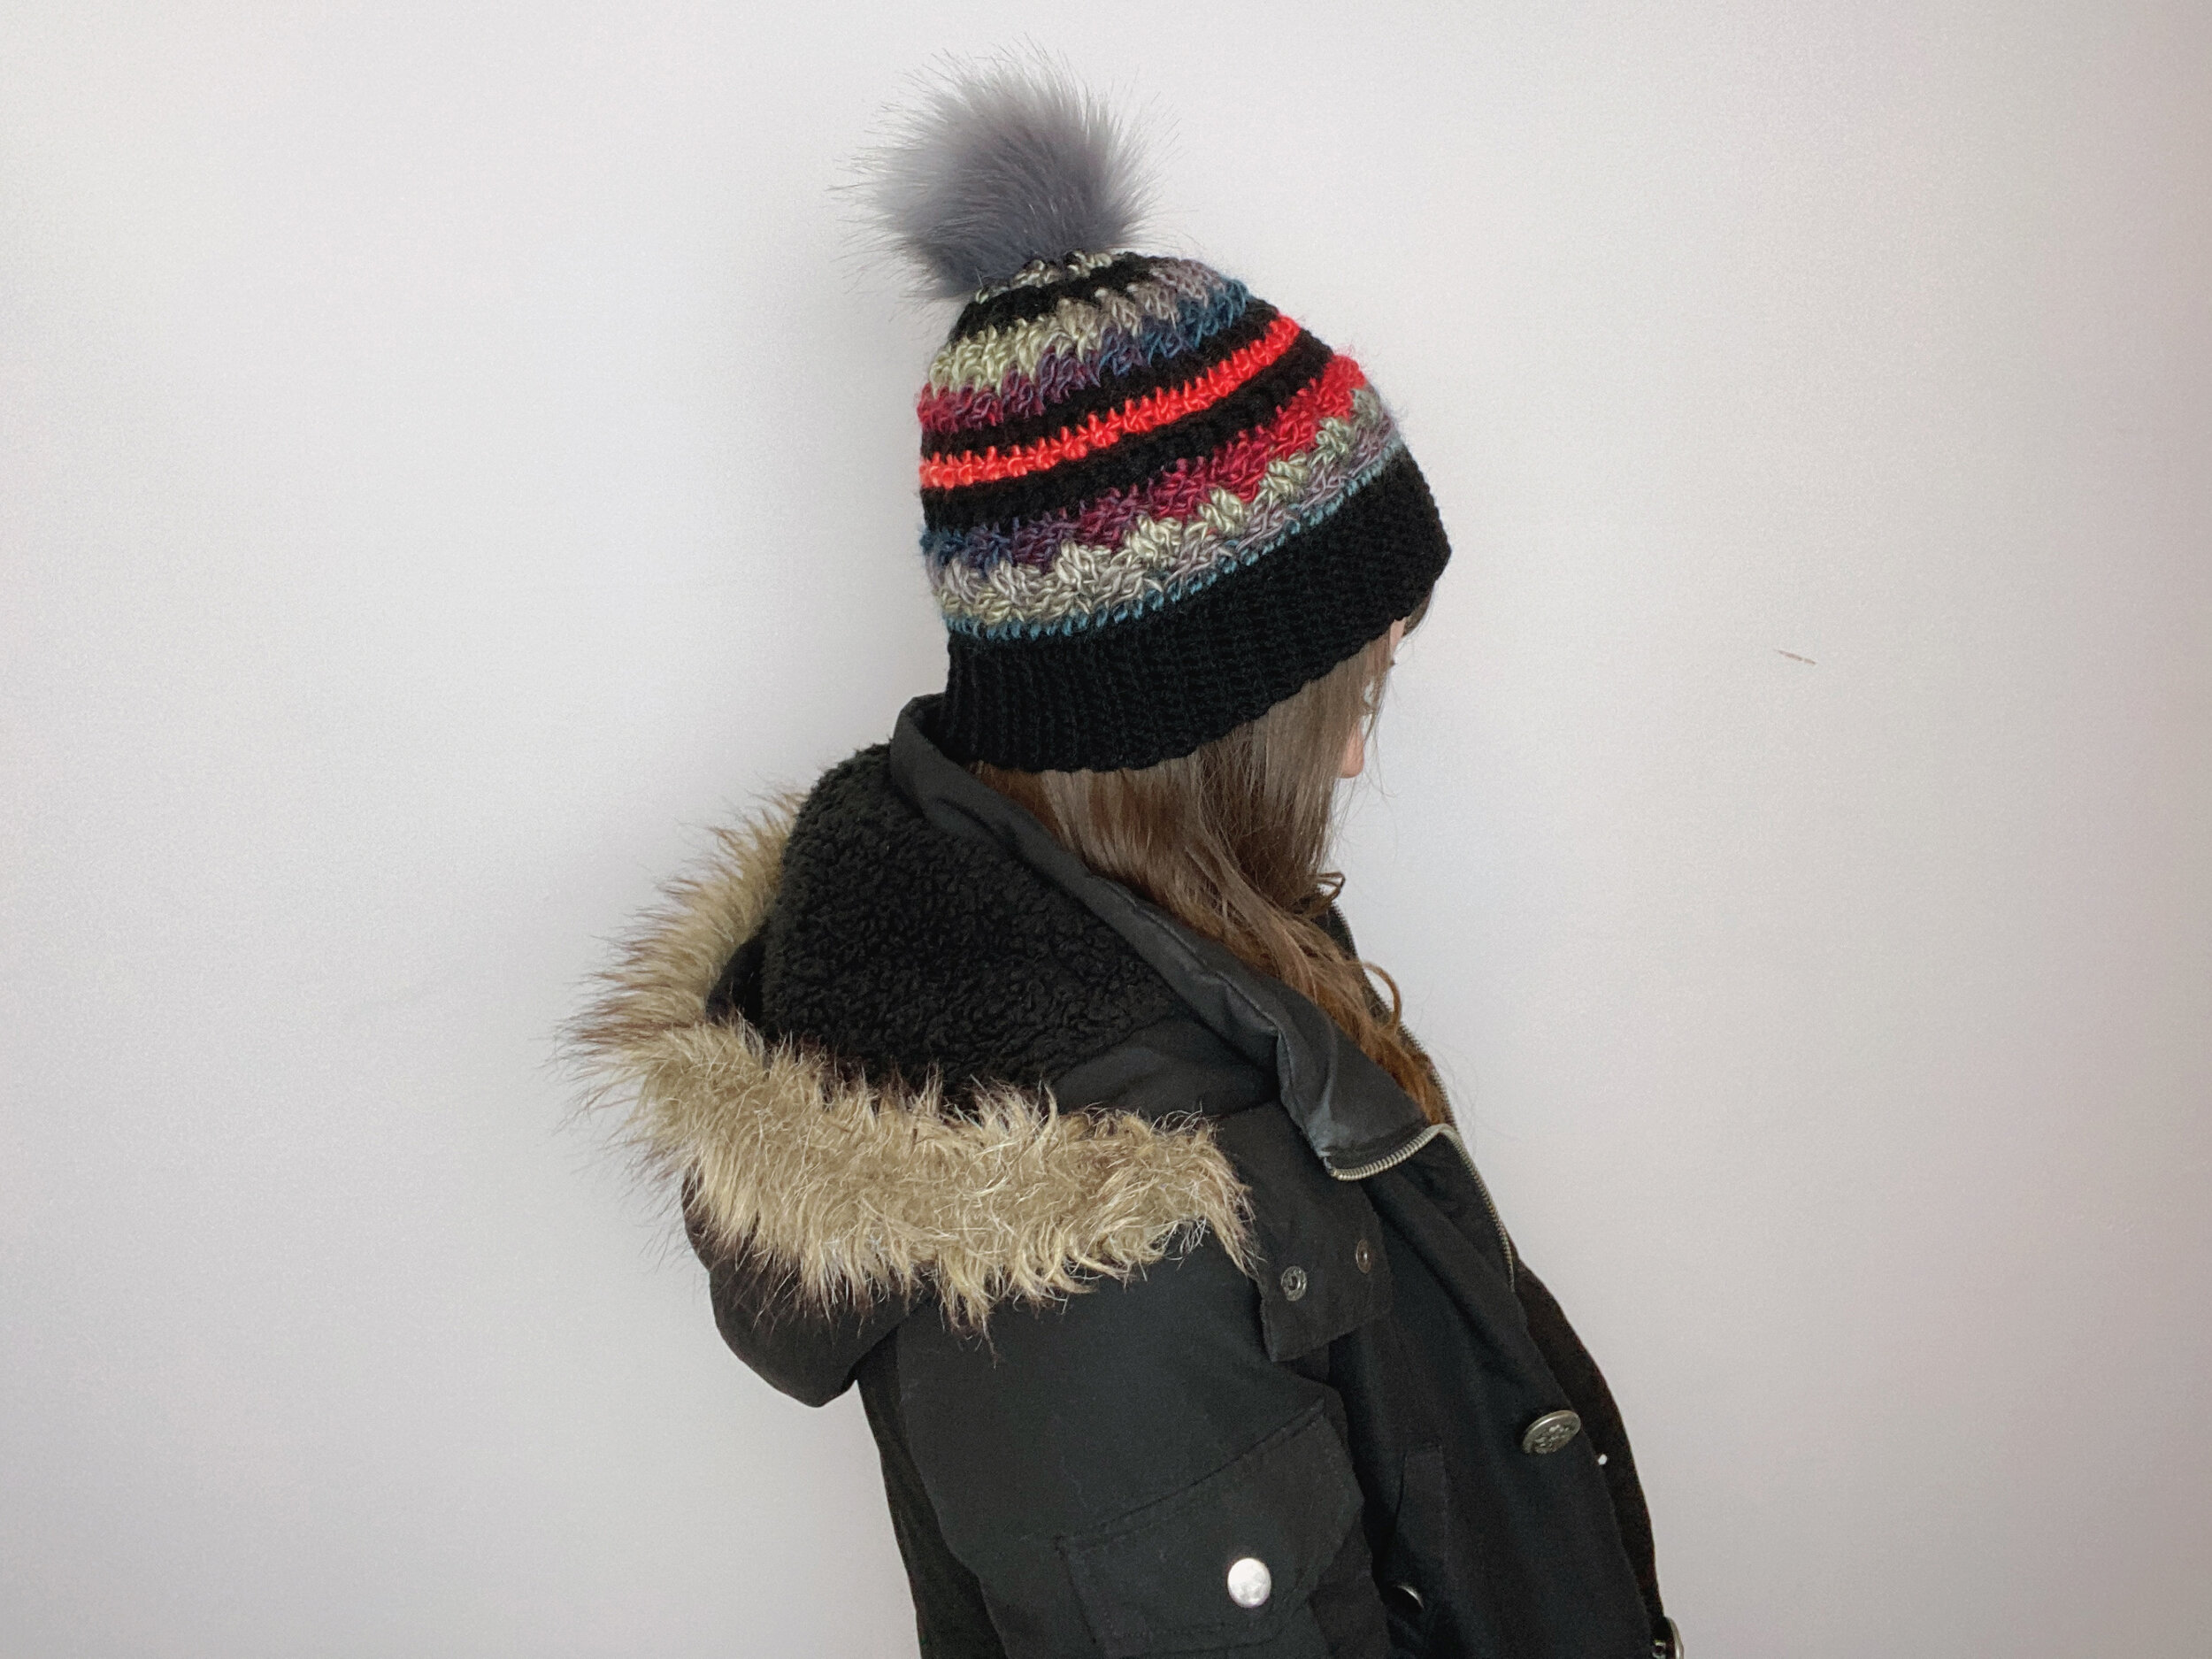
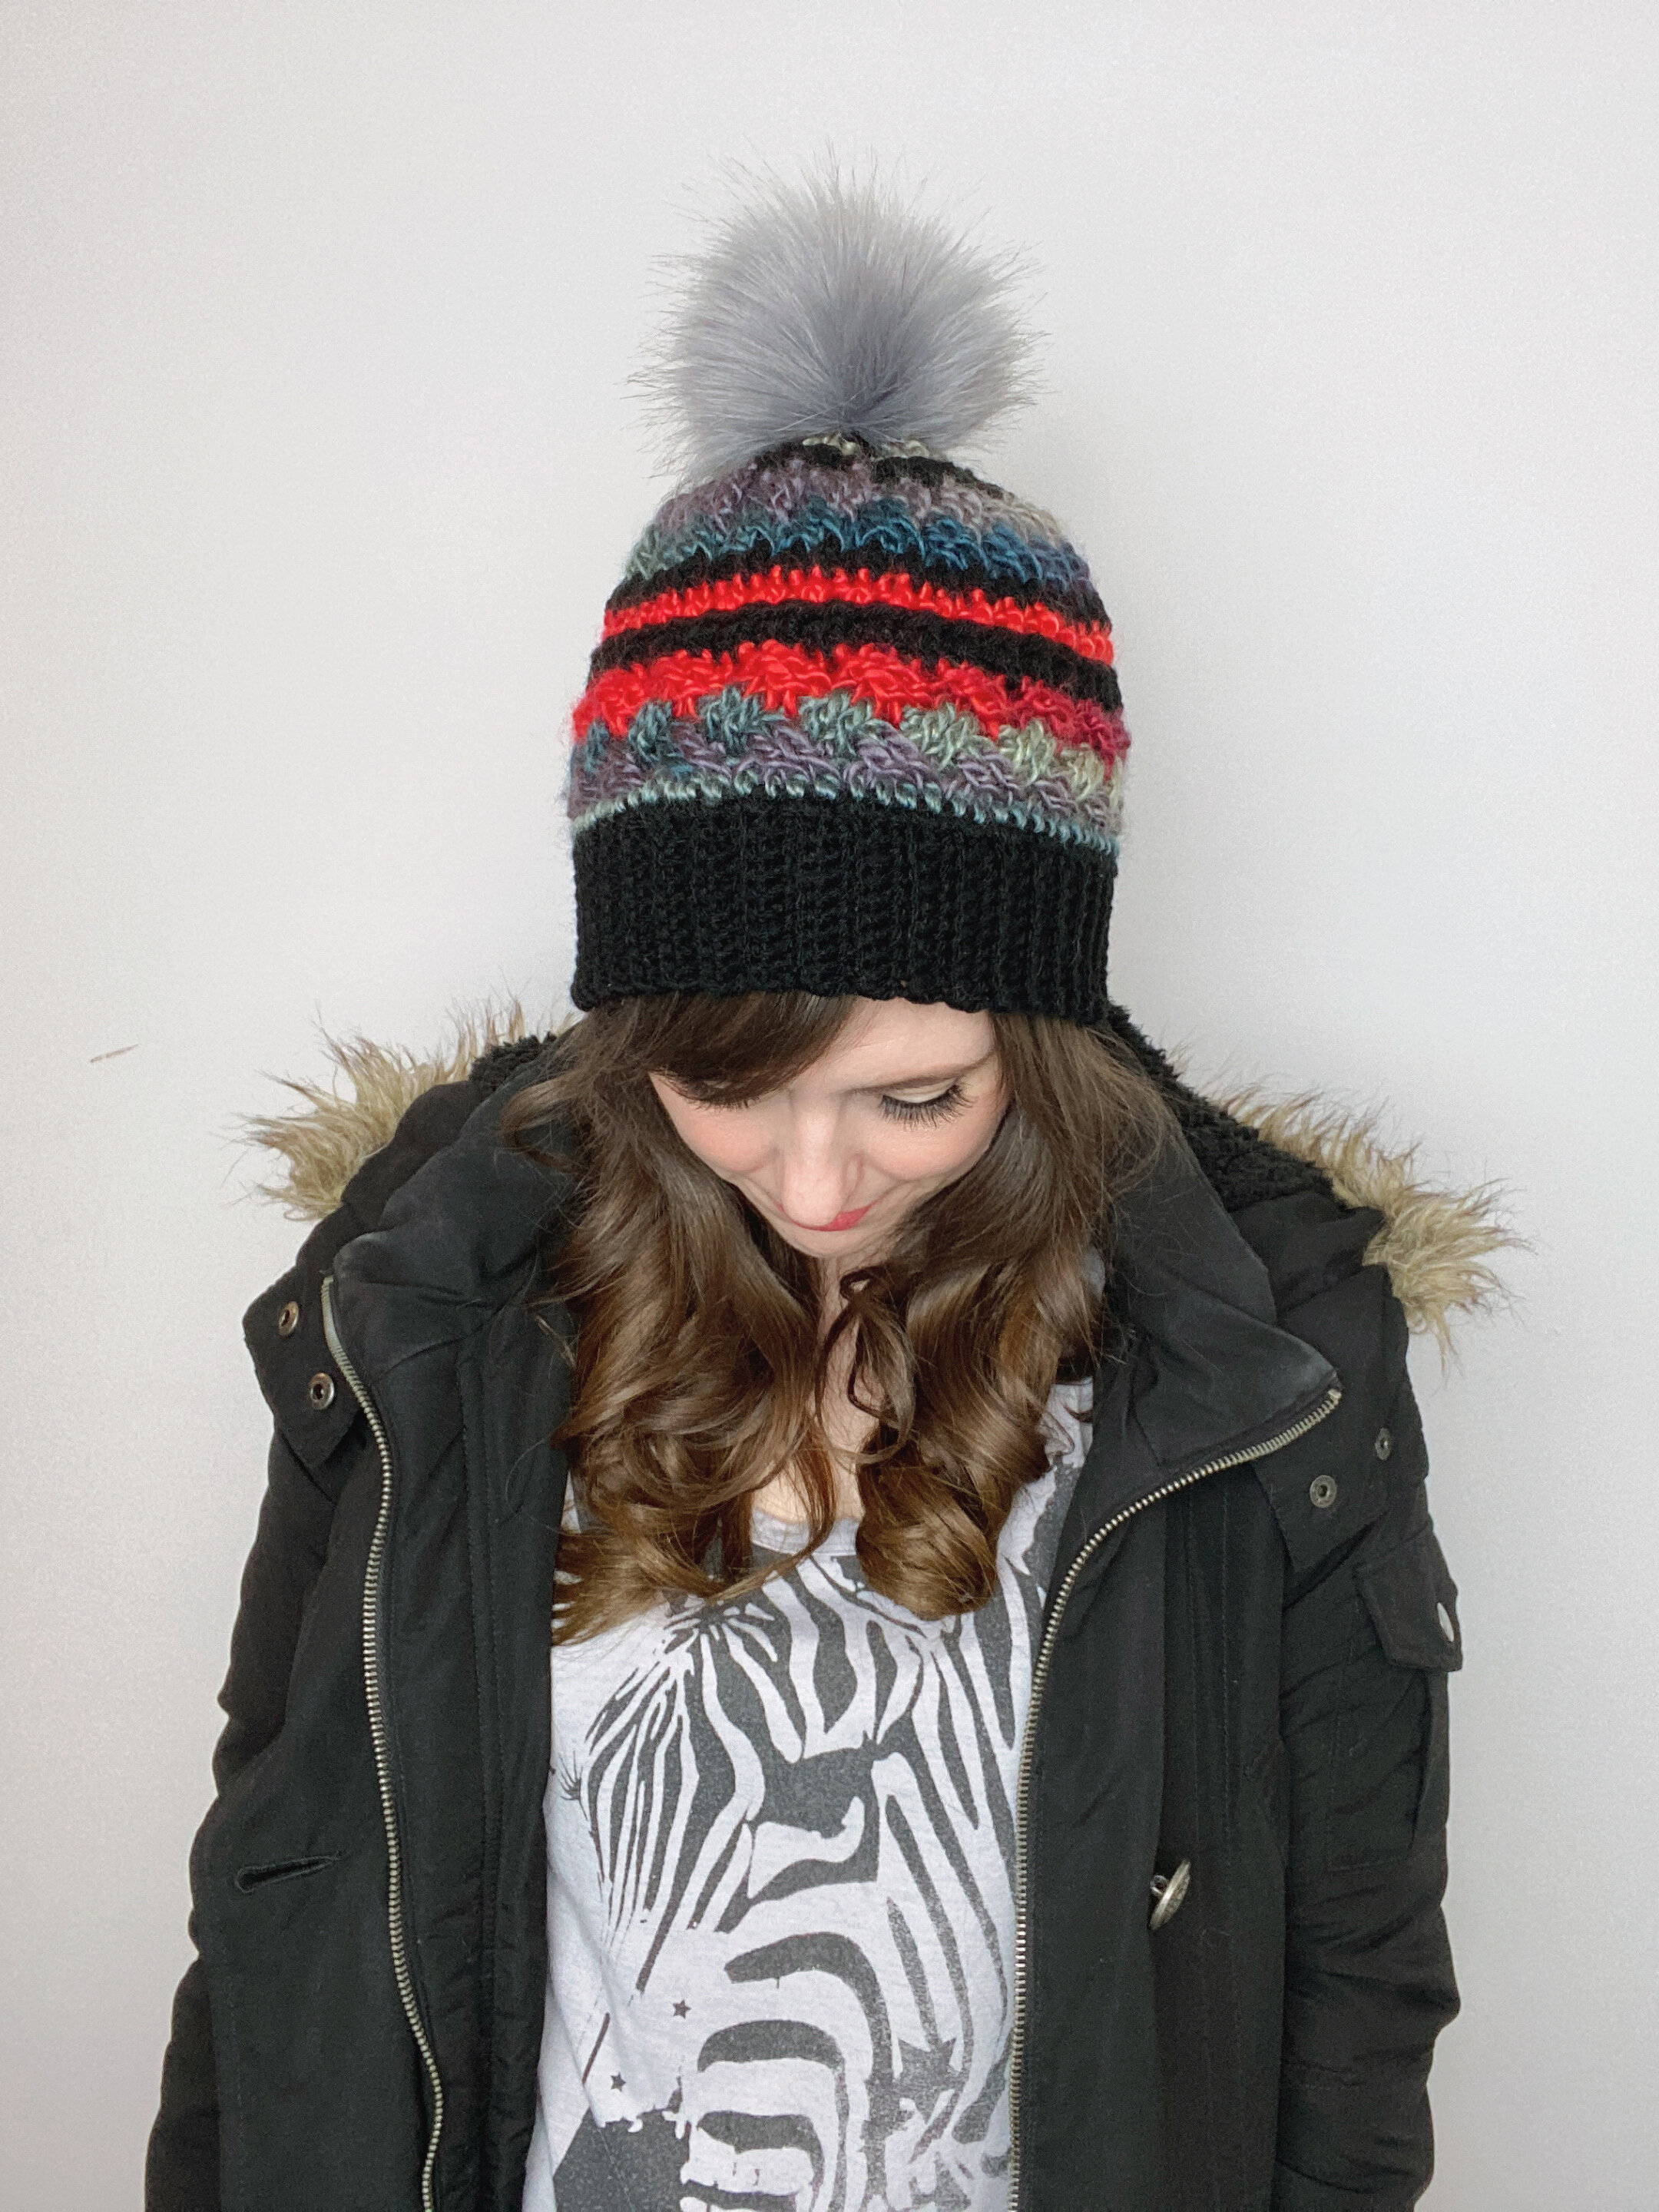
The sample hats are knit in a variety of weight 4 yarns and each is a version of the adult medium. Each has a slightly different texture and gauge, but all still made essentially the same size hat with small alterations in the Celtic Weave sections (more on that in the notes section). I used approximately 80 - 100 grams per hat, and just about all of my testers uses 90 grams per hat. The taupe one is made in Lion Brand Pound of Love, the mustard/purple one is wool-ease and Mandala Tweed, and the black/rainbow is Big Twist Value and Lion Brand Landscapes.
I hope you enjoy making the Ashley Winter Hat as much as I did!

I LOVE TO SEE WHAT YOU CREATE!
Please share your creations with the community on social media tagging @ravinsekaidesigns and hashtag #ashleywinterhat
I can’t wait to see the beautiful things you come up with!
FOLLOW ME ON SOCIAL MEDIA
Facebook: Ravin Sekai Designs
Ravelry: RavinSekai
Instagram: @ravinsekaidesigns
Pinterest: Ravin Sekai Designs
Patreon: Ravin Sekai Designs

WHAT YOU NEED:
Needle Size: 5 mm hook or size needed to obtain gauge
Yarn: medium weight 4 yarn. Sample made with Lion Brand Wool Ease and Mandala Tweed
Gauge: 16 st/ 16 rows in scblo rib = 4” (gauge isn’t super important)
Finished Hat Sizing: Adult Small: 19” - 21” head circumference 8.5-9” tall, Adult Medium: 21” - 22” head circ. 8.5 - 9” tall, Large Adult: 23” - 24” head circ. 8” tall (more on sizing in the notes section)
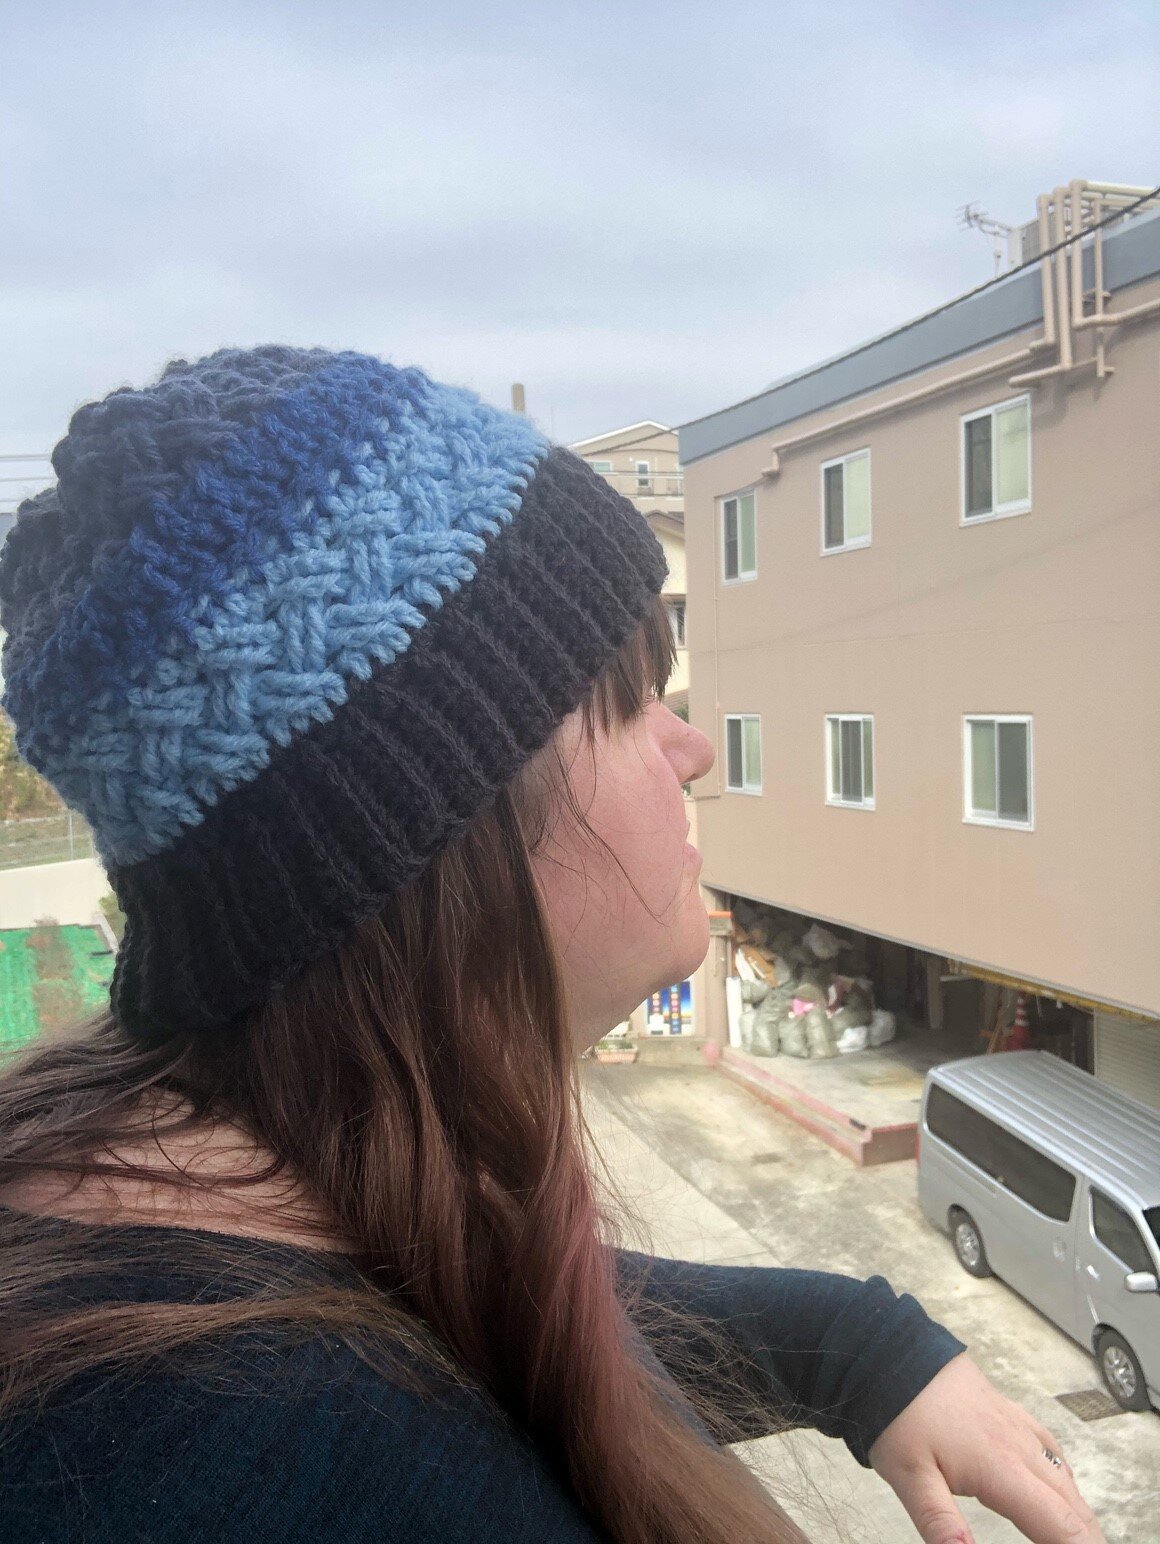
Model Size: model has a 21” head and is wearing size Adult Medium
Extras: pom pom of your choice, tapestry needle, button (optional)
ABBREVIATIONS:
Abbreviations in US terms
Ch: chain
St: stitch
Sl st: slip stitch
Blo: back loop only
Sc: single crochet
Hdc: half double crochet
Fphdc: front post hdc
Bphdc: back post hdc
Dc: double crochet
Dc in 3rd loop: The yarn over in a half double crochet forms a horizontal line at the back of the stitch. That horizontal line is the 3rd loop. Dc into the 3rd loop. (more in the notes section)
Tc: treble crochet
Fptc: front post tc
Bptc: back post tc
Rep: repeat
Sk: skip
FO: fasten off
Notes:
Make sure you crochet the brim tightly, as it will stretch with wear if you crochet too loosely.
The number of sts/rows for each size is a suggestion. This hat is extremely easy to modify to whatever size you need. Simply crochet the rows of the brim in multiples of 4 until it fits comfortably around your head (rememeber band does stretch approx 1” - 2”). Then, follow the directions for the number of rows you crocheted. Number of rows = number of sts around the brim.
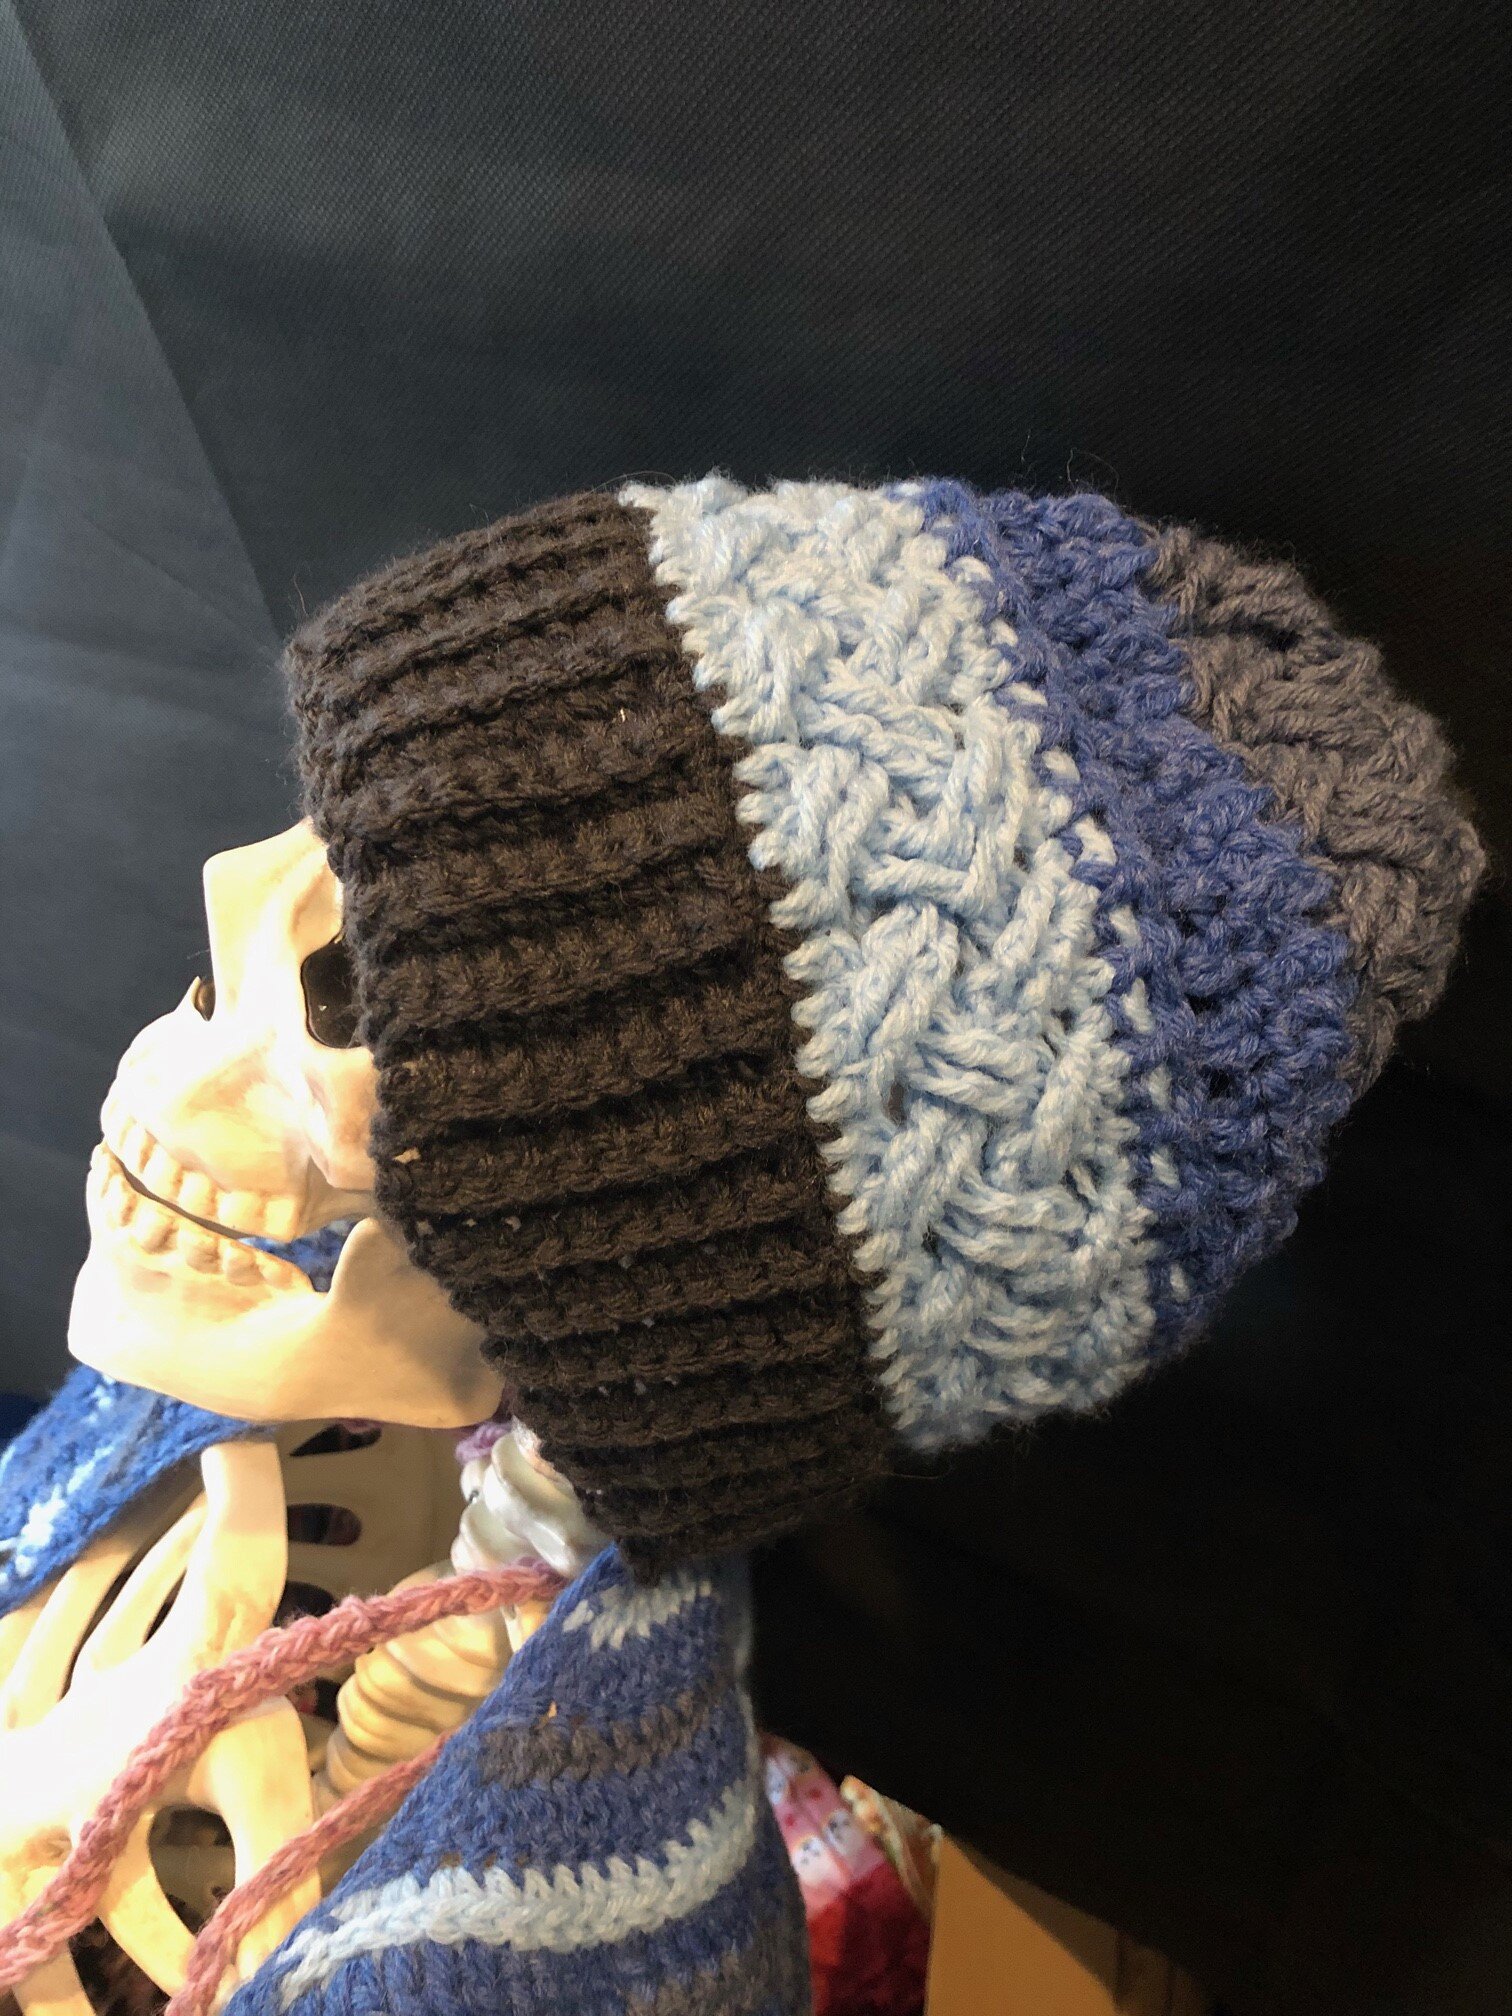
To adjust the length/slouchiness of the hat, add or subtract rows in the Celtic Weave sections. Each row of Celtic Weave is about .5”. So, for example, the purple/yellow hat has 4 rows Celtic Weave in the first section, then 3 in the 2nd. For the black/raindow hat, I have only 3 rows of Celtic Weave in the first section and 2 in the 2nd to make the hat shorter/more beanie like. The hats heights have about an inch difference.
For the Celtic Weave section, make sure you maintain a consistent, tight tension. It is very easy for your tension to loosen up while creating this stitch, and then the hat will be too big!
Ch2 does not count as a st, so make sure you’re not missing the first st of each row!
Gauge isn’t particularly important and just about any medium weight 4 yarn will work for this pattern.
A video tutorial on how to crochet the Celtic Weave Stitch in the round can be found here: Pattern Paradise.
A video tutorial on how to find the 3rd loop (Rows 9 and 17) can be found here: Moogly - Tamara Kelly

THE PATTERN:
For the free pattern of this garment please continue on this page. Please consider supporting me by purchasing the 100% ad-free PDF with full charts for this pattern on my Ravelry or ETSY pages. Or consider joining my Patreon for member perks.
Brim:
With MC Ch 10
Row 1: sc in 2nd st from hook, sc in each ch across (9 sc, about 2.25”). Turn.
Row 2: ch1, sc blo of each sc below. (9 sc). Turn.
Row 3 - Row 76(80, 84): rep Row 2. 76(80, 84) rows in total and about 19”(20”, 21”)
Ch1, sc ends together (you can loosely sl st them together to, this depends on your preference)
Round 1: ch1, 80 sc evenly around brim of hat, sl st in ch1 from beginning of round. (76, 80, 84 st)
Round 2: ch2 (does not count as a st) 80 hdc around, sl st in 1st st of round.
Round 3: Ch 3, *sk2, fptc in next 2 stitches, crossing in front of two fptc just made, work fptc in 2 sk sts* Rep * * around, sl st in top of first fptc.
Round 4: Ch 3, sk first 4 sts, fptc in next 2 sts, *working behind the posts just made, fptc in the last 2 sk sts (you will leave the first 2 skipped stitches at the beginning of the row unworked and complete them at the end of the row.), sk2, fptc in next 2 sts * rep * * around, sl st in top of first fptc.
Round 5: Ch 3, sk first 4 sts, fptc in next 2 sts, *working in front of the posts just made, fptc in the last 2 sk sts, sk2, fptc in next 2 sts * rep * * around, sl st in top of first fptc.

Adult Large/Slouchy Style only: Round 6: rep Round 4.
Round 6(6, 7): ch2 (does not count as a st), 80 hdc around.sl st in 1st st of round.
Round 7(7, 8): ch2 (does not count as a st) *1fphdc, 1bphdc* across. sl st in 1st st of round.
Round 8(8, 9): ch3, sk 1st two hdc of previous row and dc in the 3rd loop of the 3rd hdc, crossing behind the 1st dc you made, dc in the 3rd loop of the 2nd skipped st (the one right before the dc you just made), *skip next st and dc in the 3rd loop of the next st, crossing in back of dc, dc in the 3rd loop of the skipped st before* repeat * * to end of round, then, crossing in front of ch3 at beginning of round dc in the 3rd loop of the 1st skipped st, crossing behind last dc, dc in the 3rd loop of the skipped st before it. sl st in 1st st of round
Round 9(9, 10): ch2 (does not count as a st), 80 hdc around. sl st in 1st st of round.
Round 10(10, 11): ch2 (does not count as a st) *1fphdc, 1bphdc* across. sl st in 1st st of round.
Round 11(11, 12): Ch 3, *sk2, fptc in next 2 stitches, crossing in front of two fptc just made, work fptc in 2 sk sts* Rep * * around, sl st in top of first fptc.
Round 12(12, 13): Ch 3, sk first 4 sts, fptc in next 2 sts, *working behind the posts just made, fptc in the last 2 sk sts (you will leave the first 2 skipped stitches at the beginning of the row unworked and complete them at the end of the row.), sk2, fptc in next 2 sts * rep * * around, sl st in top of first fptc.
Round 13(13, 14): Ch 3, sk first 4 sts, fptc in next 2 sts, *working in front of the posts just made, fptc in the last 2 sk sts, sk2, fptc in next 2 sts * rep * * around, sl st in top of first fptc.
Round 14(14, 15): ch2 (does not count as a st), 40 hdc2tog around. sl st in 1st st of round. 40 st
Round 15(15, 16): ch2 (does not count as a st) *1fphdc, 1bphdc* across. sl st in 1st st of round. (make sure each st goes around both sts below) 40 st
Round 16(16, 17): ch3, sk 1st two hdc of previous row and dc in the 3rd loop of the 3rd hdc, crossing behind the 1st dc you made, dc in the 3rd loop of the 2nd skipped st (the one right before the dc you just made), *skip next st and dc in the 3rd loop of the next st, crossing in back of dc, dc in the 3rd loop of the skipped st before* repeat * * to end of round, then, crossing in front of ch3 at beginning of round dc in the 3rd loop of the 1st skipped st, crossing behind last dc, dc in the 3rd loop of the skipped st before it. sl st in 1st st of round.
Round 17(17, 18): ch2 (does not count as a st), 20 hdc2tog around. sl st in 1st st of round. 20 st
FO leaving a long tail
Cut yarn and lace tail through all stitches like a drawstring to pull top closed.
Attach Pom Pom of your choice. (With button method can be found at the bottom of this page)
Happy Crocheting!
IF YOU LIKED THIS PATTERN, PLEASE SUPPORT ME ON PATREON OR BUY ME A COFFEE!

BUY ME A COFFEE
SUPPORT ME ON PATREON
I LOVE TO SEE WHAT YOU CREATE!
Please share your creations with the community on social media tagging @ravinsekaidesigns and hashtag #ashleywinterhat
I can’t wait to see the beautiful things you come up with!
FOLLOW ME ON SOCIAL MEDIA
Facebook: Ravin Sekai Designs
Ravelry: RavinSekai
Instagram: @ravinsekaidesigns
Pinterest: Ravin Sekai Designs
Patreon: Ravin Sekai Designs
